QUICK, NO WORK GARDEN, FOR STARTERS
Prescription for a New Gardener
It seems like everybody’s a gardener, or is becoming one, this time of year. And a lot of people have been asking me questions. Like my niece Lana, for instance, who moved along with her husband, a baby, and a toddler to a new house last fall and is ready to dig into a garden this spring — but, as Lana said, a garden “that will be easily manageable for her and interesting to her 3 year old.” (The one-year-old is still enthralled with her thumb and other such things.) So, for Lana and other beginning or non-gardeners, here is a simple plan for a small garden that requires almost “no time.”
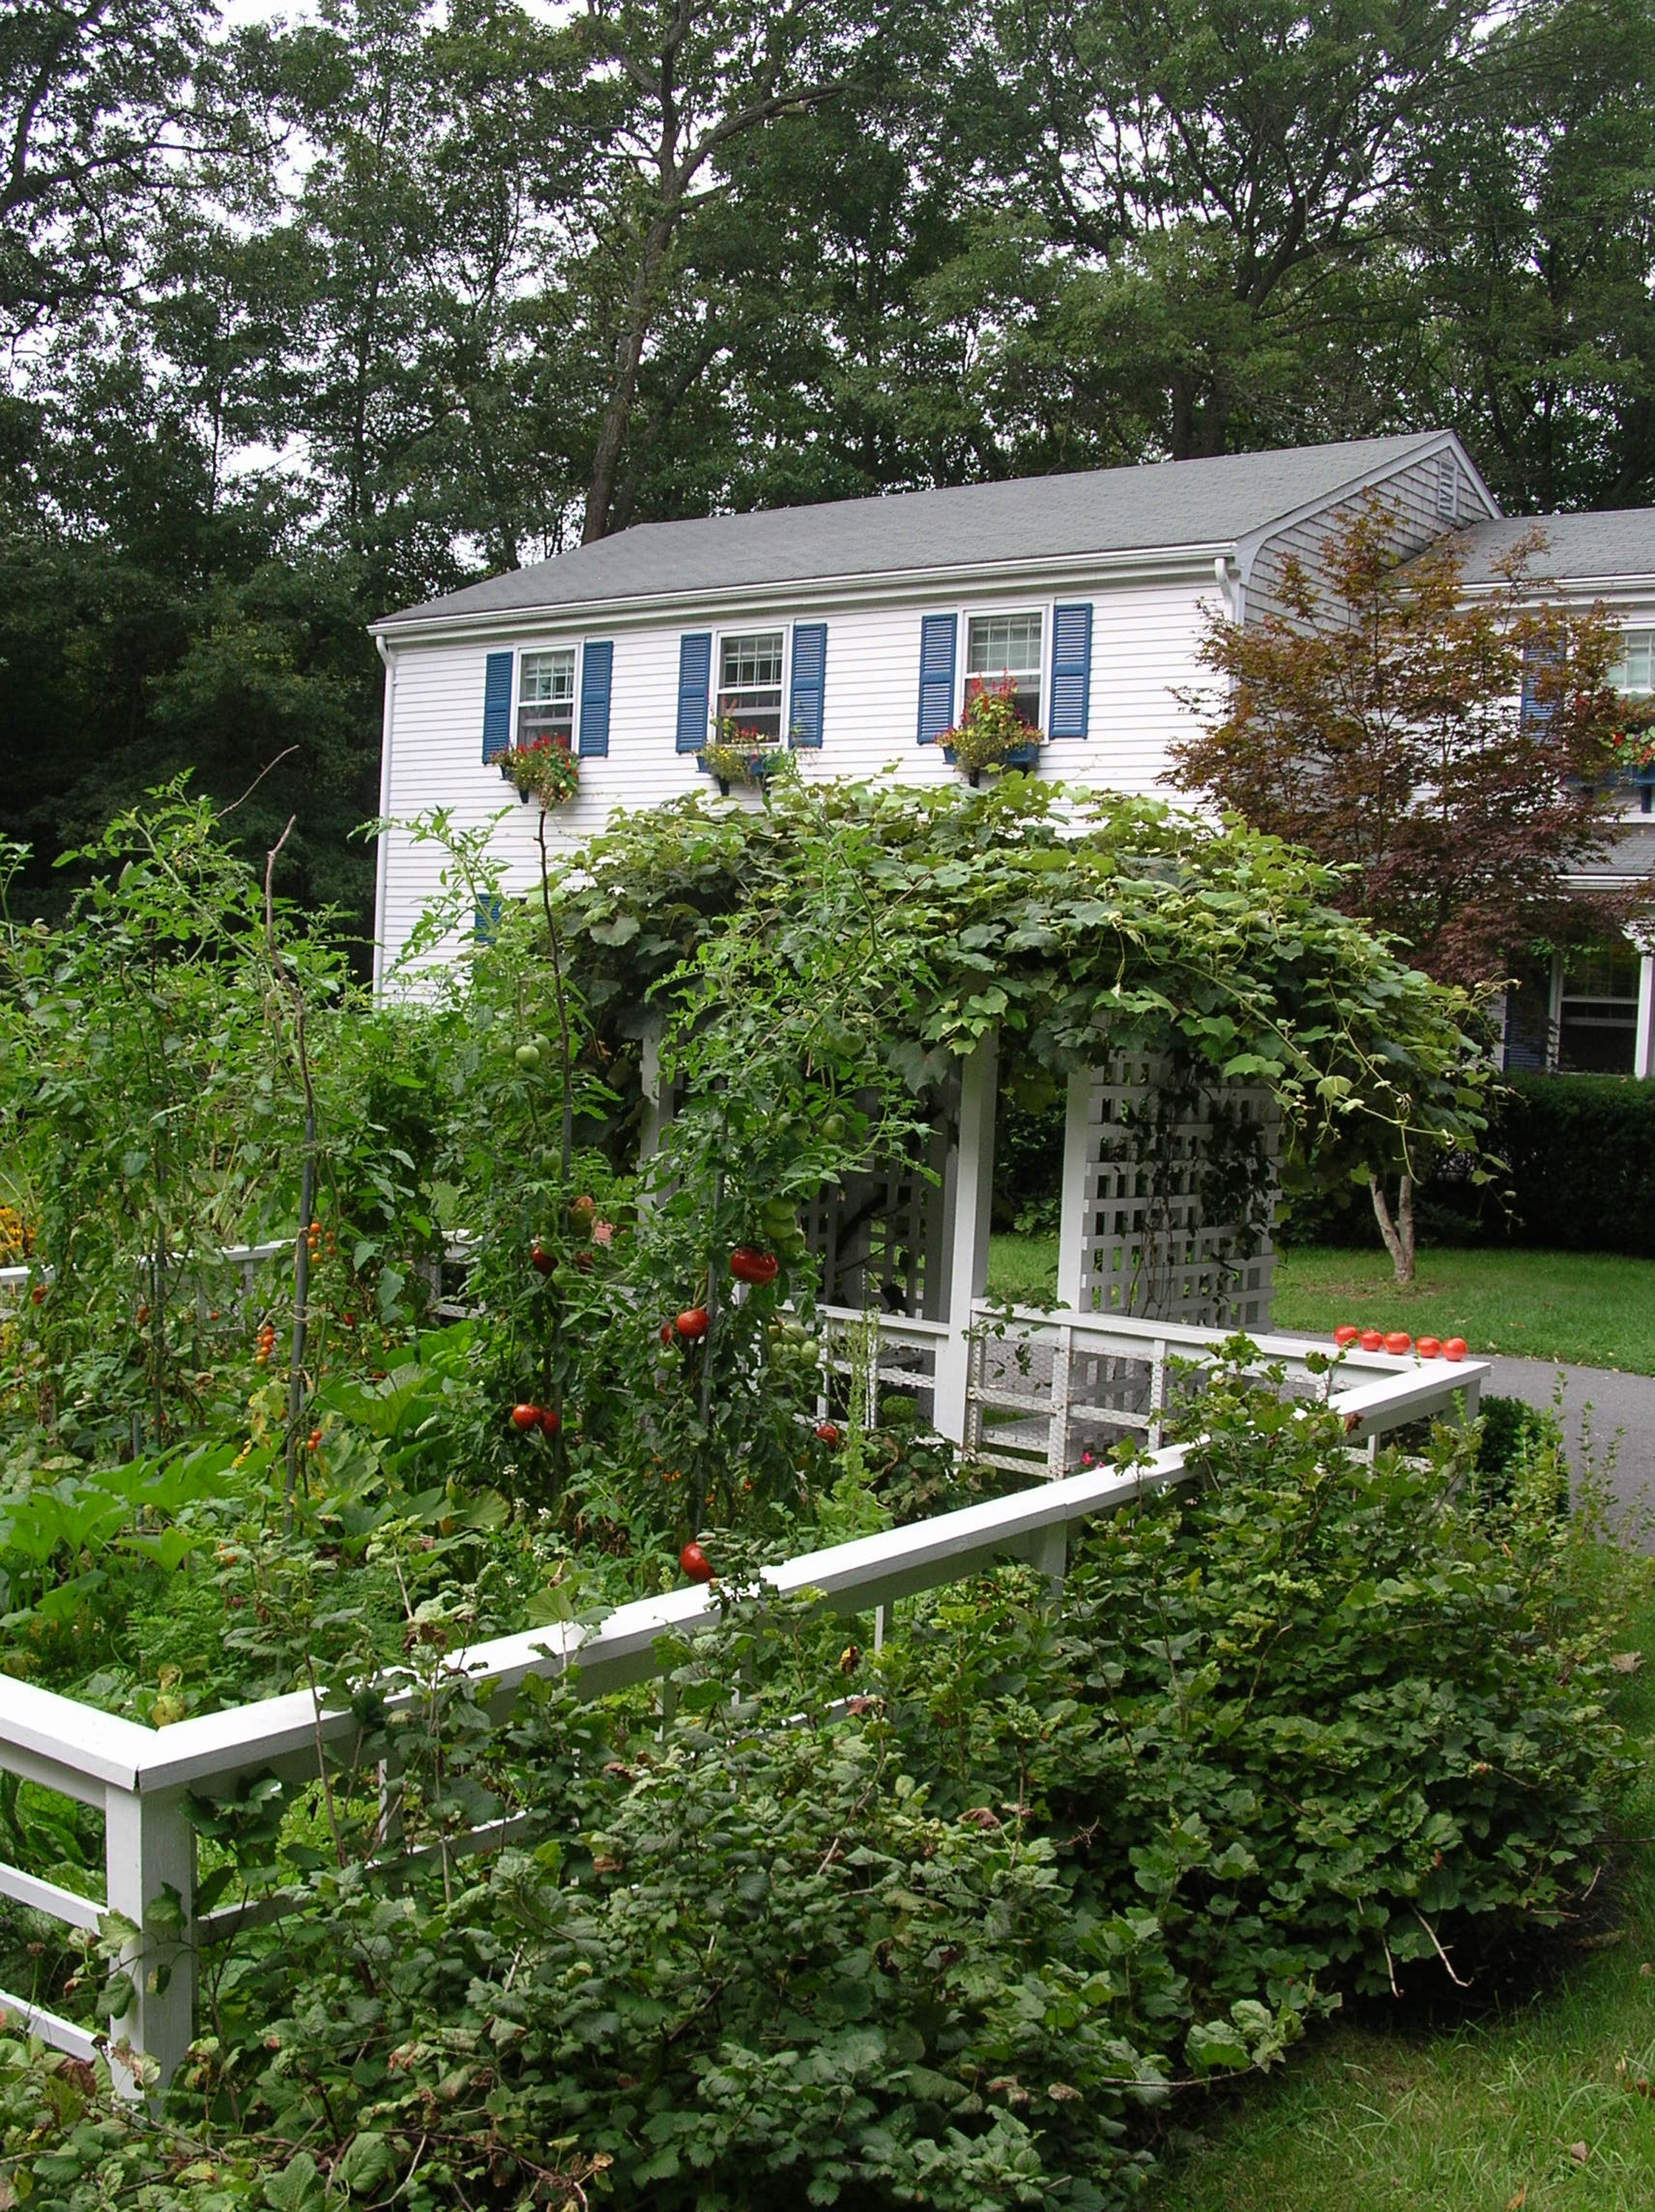
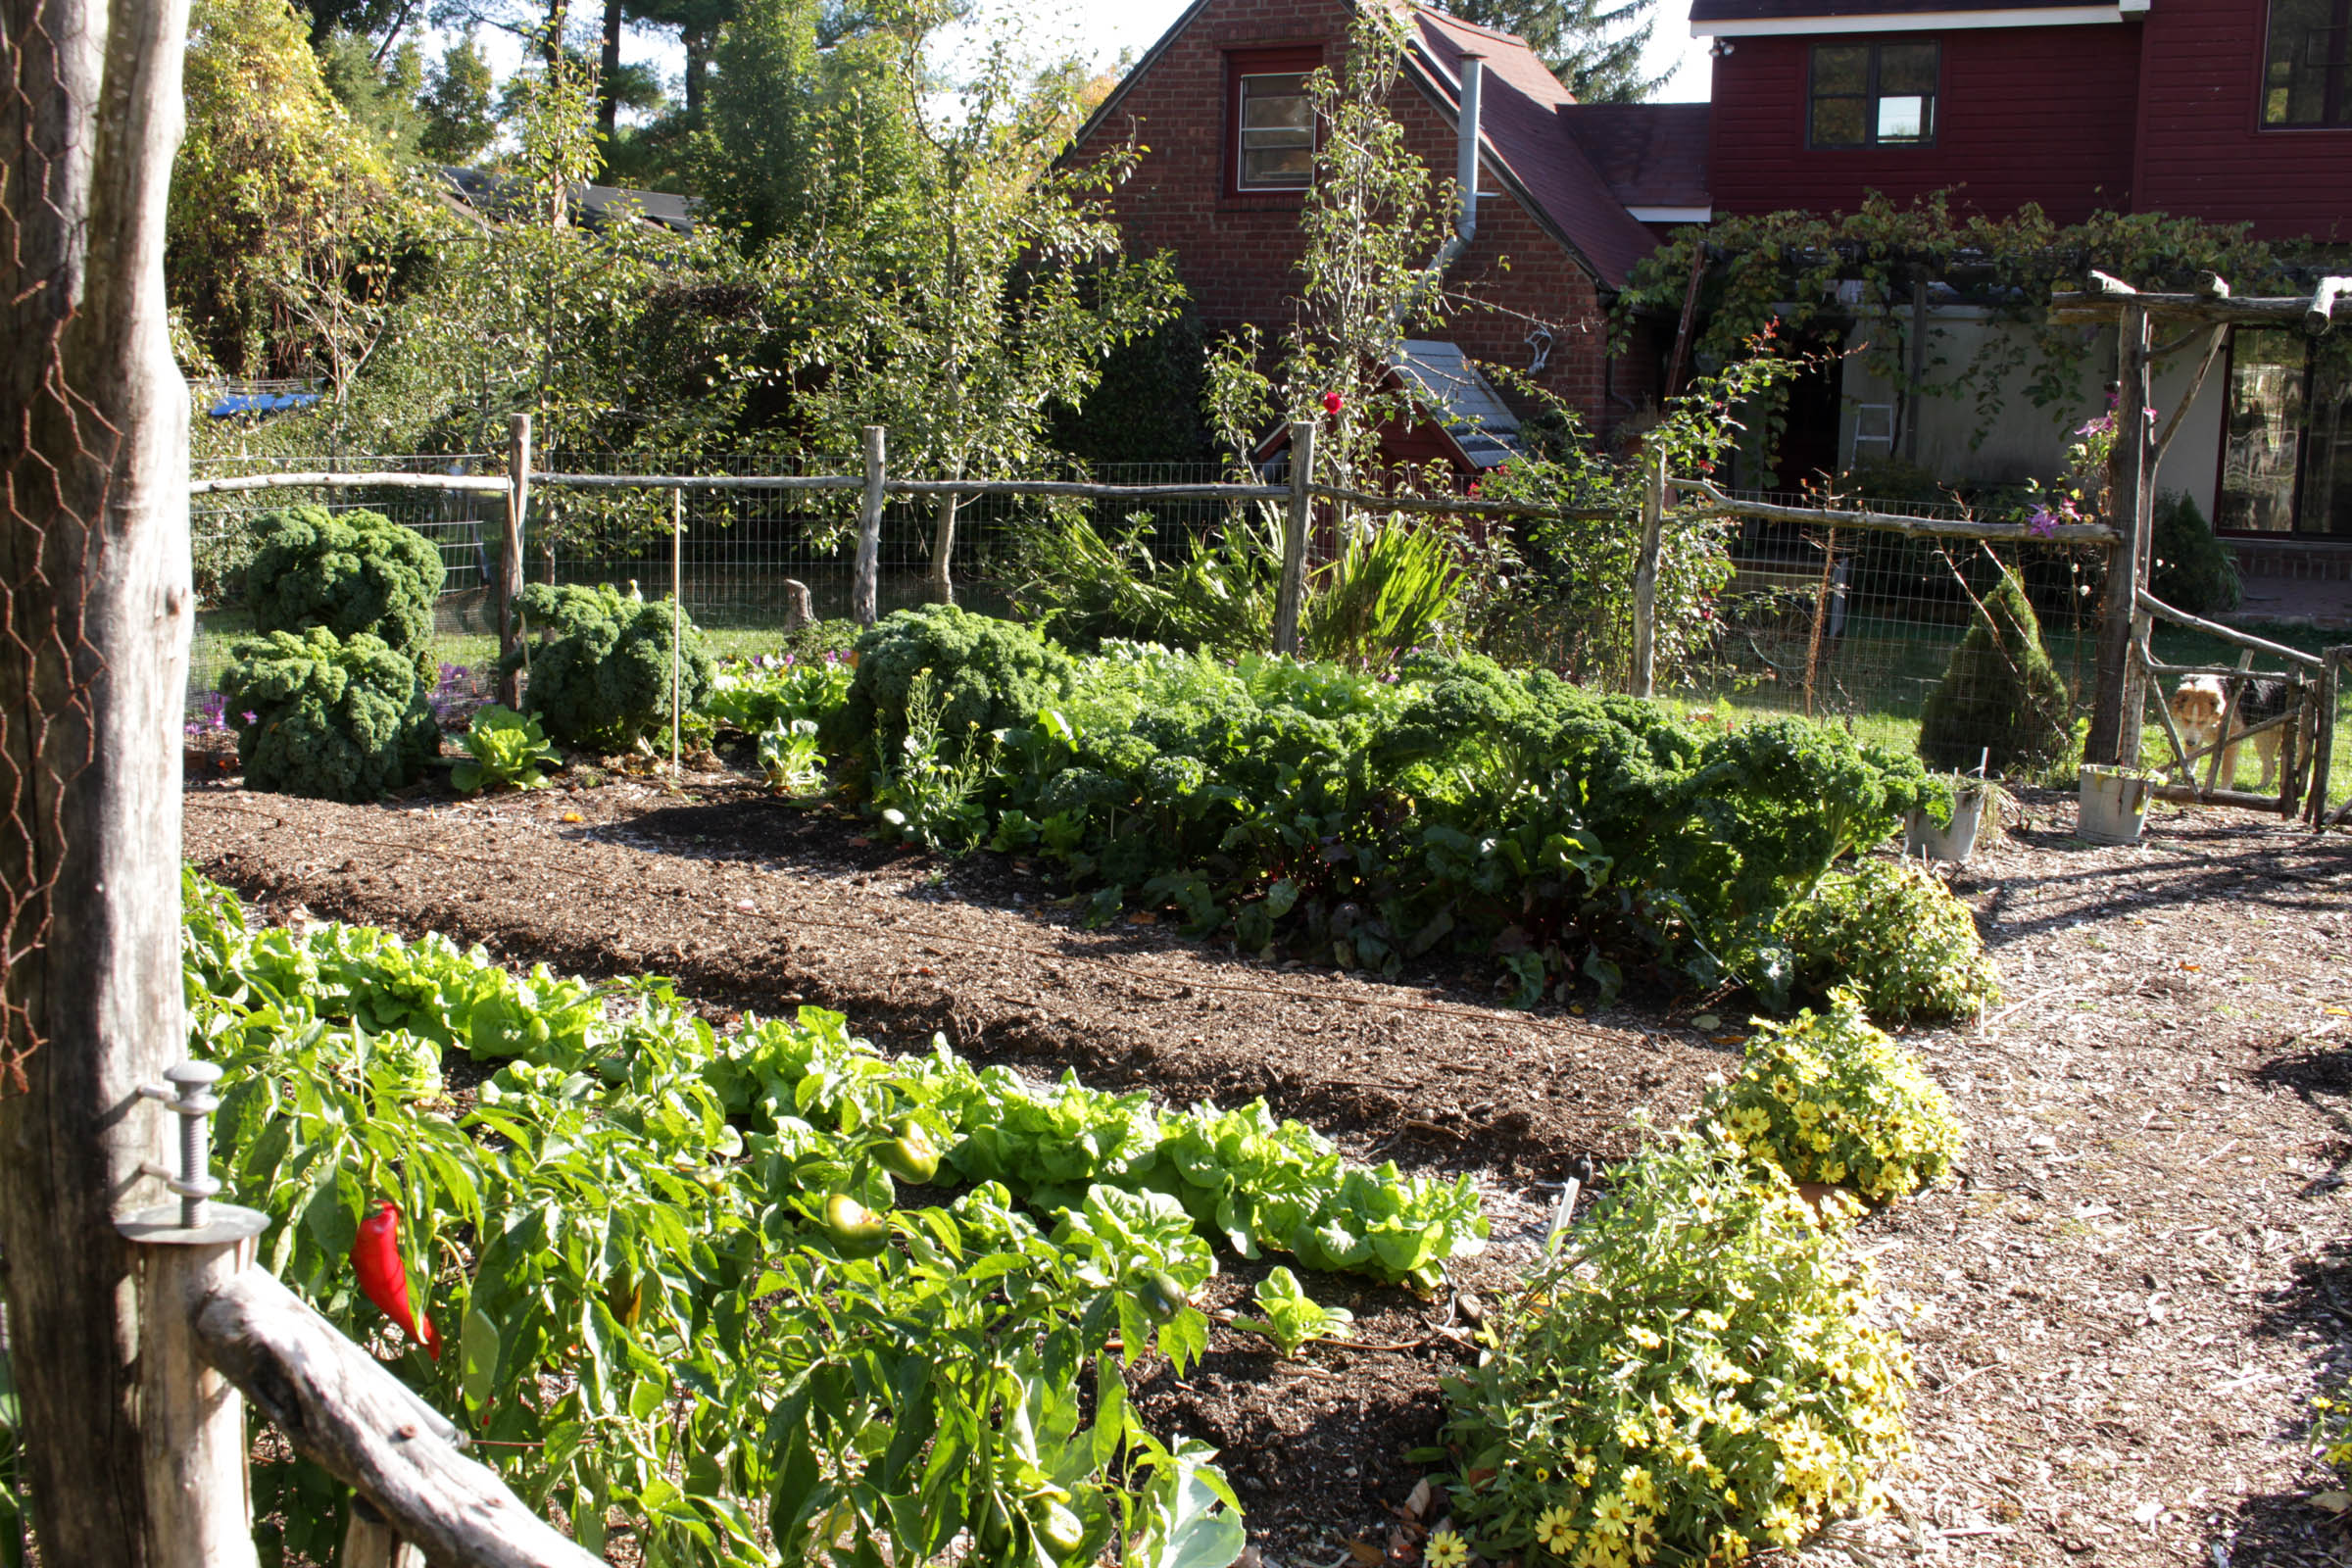
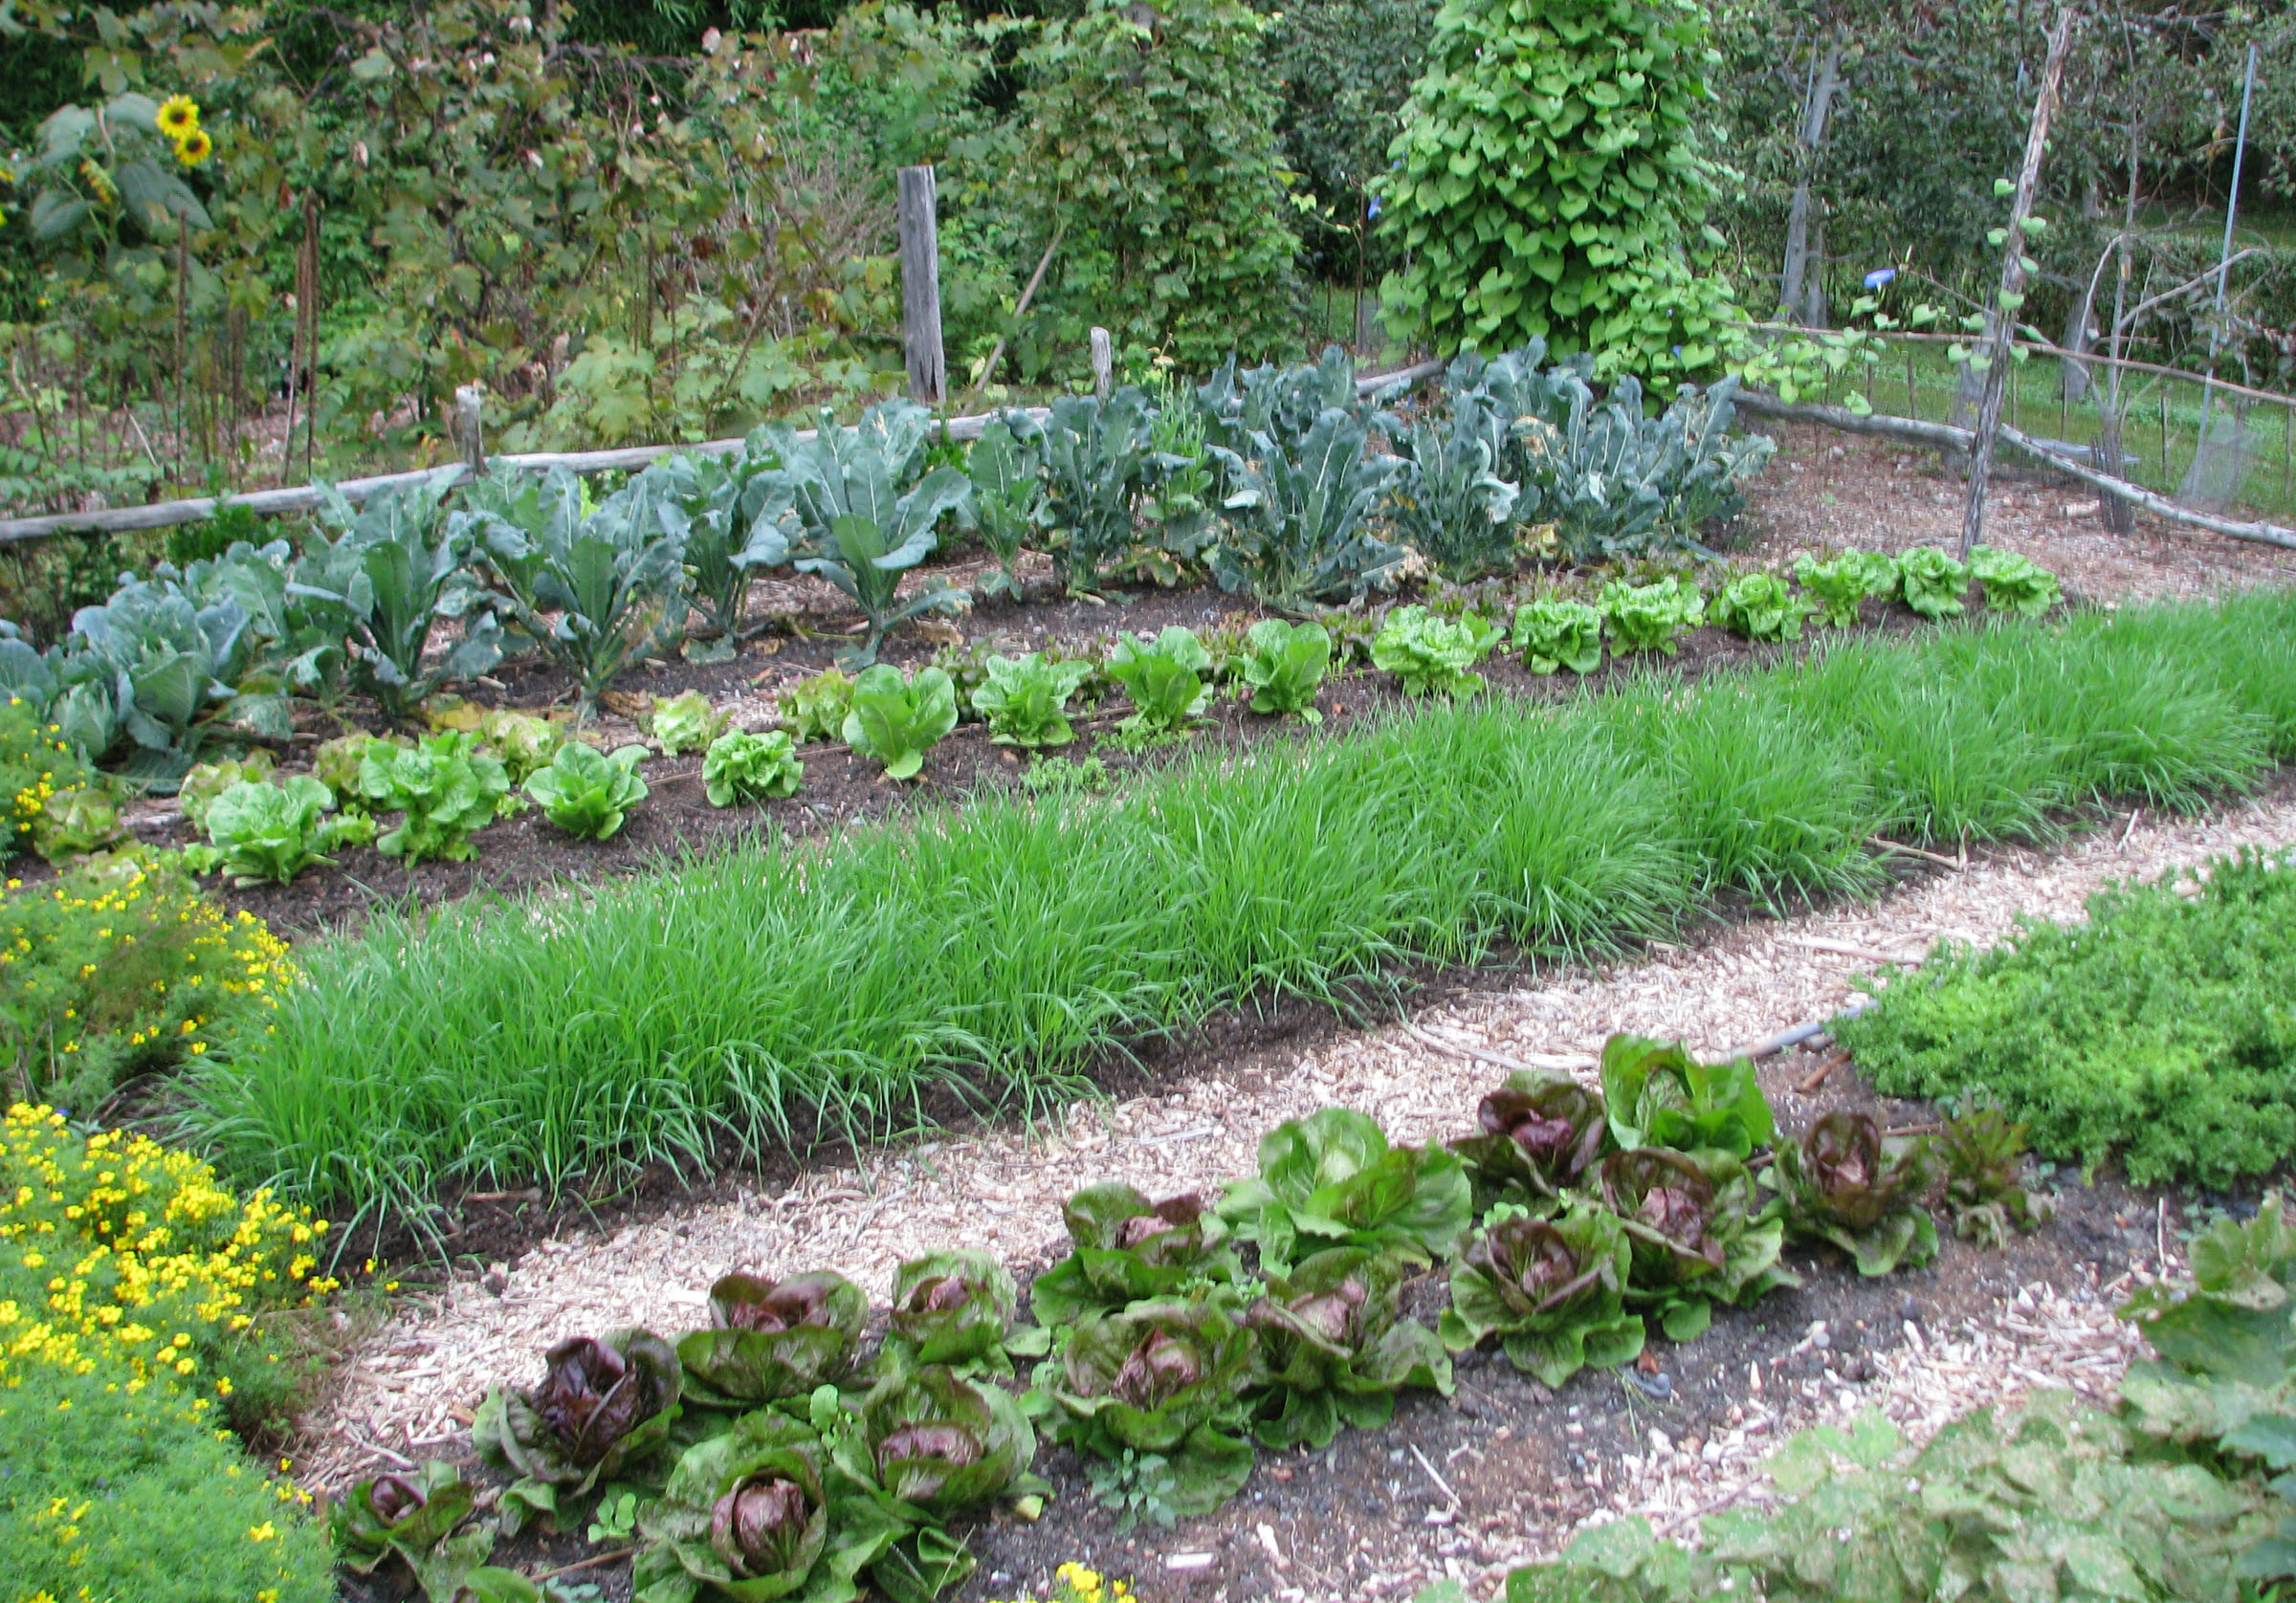
A small, productive garden
The most stringent requirement for this garden is sun. The more the better. And the closer the garden is to the back door, the more you will be drawn to it, whether to dash out to pick a few leaves of lettuce, or to pull a wayward weed. This garden can be, probably should be, small. Let’s assume it is ten feet by ten feet.
The second requirement is soil that does not stay sodden for hours after a heavy rain. Push a can with both ends open into a hole in the soil and add water; it should drain faster than an inch an hour. If not, choose a new location or make raised beds.
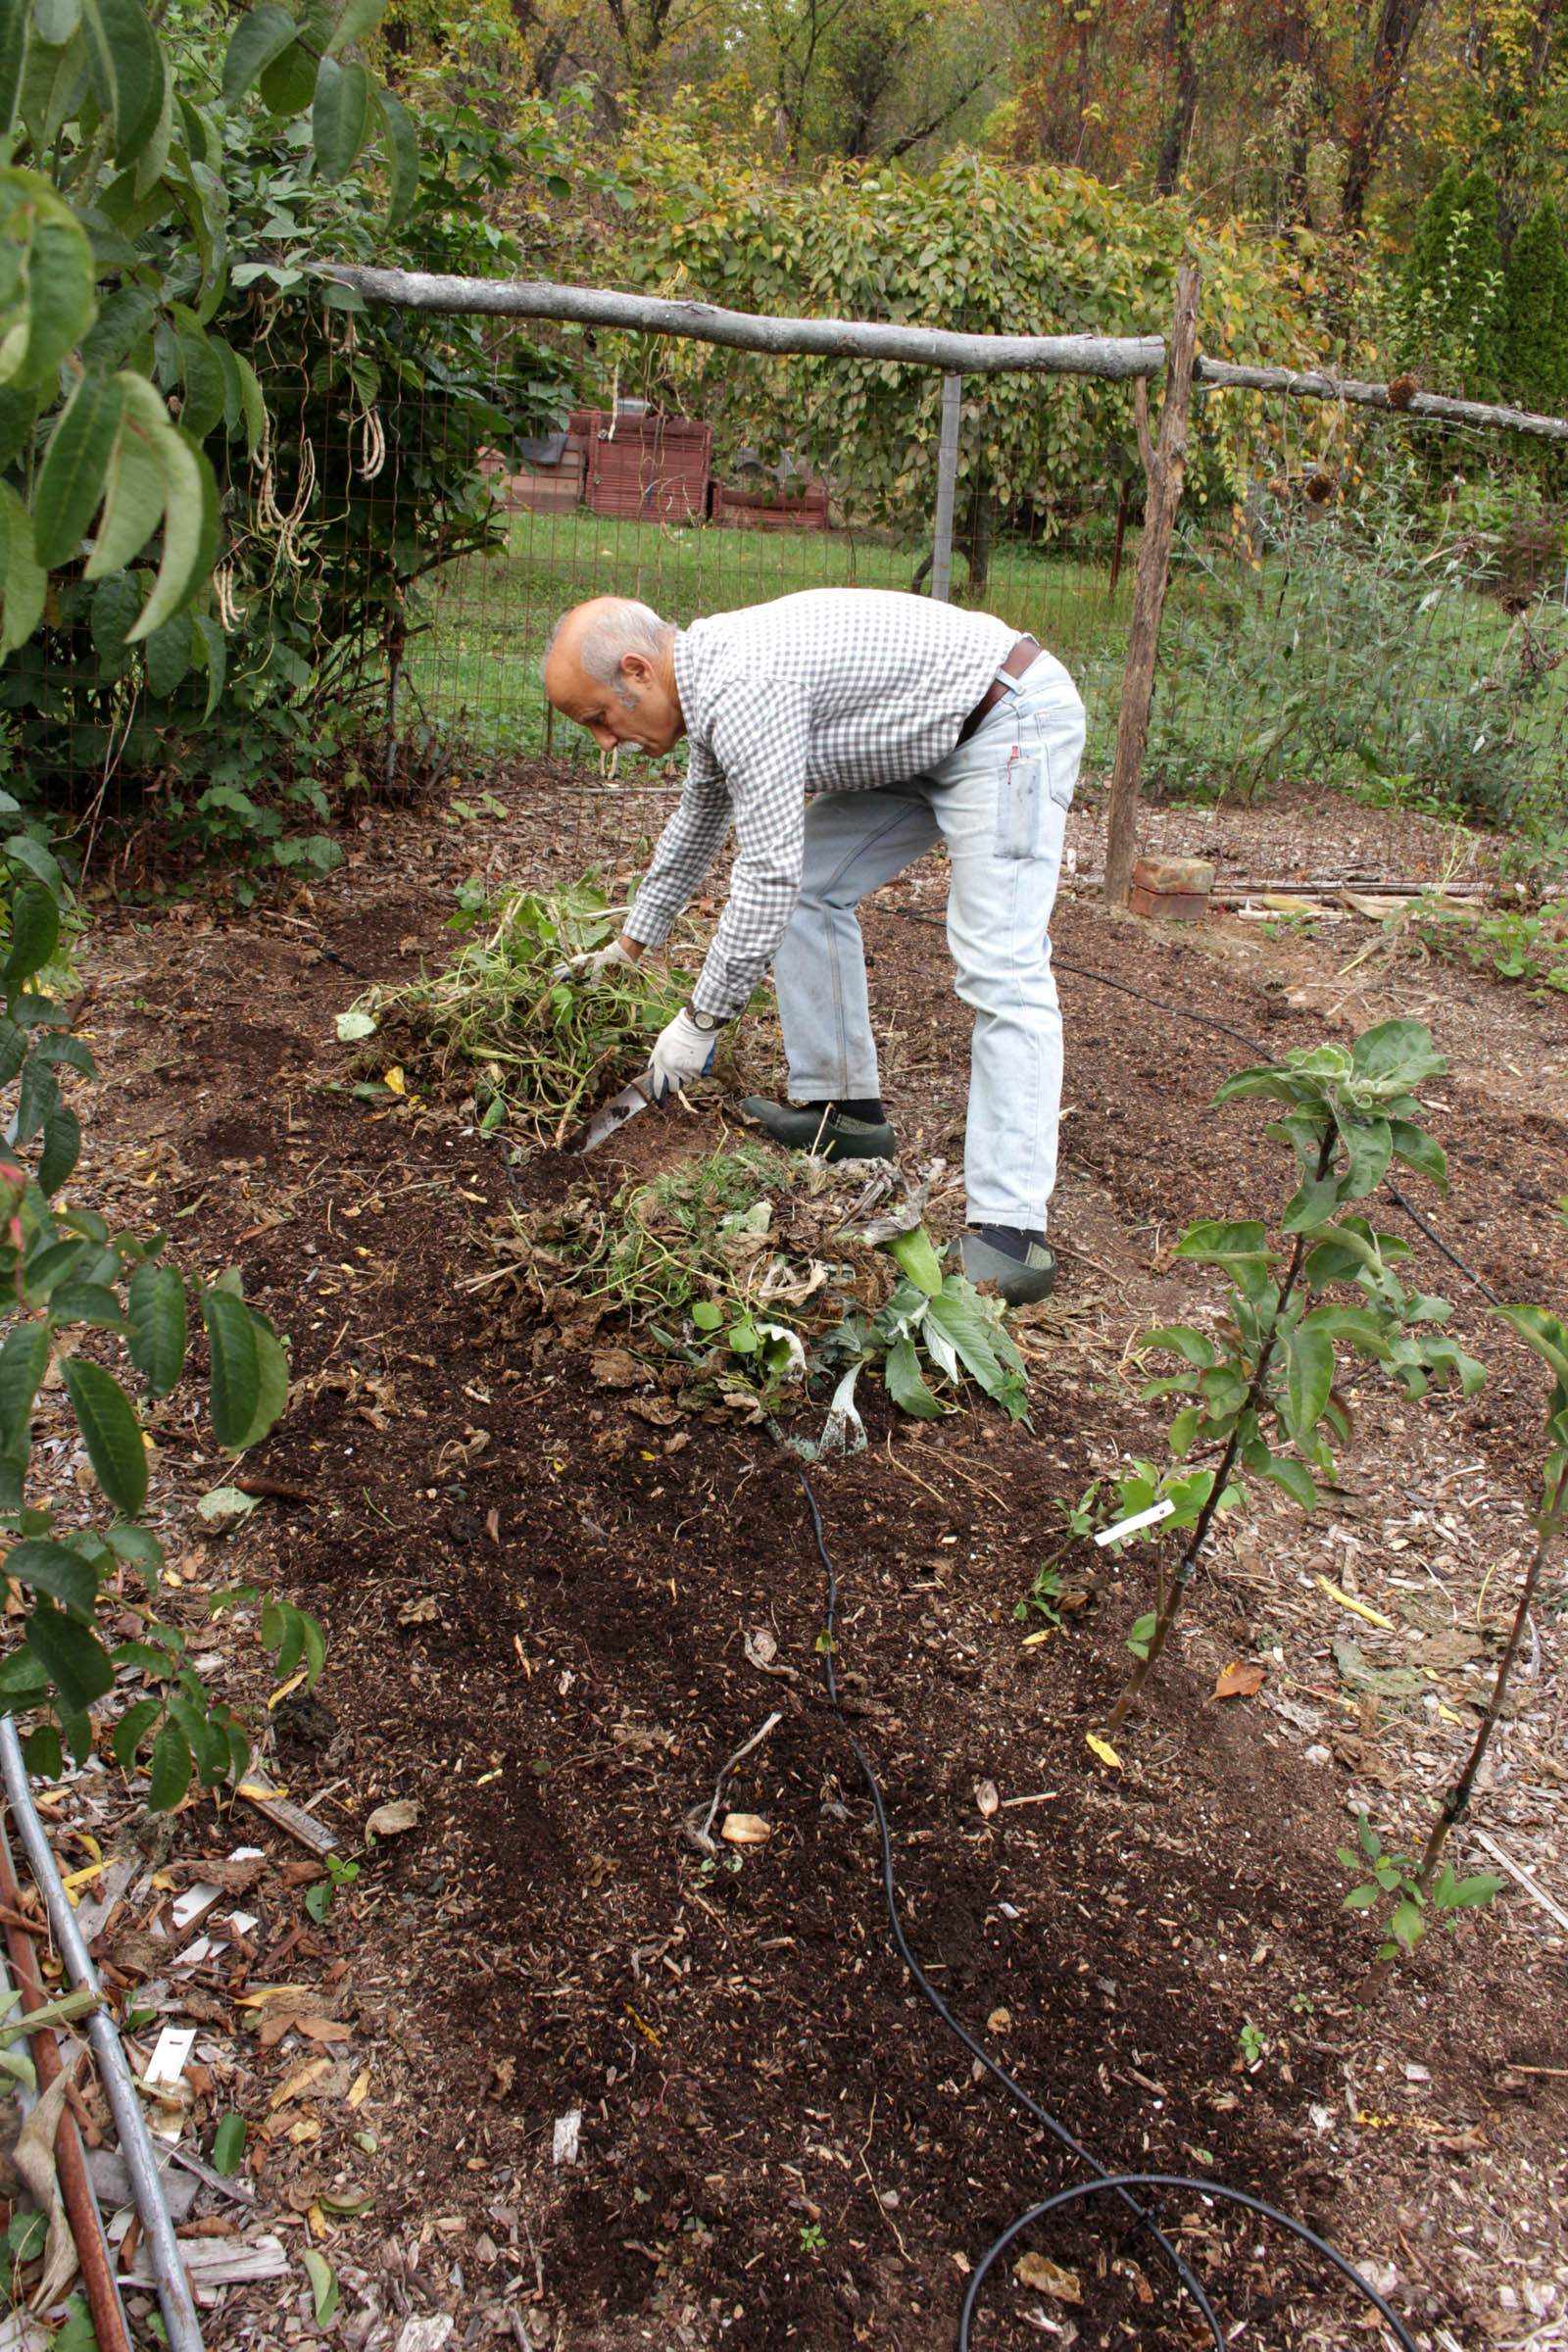
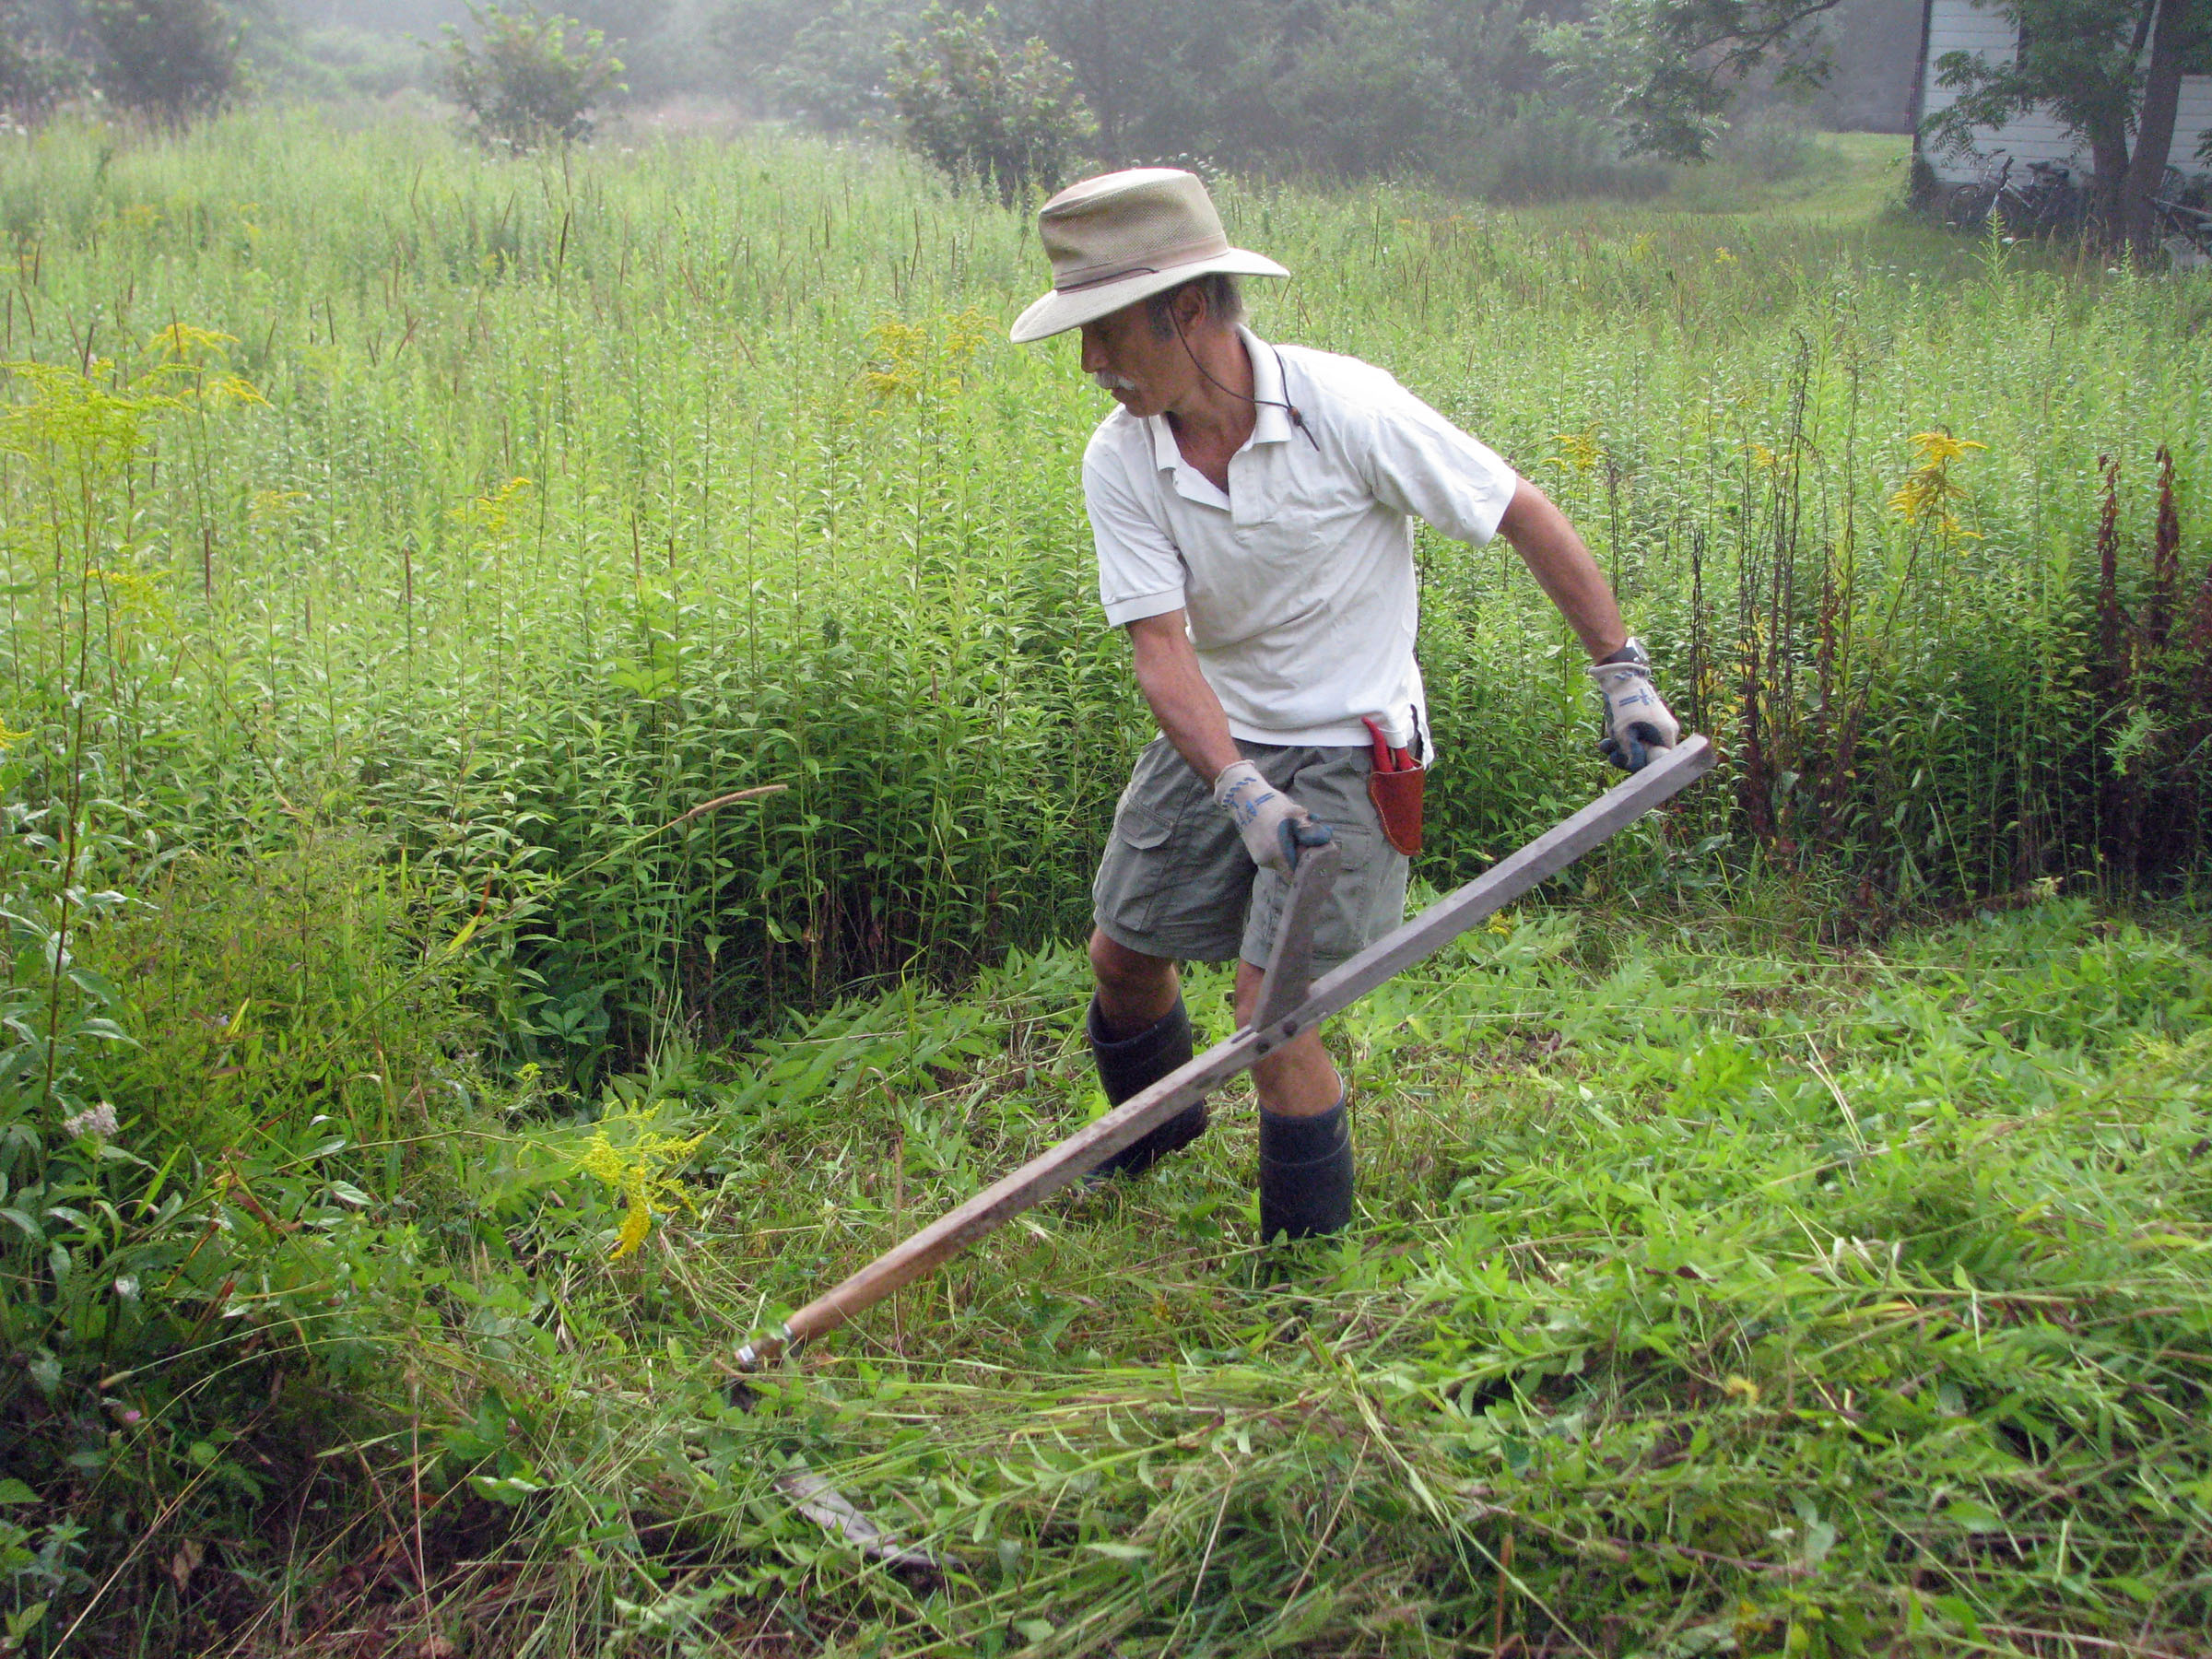
With sun and water taken care of, soil preparation begins. And ends a few minutes later! Blanket this area with a four-sheet thickness of newspaper (do not use colored pages), overlapped and wetted. Done, almost. The newspaper will smother existing vegetation, and keep out weeds during the growing season. And as the paper rots away, it will enrich the soil.
The planting plan is simple: divide the garden into four beds, delineated by two 18 to 24 inch wide paths going up the center of each side and crossing each other in the center of the garden. Cover the newspaper in the paths with wood chips, wood shavings, sawdust, or pine needles. In the beds, purchase some weed-free compost, enough to lay at least a one-inch depth over the newspaper.
Sow seed right into the compost layer. Peas and lettuce need to be planted early — as in now — because they both enjoy cool weather in rows about a foot apart. Make each pea row four inches wide, then scatter the seeds so they are about an inch apart down and across the row.
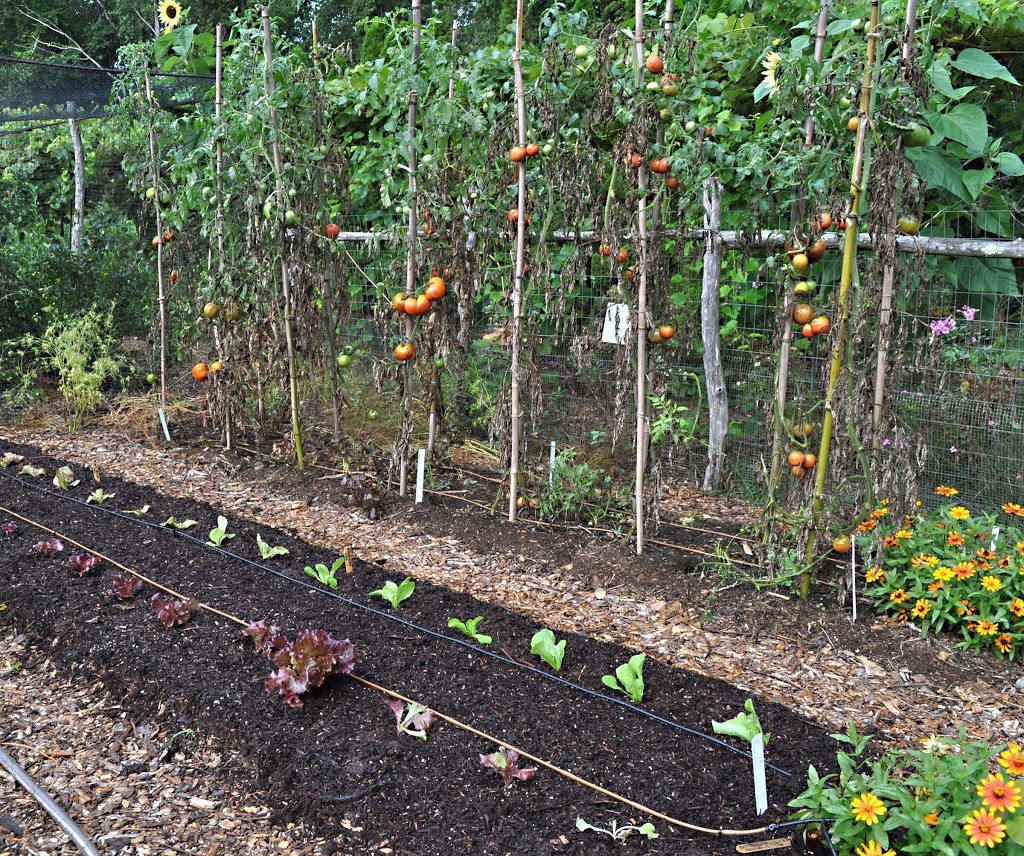
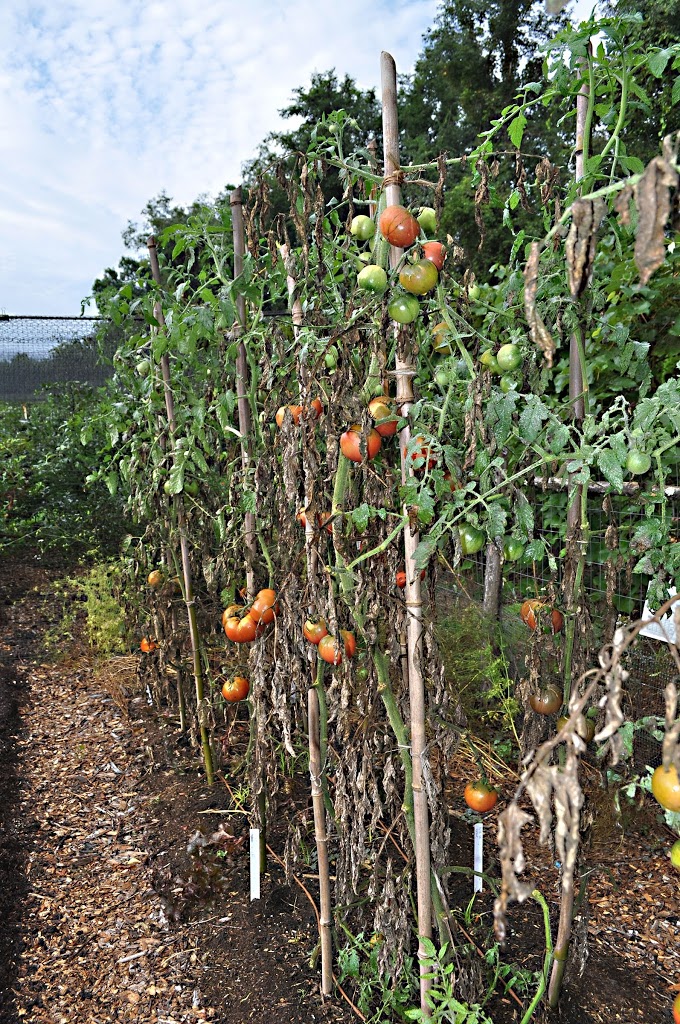
The next wave of planting takes place after warm weather has settled, in late May. Buy tomato transplants and set them in one of the northern quadrants. If needed make a hole through the newspaper into the soil below to accommodate the full depth of the transplant. Grow a variety for flavor, like Brandywine, Sungold, or Amish Paste. Each plant should be two or three feet from its neighbor, depending on whether you are going to stake your tomatoes or allow them to sprawl. Eventually you will have a jungle of vines in danger of overtaking or enlarging your garden, so take a few minutes occasionally during the summer to prune wayward stems from the tomato plants.
Plant sweet corn and cucumber seeds at the same time as tomato transplants. Since corn is a tall grower, it gets the other northern quadrant. Plant three seeds together in “hills,” which are groups of seeds, not mounds of dirt, spaced two feet apart each way. Cucumbers get the final, southern quadrant. Sow six seeds per hill, with hills three feet apart. Grow a bush-type cucumber, like Salad Bush or Bush Pickle. Once the corn and cucumber seeds are up and growing vigorously, ruthlessly thin the plants so each corn hill has only one plant and each cucumber hill has three plants.
This garden gets one final planting in early July. But where, since all four quadrants are used up? Pull out the peas and lettuce, which flag anyway during hot weather, and plant in their place bush beans. Bush Blue Lake and Bush Romano are good choices.
This garden will produce a limited amount of vegetables with a minimum amount of work. Success may tempt you to enlarge your garden and grow a greater variety of plants next year.
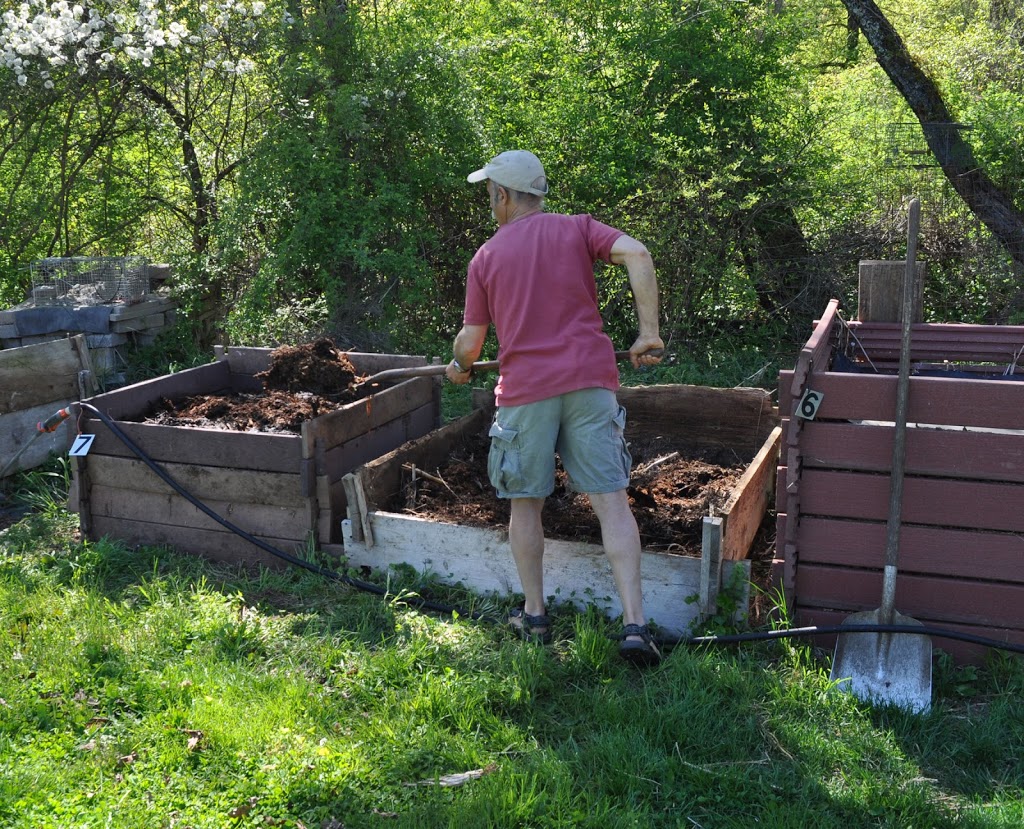
Get Your Compost On
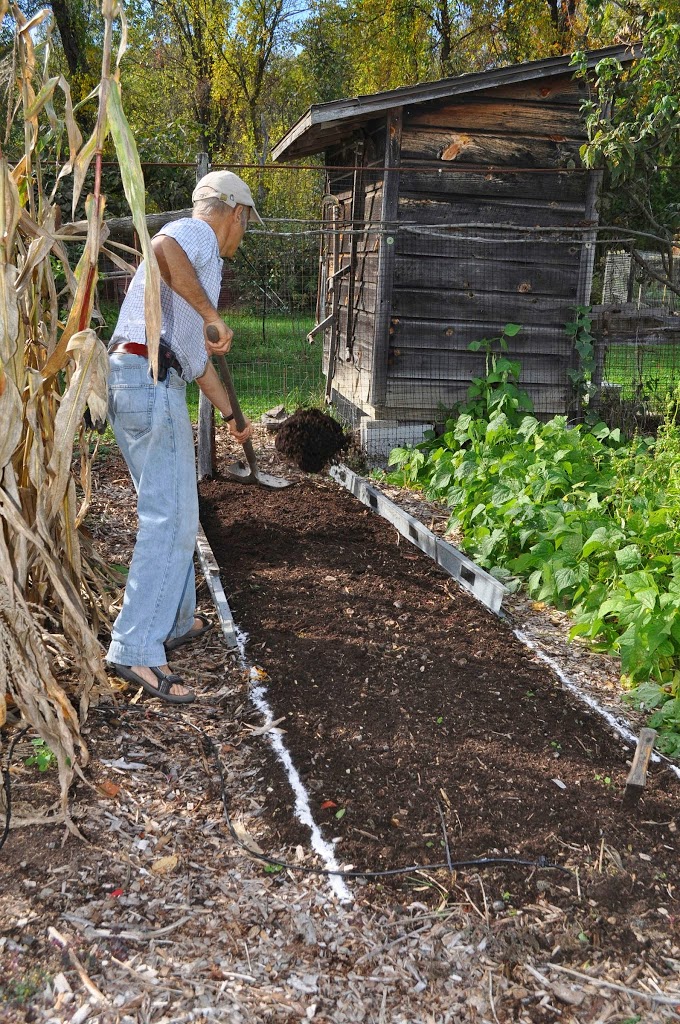
A gardening friend called to ask how much compost is needed to cover his garden. It turns out that a one inch depth of compost will supply all the nutrition, plus a lot of other goodies, that a vegetable garden needs to nourish the plants for one year. So that one-inch depth needs replenishment annually.

Spreading compost on bed
(Less compost could be used if the deficit is made up by fertilizer. But compost is the Cadillac of plant foods while also offering protection against pests, improved aeration and water retention in the soil, protection against erosion, and other known and unknown benefits.)
Back to the amount needed: 1/3 of a cubic yard (300-500 pounds, depending on moisture) will cover 100 square feet 1 inch deep. That’s a lot of compost, which beginning gardeners will likely be buying. If you’re buying compost in bulk, which is the least expensive way to purchase it, make sure it’s good stuff by asking some questions, such as what went into the compost. Avoid using compost that contains industrial wastes — especially in the vegetable garden — because of possible toxins like excessive quantities of heavy metals that could contaminate your food. Also ask how the compost has been prepared and stored.
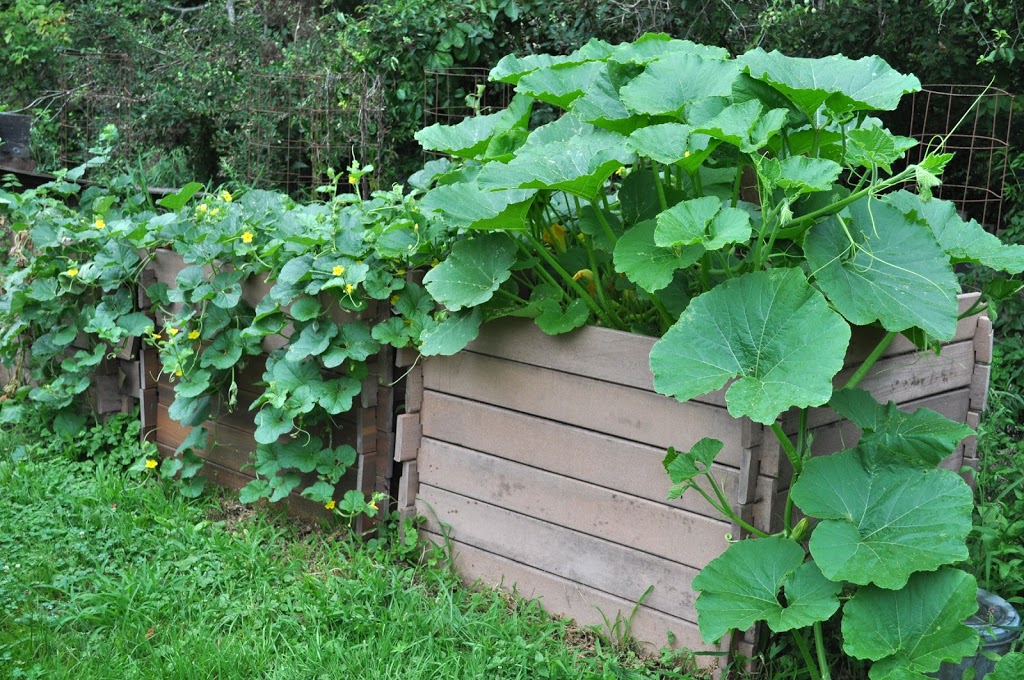
The ideal would be to make enough of your own compost. Next year, perhaps.