My Compost for a Bin
Compost, All Good, In Time
One problem with gardening, as I see it, is that much of it is about delayed gratification. Even a radish makes you wait 3 weeks after sowing the seed before you get to chomp on it. With a pear tree, that wait is a few years.
Which brings me to compost. Now that the flurry of spring pruning and planting have subsided, I’m starting this year’s compost cycle again — that’s compost for use next year. Delayed gratification again.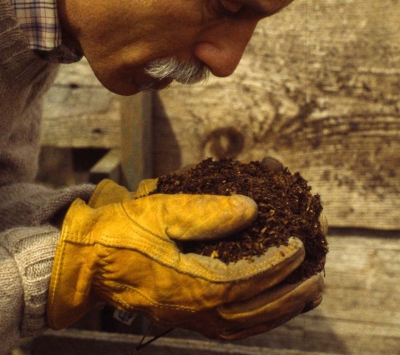
Food waste, yard waste, and compostable paper make up 31% of an average household’s waste which, if landfilled, ties up land and contributes to global warming. Composted, it feeds the soil life and, in turn, plants, and maintains soil tilth, that crumbly feel of a soil that holds on to moisture yet has plenty of space for air. You don’t get all this from a bag of 10-10-10 fertilizer or even a bag of any concentrated organic fertilizer.
The key to good composting is to have a good bin. Any pile of old vegetables, leaves, grass clippings, old cotton clothes, straw, or wood chips will turn to compost eventually. A bin keeps everything neat, fends off scavengers, and maintains heat and moisture within.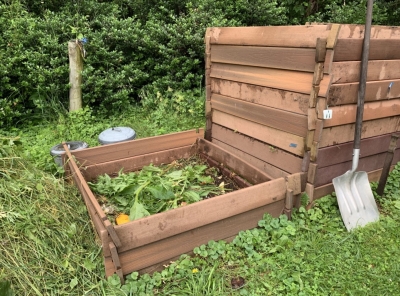
Buying a compost bin is one option. Consider whether you’re making compost for your garden or just as an environmentally sound way to recycle what used to be called “trash.” You need a larger bin for the former use because you’ll be importing materials, such as leaves, wood chips, and manure, to bulk up the compost.
The Perfect Compost Bin?
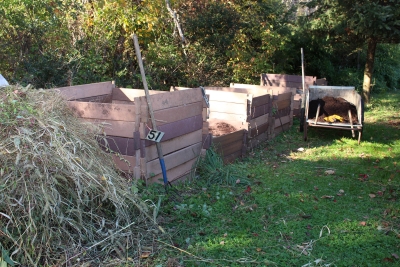
Over the years, my home made compost bins have gone through several incarnations. Four wooden panels filled in with chickenwire made my first bin. Once a pile was made and settled a little, I removed the panels, pinned black plastic onto the compost cubes to keep in moisture, and set up the panel in the next location for a new “compost cube.”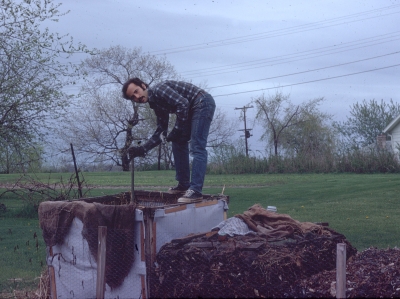 The next bins weren’t bins but just carefully stacked layers of ingredients, mostly horse manure, hay, and garden and kitchen gleanings. And then there was my three-sided bin made of slabwood.
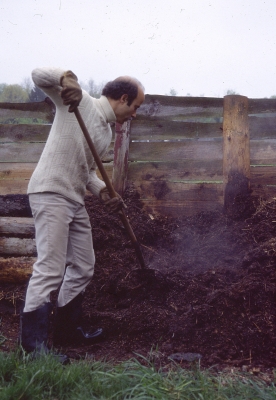
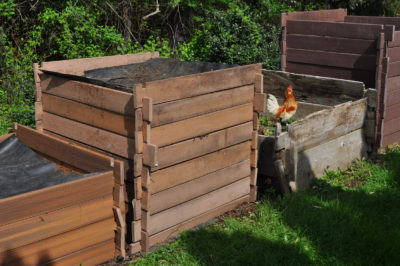
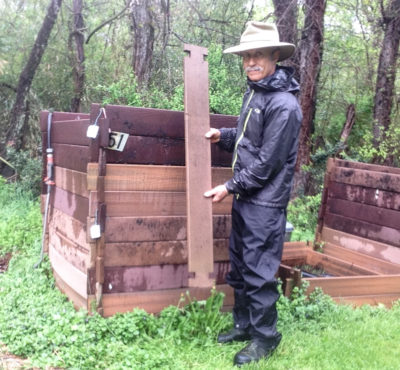
A dramatic jump in functionality came with my bin made from 1 x 12 hemlock boards from a sawmill, notched to stack together on edge like Lincoln logs. The only problem with this system was that I had to periodically purchase and notch new boards as older ones rotted away.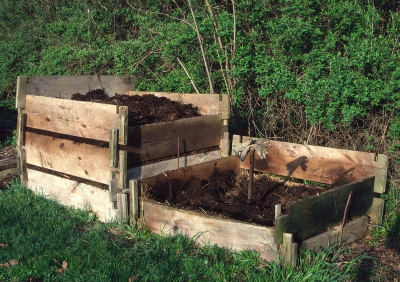 Which brings me to my current bin which, now, after many years of use, I consider nearly perfect. Instead of hemlock boards, these bins are made from “composite lumber.” Manufactured mostly from recycled materials, such as scrap wood, sawdust, and old plastic bags, composite lumber is used for decking so should last a long, long time.
The boards I used were 5-1/2 inches wide and 1 inch thick. A couple of inches from either end of each 5-foot-long board, I cut a notch on each side to a depth one-quarter the width of the board and about 1/8” wider than the their thickness.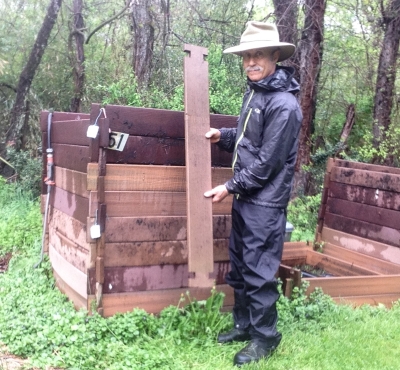 When finished, I ripped one board of the bin full length down its center to provide two bottom boards so that the bottom edges of all 4 sides of the bin would sit right against on the ground.
 Before setting up a bin, I lay 1/2” hardware cloth on the ground to help keep at bay rodents that might try to crawl in from below.
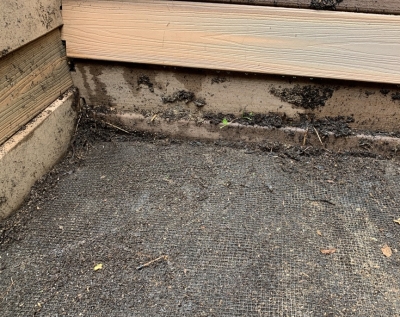 With the Lincoln-log style design, the bin need be only as high as the material within while the pile is being built, and then “unbuilt” gradually as I removed the finished compost.
June 2024 update: As you might note from the photos in this post, I made lots of compost bins, actually too many. What was I thinking? I’ve now decided to sell off some of these bins. About 28 boards, each 4′ long, are needed for a completed bin. I’m selling each board for $5, so a complete bin of 28 boards would cost you $140, more or less, depending on the bin height you want. I do make lots of compost so only have a few bins to sell. Contact me if you’re interested (845-616-0710 or through my website, but not Messenger).
Feed the Beast(s)
Okay, time to feed my compost “pets.” Nothing fancy, just any spent plant from the garden, kitchen trimmings, old clothes made from natural materials, hay scythed from my meadow, horse manure from a local stable, and occasional sprinklings of soil and powdered limestone.
For interest, I’ll sometimes throw old shoes or gloves into a pile to see what’s left once the organic portion of the shoe or glove has been stripped off.By paying attention to the textures of the materials as I add them to the pile, it generally stays well aerated. If I have a load of manure and will be building up many layers of the pile at once, I water the layers as I go; it takes too long to get sufficient water down into the pile after it has been built. Once a pile is completed, I cover it with a layer of EPDM rubber roofing material, cut to fit, to seal in moisture and keep out rain.
Piles built this summer get turned once next spring so I can monitor progress and make sure they’re moist — but not too wet — throughout. The compost is used throughout next year’s growing season.
So yes, there is delayed gratification before I get to use the “black gold.” Then again, making compost is enjoyable; I get some exercise and enjoy feeding the various fungi, bacteria, and other microorganisms at work in the compost pile.