IN WITH ENDIVE, OUT WITH ASPARAGUS
First Harvest At Season’s End
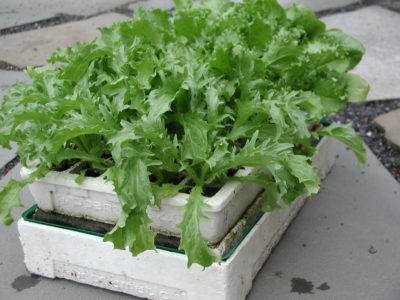
Finally, I’m harvesting endive from the garden, just as planned when I settled seeds into mini-furrows in a seed flat back in July. After leaves unfolded on the seedlings, I gently lifted them up and out of their seed flat, helping them up with a spatula slid beneath their roots, and into individual cells in a GrowEase Seed Starter.
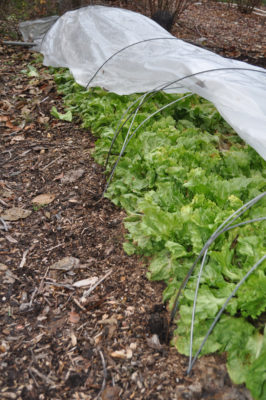
Also as planned, a bed in the vegetable garden was freed up from harvested sweet corn in early September. After removing corn stalks and slathering an inch of compost on top of the bed, the endive plants were snuggled in, 2 rows down the 3-foot-wide bed, with one foot between the plants in each row. In October, I laid row cover over the plants, plus a tunnel of clear plastic film supported by hoops, to protect plants from bitterest cold.
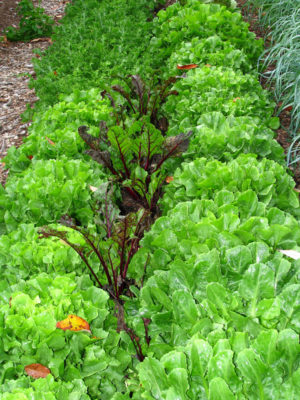
Endive harvest could have begun earlier. But there was no need to, with so much other fresh salad fixings in the garden. And cold weather anyway helps bring out the best in endive. The inner leaves, partially blanched as they folded in among themselves from close planting, are now especially sweet, succulent, tender, and tasty.
What Endive, Who?
Just to be clear on the identity of my endive, it’s botanically Cichorium endivia var. latifolia, also called escarole, broad-leaved endive, or Batavian endive. Besides delicious fresh, it’s a key ingredient in the classic Italian white bean and endive soup.
I used to also grow another endive, C. endivia var. crispum, also called curly endive or frisée. It’s very similar, except for frilly leaves. In my experience, it’s less succulent and more easily damaged by cold.
We’re not yet finished with “endives.” There’s also Cichorium intybus, also known as Belgian endive or witloof chicory, with small heads that are torpedo-shaped and pale green or white.
More machinations are needed to grow this Belgian endive, beginning with sowing in spring and waiting the whole season for a large taproot to develp. At season’s end, the roots are dug up, trimmed to a foot or so long, then packed together upright in boxes of loose potting soil, sawdust, or anything else that will hold moisture. The roots resprout, and the goal is to keep the developing heads in the dark, either by putting a few inch depth of sawdust or sand over the roots or by keeping the whole box in darkness. Too much trouble for me. Plus, very little flavor. (Also, mine weren’t all that successful.)
Bye, Bye Asparagus
Speaking of pale leaves, I’m happy that my asparagus’ leaves yellowed a couple of weeks ago. The plants had been growing vigorously all season since harvest ended in July, the green stems and leaves gathering sunlight to pump energy down to the roots, to store and then fuel next year’s growth of the young spears. Finally, the plants yellowed as what nutrients were still left in the stems and leaves headed downward, to the roots.
My short-bladed brush scythe was the perfect tool to make quick work of the plants, a fluffy addition to the compost pile.
After July, germinating and growing weeds became too hard to reach and root out among the 6-foot-high forest of feathery stalks. With the asparagus shoots and leaves cleared away, I was recently able get into that bed for a final weeding. The two-inch-deep mulch of leaf mold I spread after weeding will slow weeds down next year, conserve soil moisture, and feed soil microbes and, in turn, the asparagus plants for what I predict will be a bountiful harvest.

