[tomato sdlg, small bulbs, cacao]
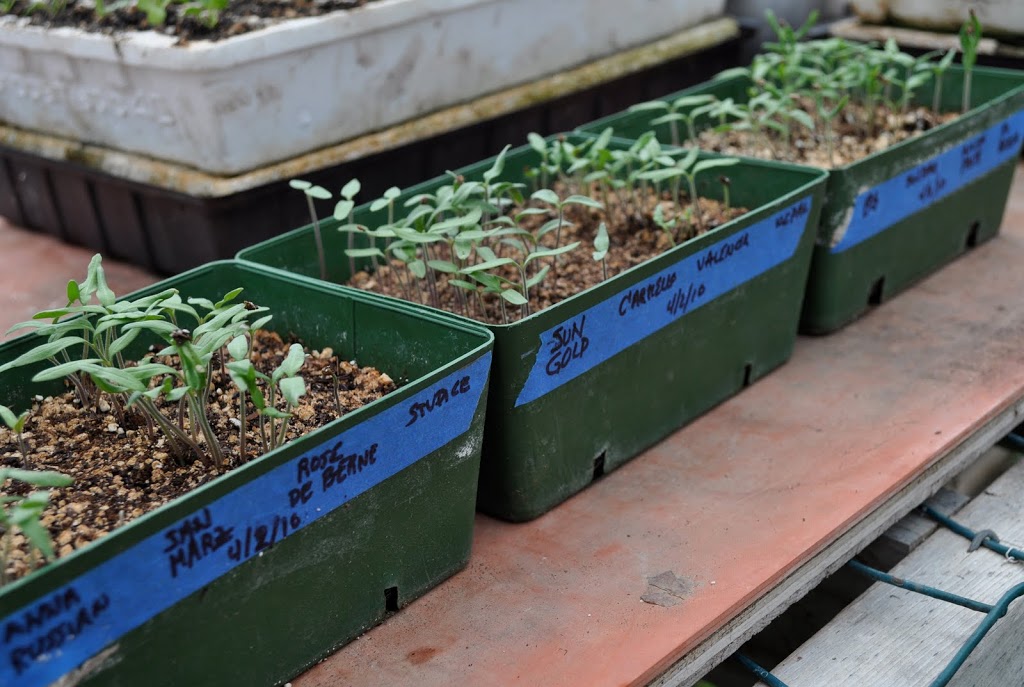
Finally, after a couple of weeks of restraining myself, I’m sowing tomato seeds. Every bit of warm weather and bright sunshine made it harder to hold back, but the time has come.
The problem – if it could be called a problem – is that tomatoes grow pretty much like weeds. The seeds germinate quickly and the seedlings grow fast. So what typically happens is that seeds are sown too soon and the seedlings get too big for their pots before transplanting time. Too big, that is, unless you keep repotting them. Repotting becomes a space issue when you grow 50 or more tomato plants, as I do.
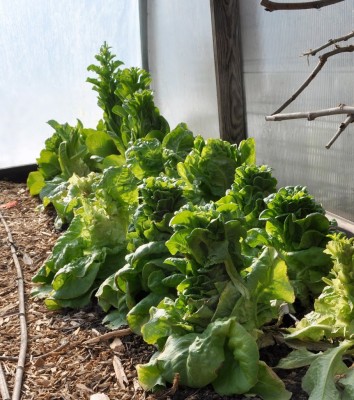
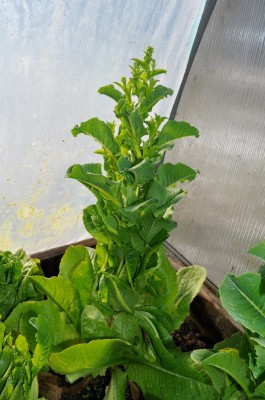
I grow my plants in my greenhouse but for anyone who raises tomato seedlings on a windowsill, plants seeded too early tend to get too leggy. It’s hard to grow nice, stocky seedlings in the limited light of even a sunny window. Not impossible, though, if the room is kept cool (mid 60s), if the plants are near the window, which is south-facing and unobstructed, and if you pet the plants daily.

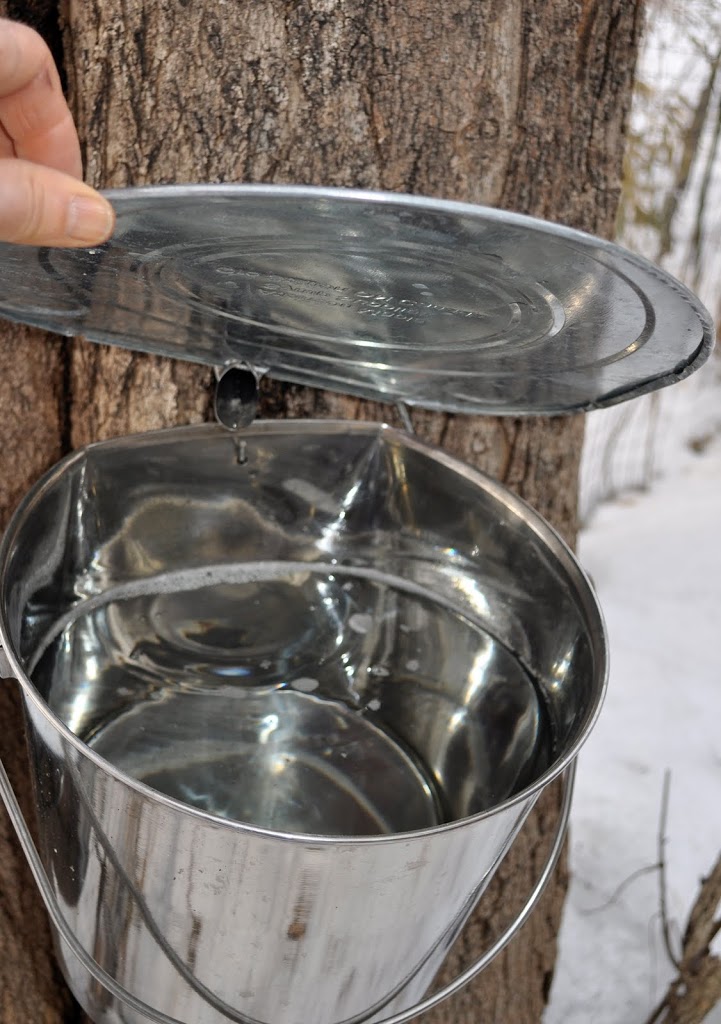
Yes, pet the plants! Running your fingers or a short length of plastic pipe gently over the tops of the plants a dozen times or so daily does the same thing that wind does to plants on wind-swept, craggy, cliffs: It stimulates release of a plant hormone, ethylene, which inhibits stem elongation. Breezes from the ventilation fan and bright sunlight in my greenhouse keep my plants stocky; I still occasionally pet them.
April 1st is my tomato-seed-sowing date, which allows 6 to 7 weeks of growth before transplanting time. The plants start off slowly, then pick up steam quicker and quicker as temperatures warm and sunshine grows brighter. Last year, I grew 80 plants, which provided plenty of tomatoes for fresh eating, sauce, salsa, and ketchup (the last item a failure, but it did use up a lot of tomatoes). This year, 50 plants should suffice.
————————————————-
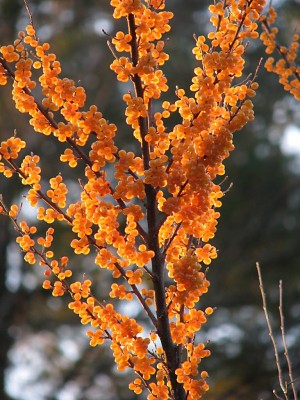
What could be cheerier than the flowers of crocuses, dwarf irises, and other small bulbs popping up out of the ground now? These flowers, no matter how small, are really appreciated after a colorless winter.
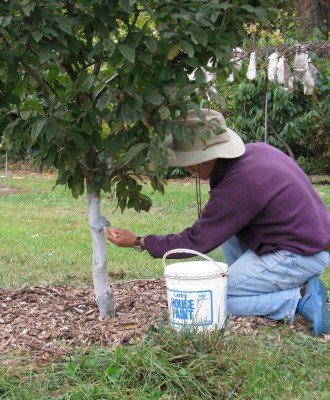
Five years ago, I planted a slew of these small bulbs, also including species tulips, chionodoxa, muscari, puschkinia, galanthus, and scilla. Some went into mulched ground beneath the apple trees, others went into the soil in beds where I’ll soon be planting vegetables, and still others were planted right into lawn.
The bulbs that went into vegetable beds and mulched ground have, as expected, grown most vigorously and are now tight clumps of flowers. Plants “plugged” into lawngrass are less vigorous because of competition for nutrients. Water is not a factor because the soil stays plenty moist during the few weeks in spring that these small bulbs are flowering and then growing leaves to feed next year’s flowers.
A number of bulbs seeded in lawn have died out. Perhaps it was the competition. In the front yard, our annual floods, which have been deeper than usual over the past few years, probably snuffed out already weakened plants. Especially missed is the rectangular planting of Iris ‘George’ (a hybrid of Iris histrioides and I. reticulata) and crocus ‘Clothe of Gold’ (a variety of C. angustifolius dating back to 1587) that marked the grave of our old dog Stick.
———————————————
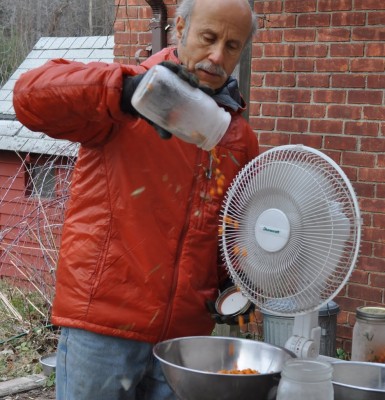
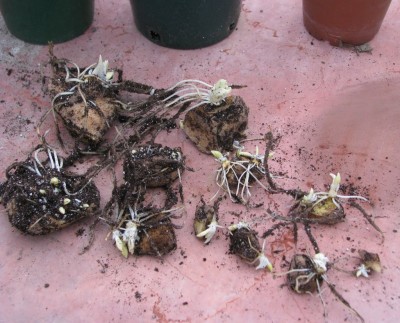
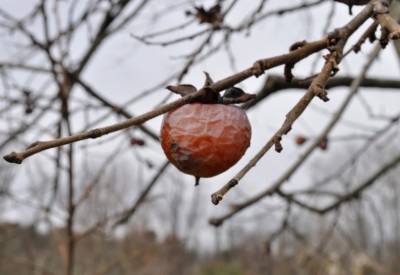
Turning to warmer thoughts . . . Joining me on my return from last week’s trip to Puerto Rico was a chocolate pod. The orange pod dangling from a branch at the USDA research station was too irresistable to leave hanging. After much effort climbing branches and whacking at the pod, I finally landed it on the ground.

I’ve cut the pod open to reveal the seeds, some of which I planned to sprout and others of which I planned to process into a primitive chocolate. Now I’m having second thoughts.
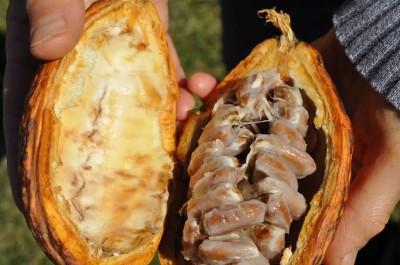
The trees are truly tropical, needing constant heat, ideally over 68° F. Neither my house nor my greenhouse temperatures remain consistently that high. The plants do, at least, tolerate some shade. Even if I got the seedlings to grow to their 5 foot fruiting height, making chocolate involves a rather complicated process of fermentation, drying, cleaning, roasting, and pressing. I think I’ll just buy some finished chocolate instead. But what to do with this intriguing pod and seeds?