[caterpillar yew, grape training, prune bay laurel]
The hardest part has been getting the caterpillar to smile. This caterpillar is about 20 feet long and 3 feet high, 5 feet to the top of its antennae, and it lives near a wall along the front of my house. It’s green. It’s a yew.
The caterpillar started out conventionally enough. Like so many gardeners and new homeowners, I succumbed to the enticement of inexpensive evergreens – in this case, 5 innocent-looking, small yew bushes – to dress up the bare front of my house. Once planted, they would contribute to the ubiquitous gumdrop school of landscape design. That was over 25 years ago.
Well, at least I decided not to shear them into exacting gumdrops. Pruning with a hand shears once or twice a year kept them informal. My plants never suffered neglect, a good thing because too many innocent-looking, small evergreens get neglected, outgrow their surroundings, and gobble up homes. I can still look out from my windows.
A couple of years ago, inspired by local plant sculptor and stone artist Keith Buesing, I decided to morph my informal gumdrops into a giant caterpillar. Repeated shearing has finally released a caterpillar from the mass of greenery. Not that my caterpillar is anatomically correct: I carved out two eyes from the foliage and am still working on the big smile, the latter to keep the creature looking friendly.
————————————–
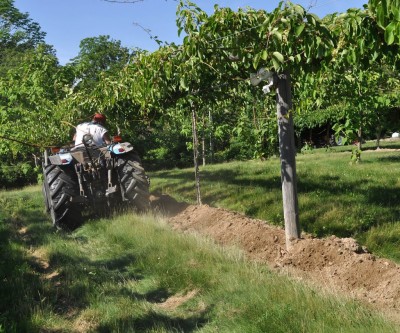
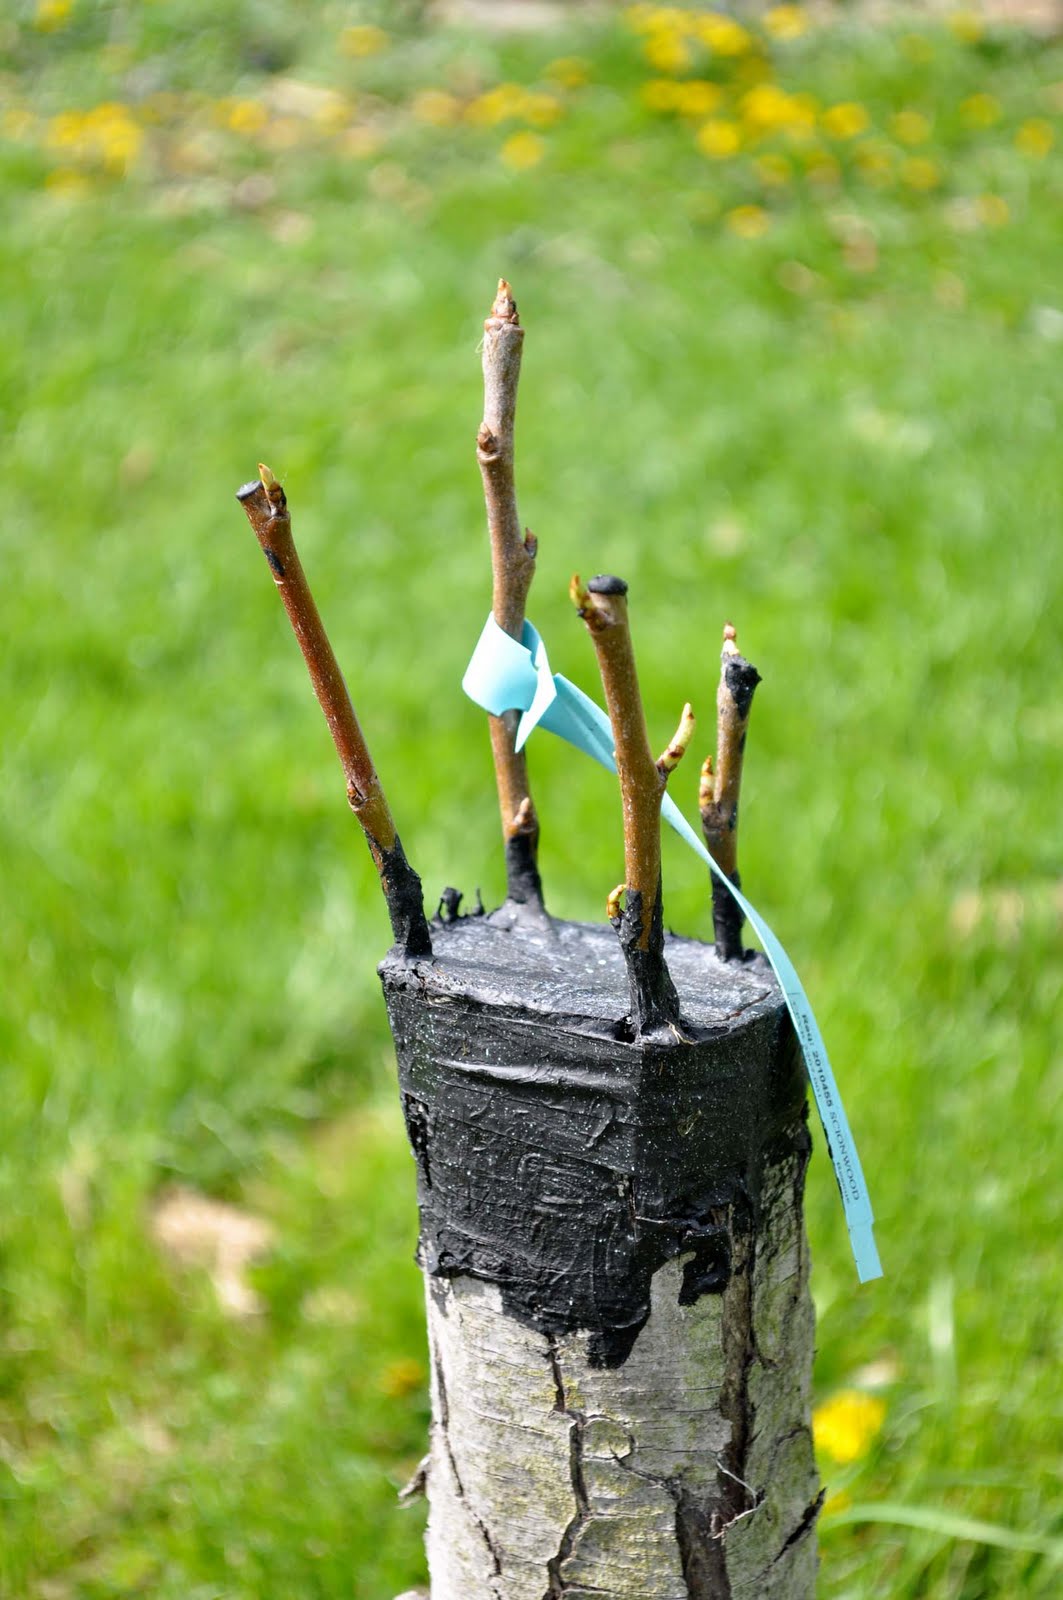
After “smiling” and trimming the caterpillar today, I put away my hedge shears, reached for my pruning shears, and set to work on the grapes. With many varieties of table grapes – including seedless Vanessa, Mars, Jupiter, Somerset, and Glenora as well as seeded Lorelei, Briana, Alden, Swenson Red, Edelweiss, Swenson White, Campbell Early, and New York Muscat – there will be plenty of flavors. But I want to make sure each variety tastes its very best, for which pruning is key. Pruning balances the crop load so enough leaves pump each berry with flavor and keeps the plant bathed in sunlight.

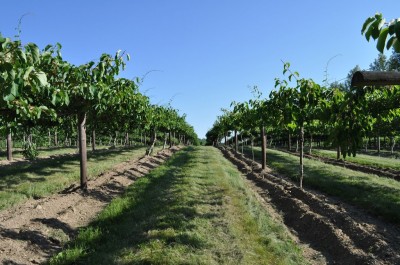
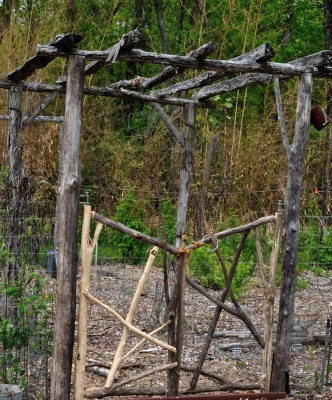
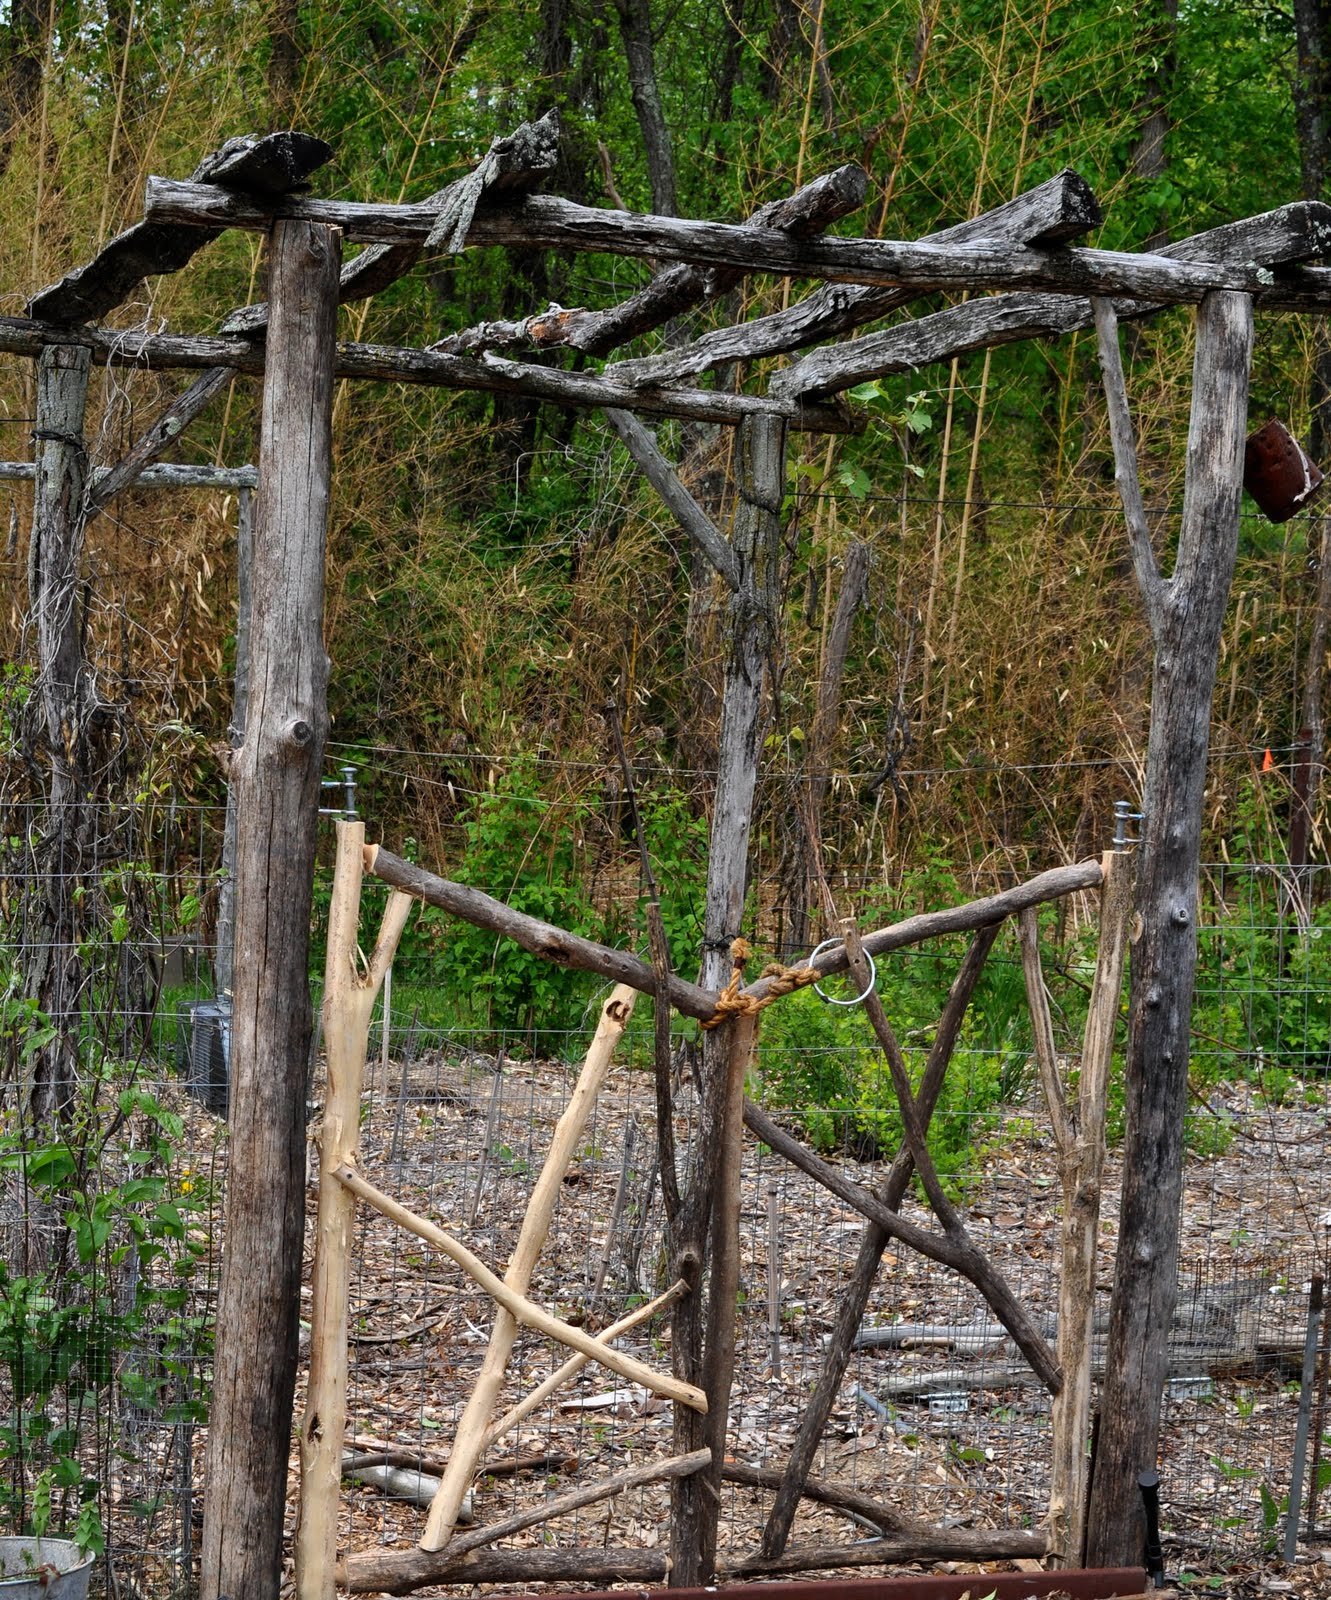
In this part of the country, most grapes, including my own, are trained to the traditional 4-Arm Kniffin system, with a central trunk and two fruiting arms running off in opposite directions at 3 feet and 5 feet above ground level. My grapes got a makeover this year because of my visit, last summer, to Purdue University’s experimental grape plantings.
Now my grapes are emulating Dr. Bordelon’s “high-wire cordon” grapes, each of whose vines has a trunk rising to almost 7 feet, then splitting off into two permanent arms (“cordons”) running in opposite directions along a wire at that height. Fruiting shoots grow downward off those arms. (I train my plants with two trunks, each topped by a single cordon, as insurance against losing a trunk to our more severe winter cold.) My job is to position those shoots and prune them so that none originate closer that 6 inches apart along the cordon, so that they don’t tangle, and so that the bunches don’t get shaded by more than 4 layers of leaves. I’ve done that and everything looks tidy, airy, and drenched in sunlight.
——————————————-
One more job with the pruning shears, and that is to get to work on the bay laurel. This tree is 20 years old this year and, if never pruned, would be 30, or more, feet tall. It’s only 5 feet tall.
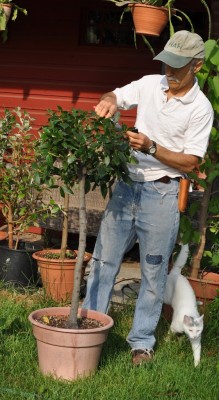
Planted outdoors, the bay laurel would also be dead. Our winters are much too cold for this native of the Mediterranean region. My bay laurel calls an 18 inch diameter flower pot home so it can move indoors in autumn to spend winter near a sunny window in a cool room.
Every couple of years or so, I slide the root ball out of the flower pot and cut 2 to 3 inches off all around the ball to make room for new potting soil when I put the plant back into its pot.
Each and every year, though, I cut back the top. The plant is pruned as a “standard,” that is, in the shape of a small, idealized tree with a straight trunk capped by a ball of foliage. Sort of like a lollipop. I take my hand shears and shorten some branches and, where growth is too dense, completely remove other branches. A hedge shears is not the tool to use for this job because they would leave mangled the big leaves of a plant like bay laurel.
Besides looking very pretty, this lollipop of a tree offers fresh bay leaves, which have a delicate flavor that hints of olive oil, another Mediterranean plant.