
FINDING MY ROOTS
FINDING MY ROOTS
Totipotent Cells
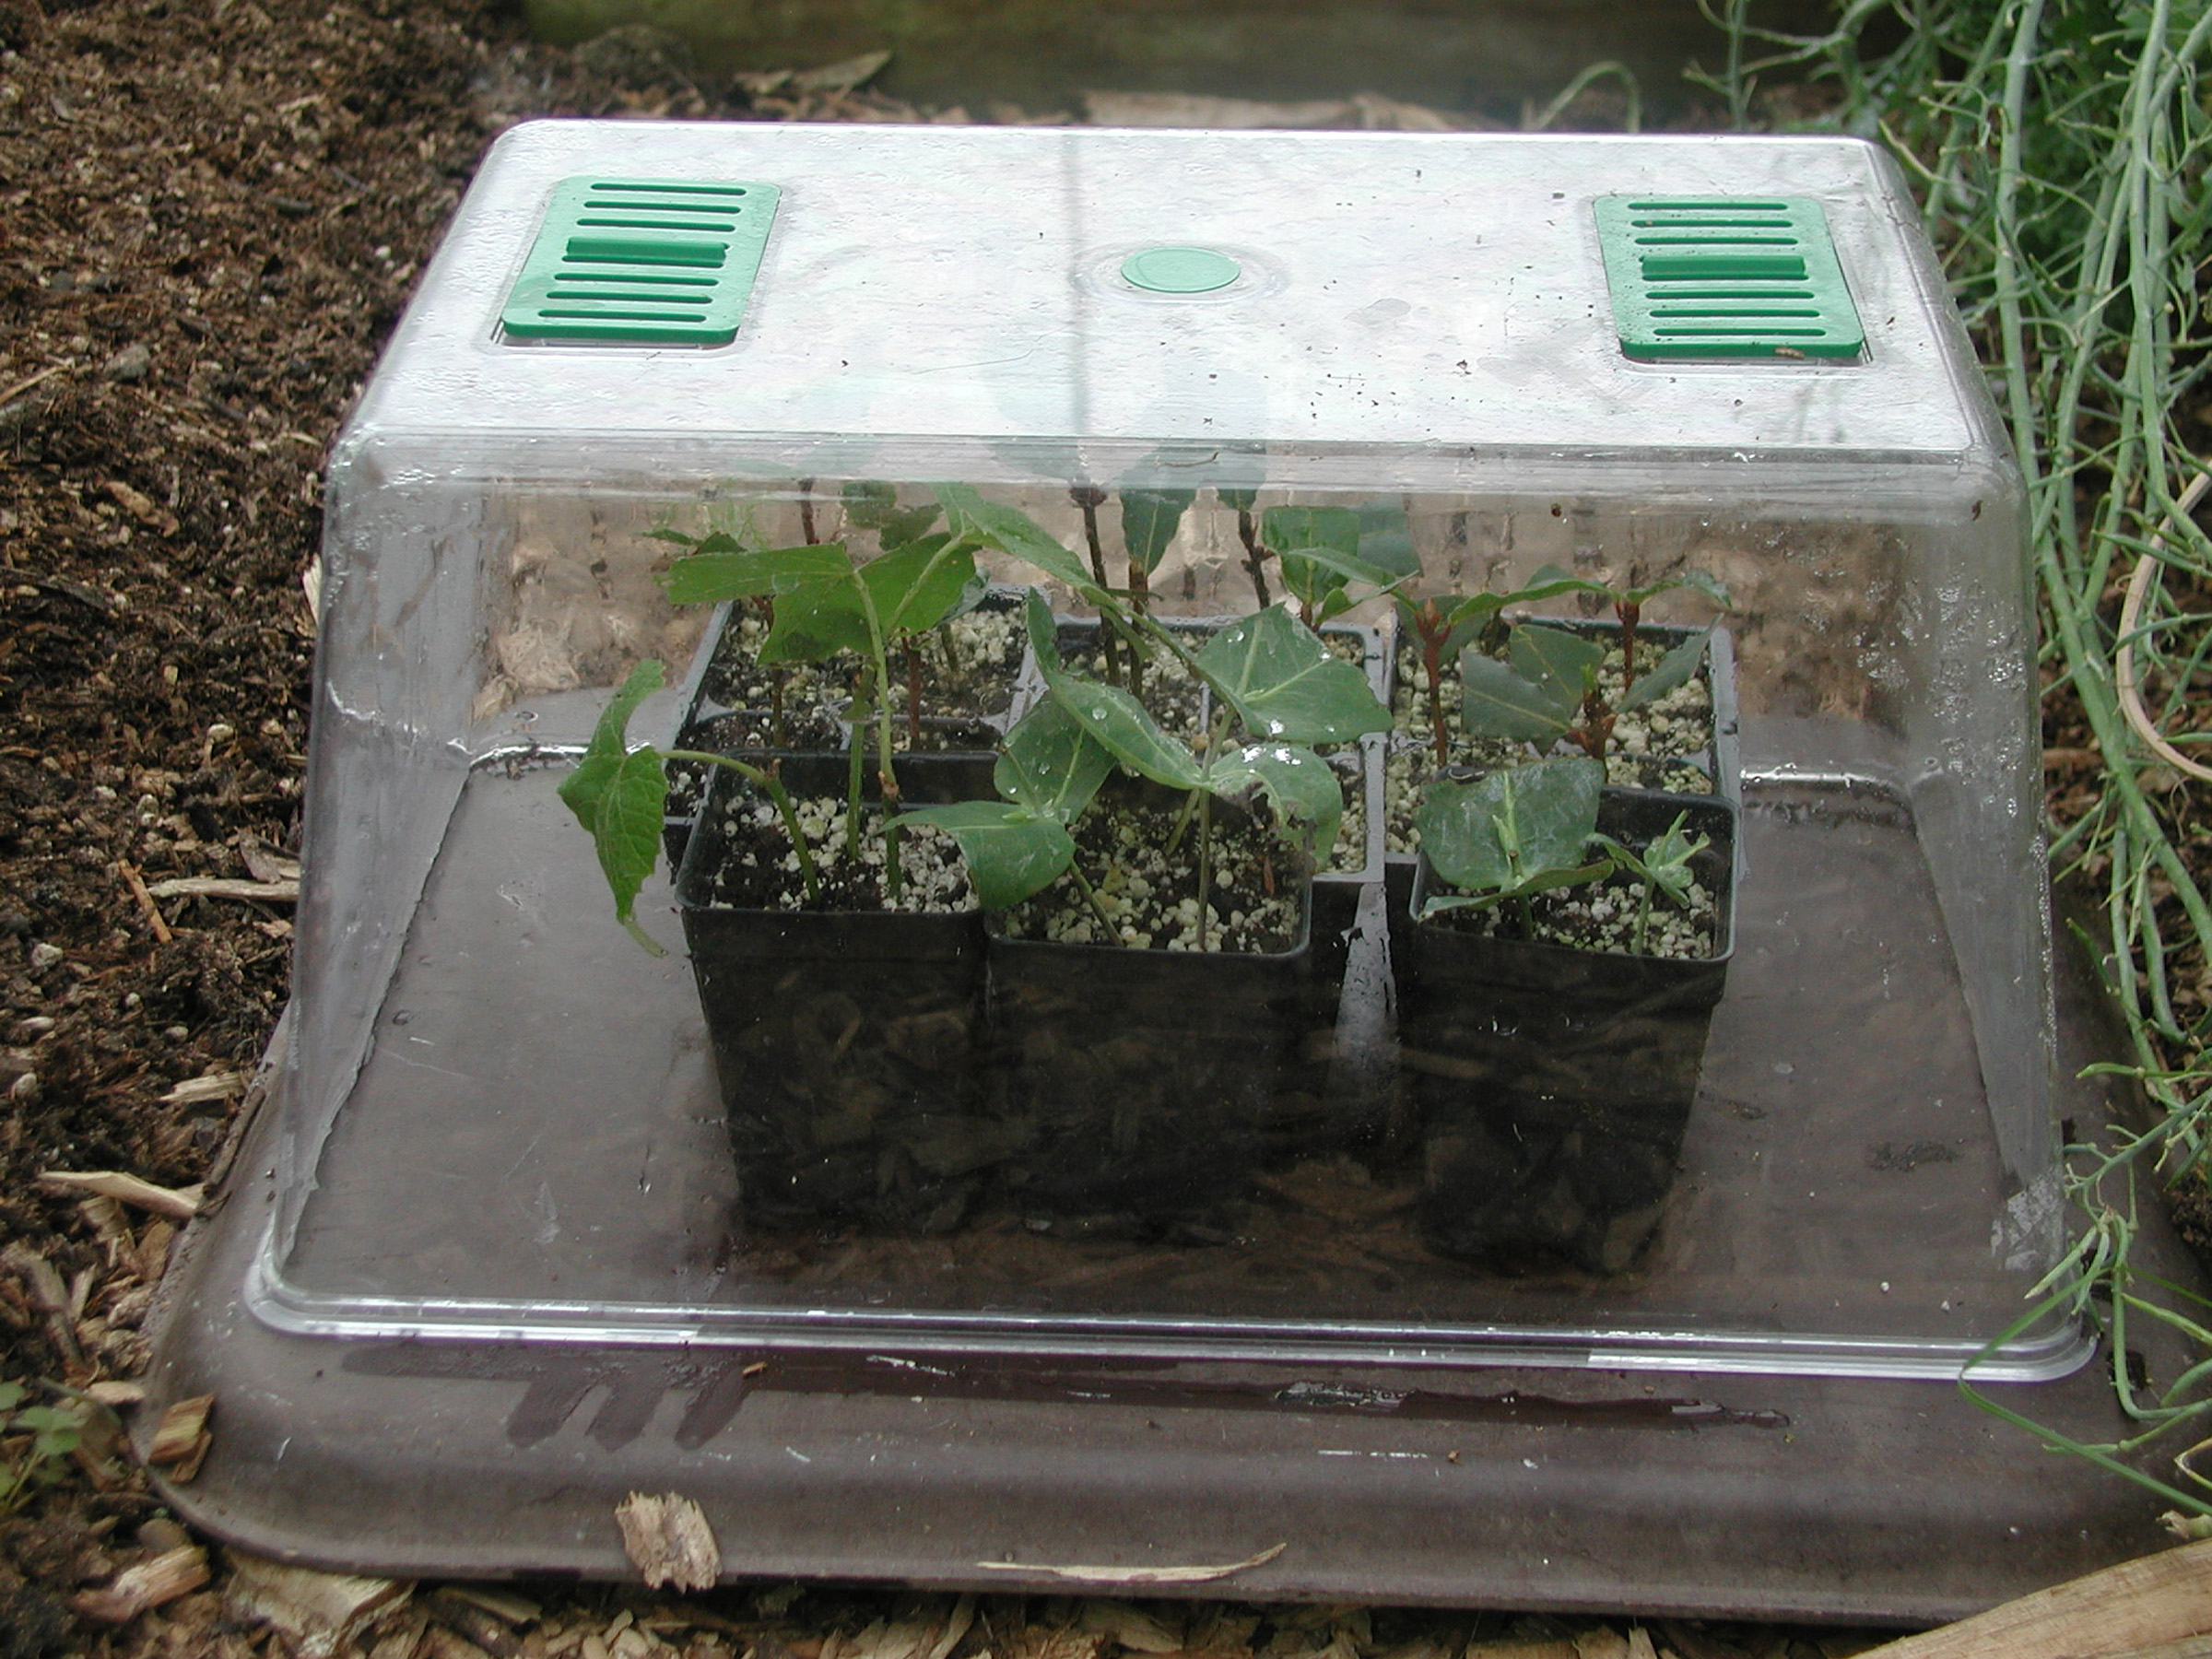
Take a look at new shoots growing on a favorite shrub or vine and you’ll see that the bases of these shoots may be beginning to toughen up, becoming woody. Such shoots, snipped from the mother plant as so-called half-woody cuttings, can be rooted to make new plants. Two other types of stem cuttings are softwood cuttings, taken while shoots are still green and succulent, and hardwood cuttings, taken from thoroughly woody, often leafless, shoots.
You can make whole, new plants from any of these cuttings; I’ve done it for years. But be careful because rooting cuttings to make new plants can become addictive. And then you have to figure out what to do with all your new plants. (Hence, my annual plant sales.)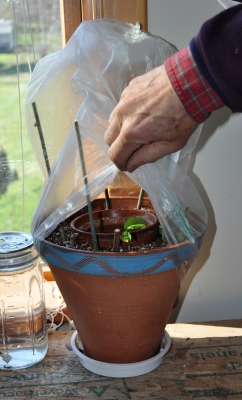
Cuttings are one of many ways to clone plants, that is, produce new plants that are genetically identical to the mother plant from which the stems were taken. Read more
GARDEN AROMATICS
Some Good, Some Not So Good
One of gardening’s pleasures — for me, at least — is that it makes scents. Ha, ha. But seriously, wave after wave of scent has wafted across my terrace since the garden awakened in early spring. Back then, the most prominent aromas were from daffodil blossoms, followed by those of plum, clove currant, Koreanspice viburnum, and then dame’s rocket.
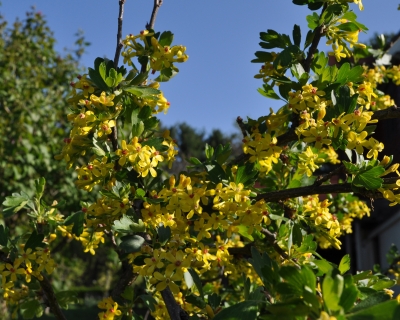
Clove currant
Olfactory pleasures, like the other sensual pleasures that flowers afford us, are incidental to the flowers. Evolutionarily speaking, we don’t return the favor with anything more than the carbon dioxide that we — and other animals — exhale.
Rather than smelling pretty for us, flowers do so to attract pollinators. Read more
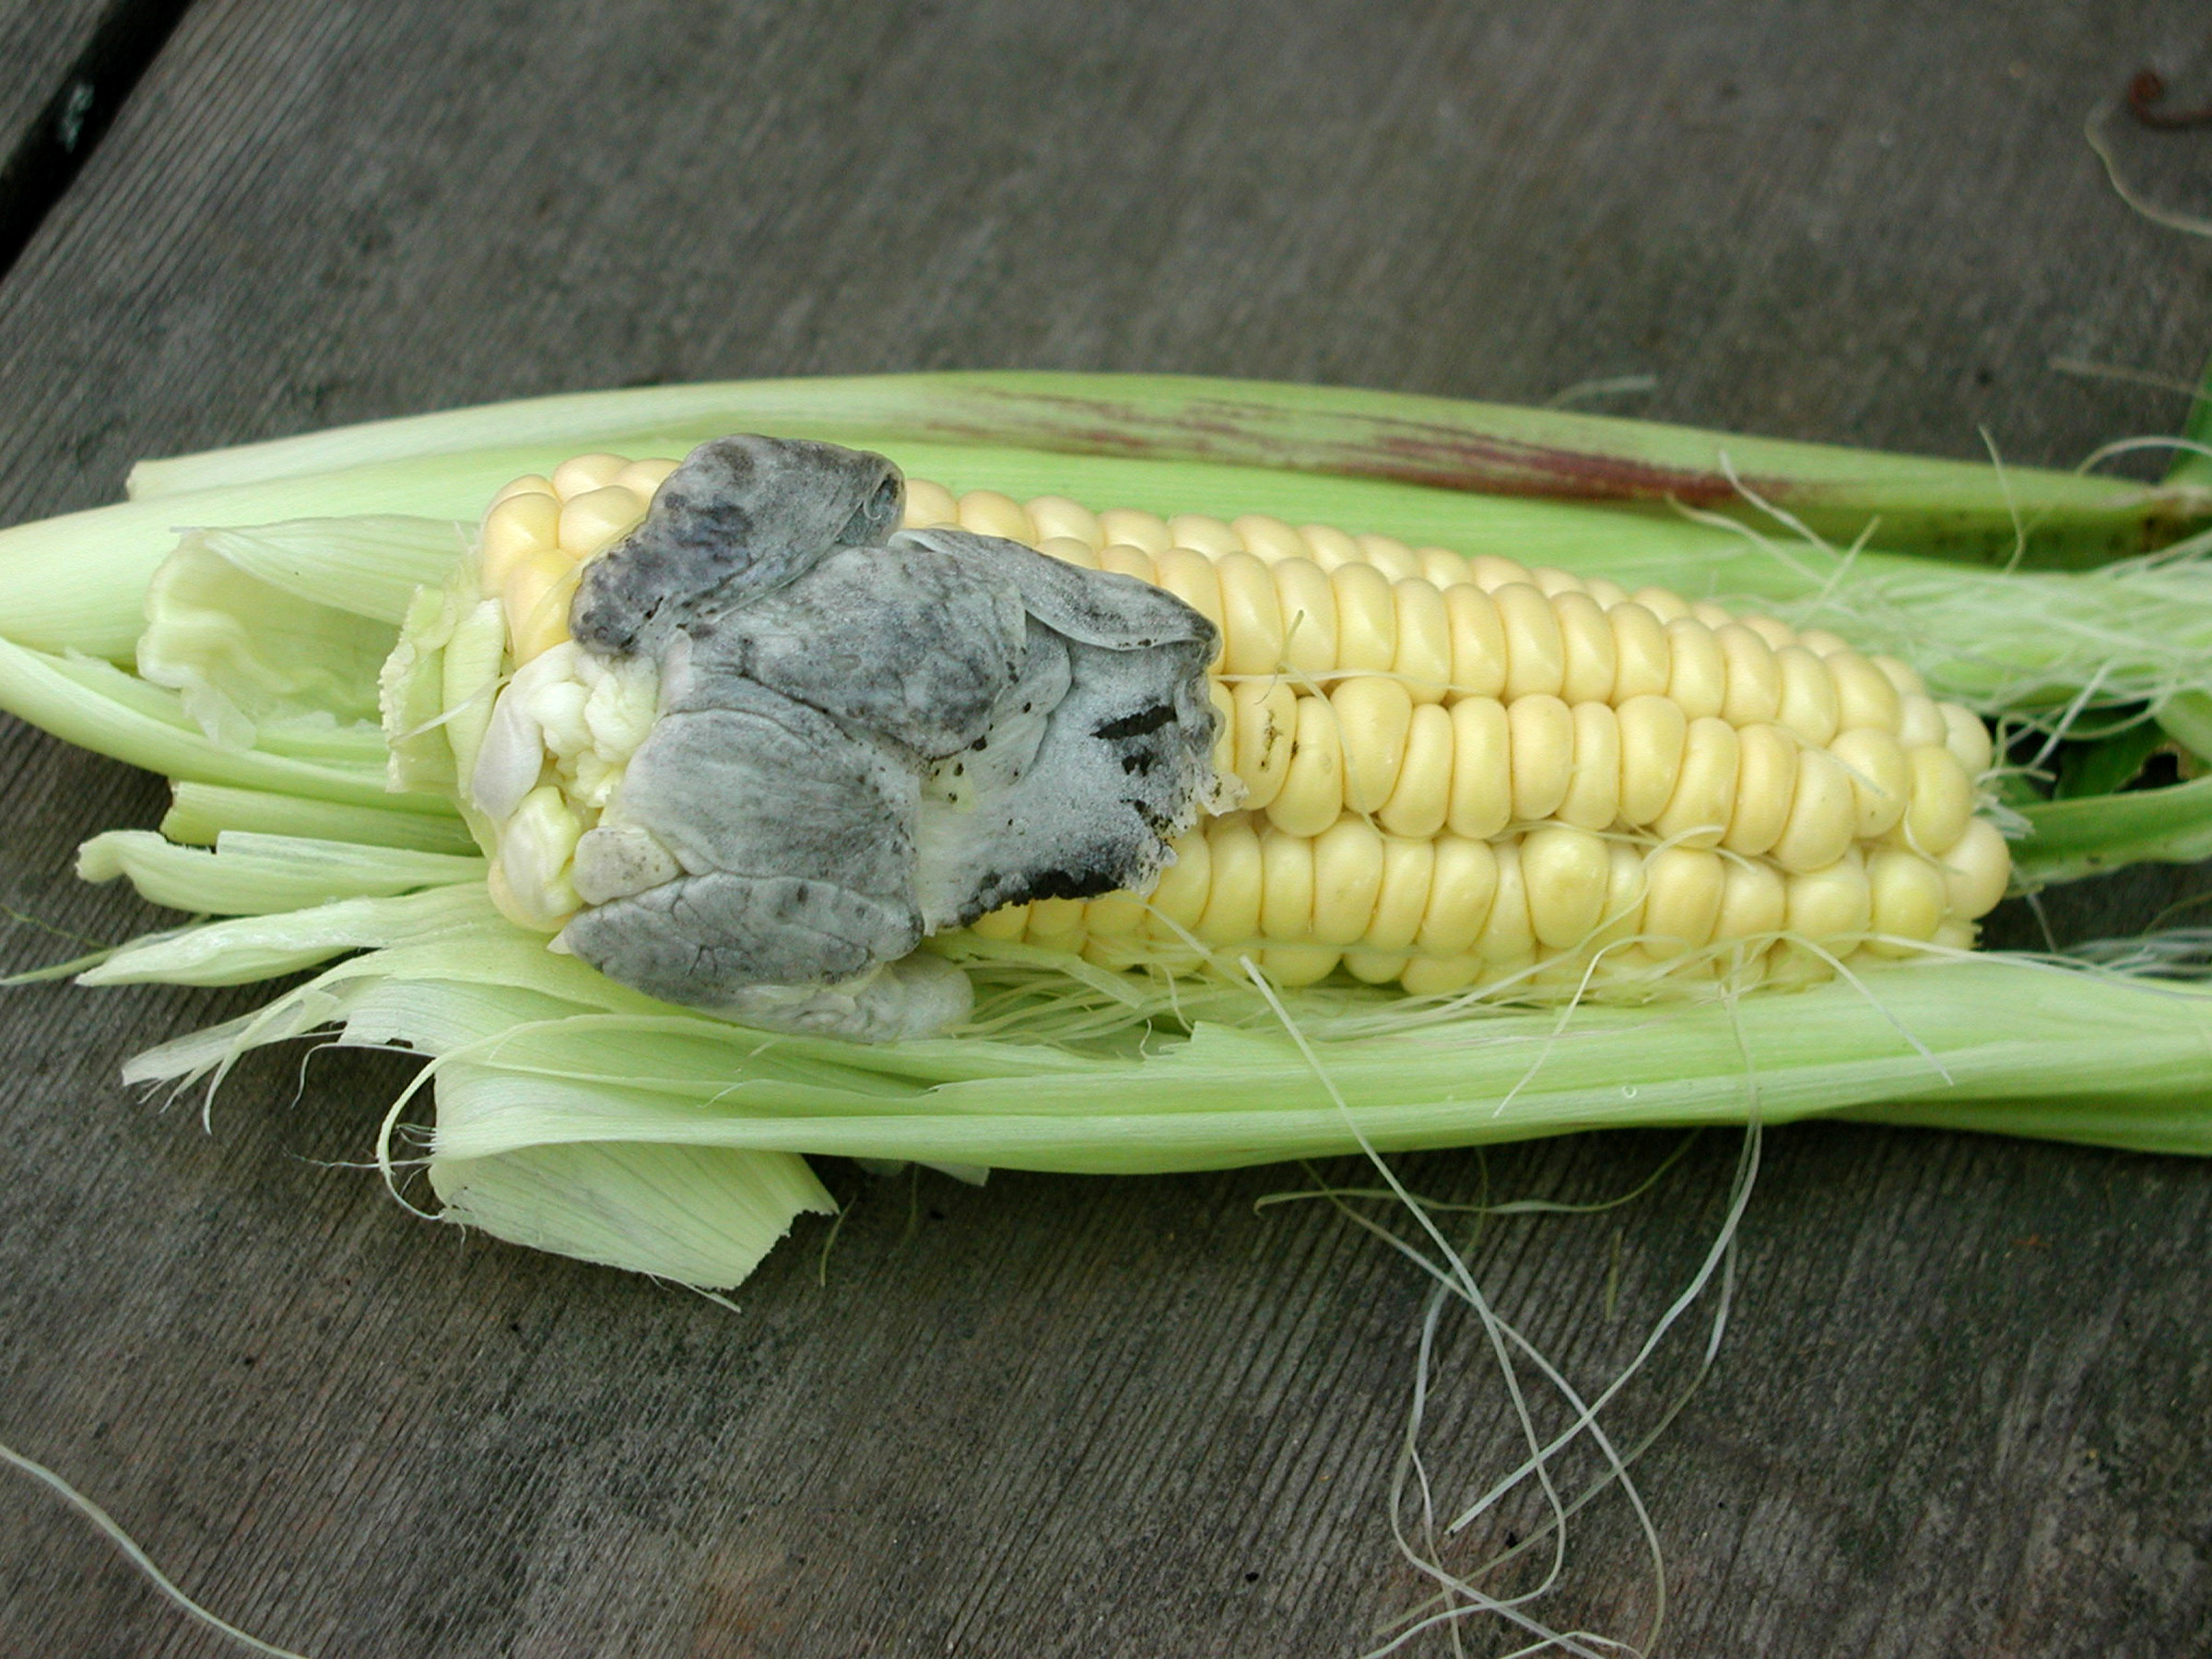
SWEET CORN: OLD VARIETY, MODERN GROWING
Genetics: Up, Up, Up with the Sugar
I plan on eating sweet corn almost daily from about the middle of July until early autumn. I know the arguments against growing sweet corn in a backyard garden: It’s cheap at the farmstand and space-hungry in the garden. What’s more, the most modern, “supersweet” varieties hold their sweetness for days.
The supersweet varieties are truly supersweet. But “supersweet” is too much of a catchall term. Old-fashioned corn, the Papoon corn developed around 1750 by the Haudenosaunee Confederacy and still available today, is noted for its creamy texture and 9 percent sugar due to its SU gene. Unfortunately, those sugars start changing into starch as soon as an ear is harvested.

Golden Bantam sweet corn
In the latter half of the 20th century, “Sugary enhanced” sweet corn came on the scene. The SE gene incorporated into sweet corn varieties jacked sugar levels up to 17 percent. More Sugar meant more time for sweetness to hold following harvest. SE kernels are very tender.
Soon after, another gene, SH2 or “shrunken-2,” was found, which pushed that sweetness even higher, up to 35 percent! Read more
