
THESE ARE A FEW OF MY FAVORITE TH . . . VARIETIES
Not a Research Station, but I do Test
It seems that every couple of years or so, some kind gardener offers me seeds, plants, or just a recommendation for the best-tasting, earliest ripening, or longest keeping tomato. I’m appreciative, but these days usually refuse the offer or ignore the recommendation.
True, In addition to providing a year ’round supply of fruits and vegetables, my farmden provides a testing ground for innovative techniques in growing fruits and vegetables, and provides a site for workshops and training. All this would surely include trying out new kinds and varieties of fruits and vegetables.
But I want to avoid having my plantings become like those described by Charles Dudley Warner in his 1887 classic My Summer in the Garden: “I have seen gardens which were all experiment, given over to every new thing, and which produced little or nothing to the owners, except the pleasure of expectation.”
Still, I have studied plants and soils in both academic settings and in my own “back forty” (actually, my own back 2 and 3/4). I’m in New York’s Hudson Valley, Hardiness Zone 5, more specifically the Wallkill River Valley. This low spot is notable for good soil and bad air. The soil is fertile, perfectly drained, and pretty much free of any rocks or stones. But cold, damp air, being heavier than warm air, pours down hillsides into this valley. It suits disease-causing fungi and bacteria of plants just fine.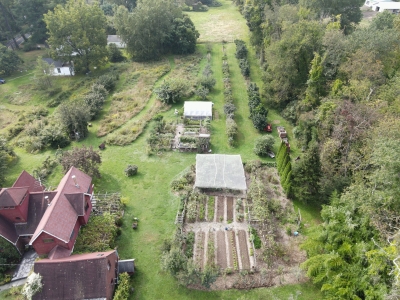
The above paragraph is a preamble to my offering a few recommendations on species and varieties worth growing in similar settings, but also, in many cases, where conditions don’t match those here on the farmden. I’ve also gardened in the Upper Midwest and in the South, and I think these recommendations would be well received over a large swath of our country. Some may be worth a spin in your own “back forty.”
GOURMET COMPOST FOR ALL
Your Pet Needs:
As the bumper sticker on my truck reads, “COMPOST HAPPENS.” Even so, problems sometimes arise along the way.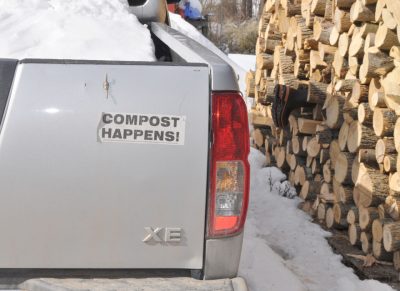
Is your main complaint that your compost “happens,” but too slowly. I like to picture my compost pile as a pet, except this pet is made up of many different kinds of macro- and microorganisms, and the population changes over time. Like other pets, my compost pet and your compost pet need food, air, and water.
Compost piles work quickest when their two most important foodstuffs — nitrogen and carbon — are in balance. (All this, by the way, also applies to us humans; our nitrogen comes mostly from proteins, and our carbon comes mostly from carbohydrates.) Old, usually brown and dry plant materials, such as autumn leaves, straw, hay, and sawdust, are the carbon-rich foods for a compost pile. 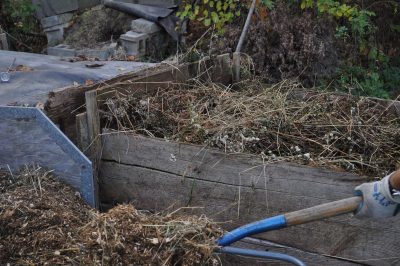 The older the plant material, the richer it is in carbon. Nitrogen-rich materials include young, green plant parts, such as tomato stalks, vegetable waste from the kitchen, and grass clippings, as well as manures.
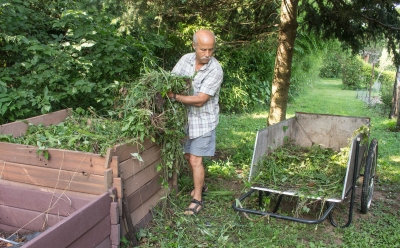
Nitrogen fertilizers are concentrated sources of nitrogen. They commonly are the active ingredients of commercially available compost “activators.” “Activator” has a nice ring to it, but it is overpriced, unnecessary, candy for any compost. Sometimes they also contain microorganisms, also unnecessary.
BEST GARDEN EVER, DROUGHT NOTWITHSTANDING
Go Drip!
This summer has been one of the hottest and driest ever — and it’s been one of the best ever in the vegetable garden. Baskets of red, ripe tomatoes and peppers sit on the kitchen floor awaiting metamorphosis into sauces and salsas, dehydration, or just plain being eaten.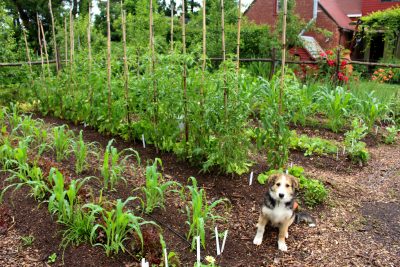
What about water? My garden plants are plump with water thanks to drip irrigation. In addition to benefits to the plant, drip is also good for the environment, typically using only about 40 percent of the amount of water used by sprinkling. That’s because the more pinpointed water avoids wasting water in paths and other places it’s not needed. Also because little water is lost to evaporation.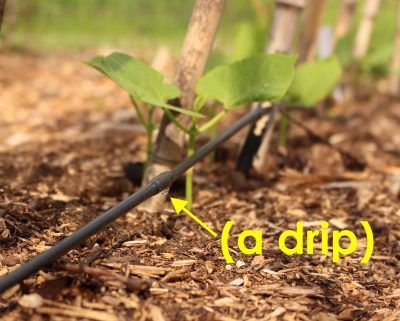
The “drip” in drip irrigation tells you that water is applied at a very slow rate, which is especially appealing to those of us whose water comes from a well. With drip, the well has plenty of time to recharge between waterings.
Drip is also better for plants. Leaves stay dry, lessening the chance for disease. And rather than flooding the ground, which a sprinkler does at each watering, drip keep soil moisture within that happy window when larger pores remain filled with air, and water is held within smaller pores so that roots can both breathe and draw in water. (This is one reason for the more efficient water use of drip irrigation.)
