UNCOMMON BERRIES, FOR SOME
Note: If you live in a very hot summer climate, skip Part A and proceed to Part B.
Part A. Perfect for Ambulant Consumption
Part A. It’s about time that gooseberries got some respect. The plants are easy to grow, they tolerate shade, are usually ignored by deer and birds, except my ducks, and they can have excellent flavor. They don’t do very well or yield the tastiest fruits in hot summer climates, hence “Skip to Part B,” although the coolness of shade can somewhat overcome that deficiency.
Gooseberry flavor is what eludes most people. And with good reason; relatively few of you have tasted gooseberries, let alone good-tasting varieties. The reason is that gooseberries belong to the Ribes genus, many plants of which are susceptible to a disease called white pine blister rust. This disease, also attacking white pines, need both white pines and susceptible Ribes plants to complete its life cycle.
When the rust showed up on American shores about 100 years ago, white pine was an important lumber crop so the U.S. government sought to control the rust be getting rid of all Ribes plants. Not only were gooseberries illegal to plant but if you already had gooseberries or currants, another Ribes species, in your garden, fellas from the Civilian Conservation Corps were apt to descent out of the woods into you garden to rip them out.
Long story short: Before the rust, gooseberries were an up and coming fruit, just like blueberries, which were relatively unknown except near where they grew wild. The ban was not as effective as was hoped. Disease could spread from the many wild Ribes haunt that our woodlands, and under the right conditions infective spores can be carried for hundreds of miles. On top of that, gooseberries and redcurrants are not very susceptible to the fungus.
The federal ban was lifted in 1966 and put under state mandate, but two generations of farmers and gardeners had forgotten about gooseberries. Relatively few states nowadays ban gooseberries.
Dessert (vs Culinary) Gooseberries
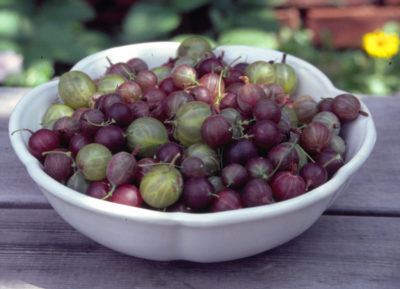
I once nurtured my own gooseberry variety collection of almost 50 varieties, a collection that now has been pared down to the most desirable dozen or so. I only grow what are known as “dessert” varieties of gooseberry, ones that have great flavor straight off the bushes. As Edward Bunyard wrote in his 1929 classic The Anatomy of Dessert, “The gooseberry is the fruit of course par excellence for ambulant consumption.”
This growing season has, so far, been one of the best fruit years ever, so I’m taking particular note of ripening time and flavor of my gooseberries. (Like a fine wine, though, they do seem to have vintage years.) First to ripen here is the variety Canada 0-273; its main qualities are that the plant is always productive and yielding large and early fruit.
Canada 0-273 gooseberry
Next comes Poorman, an unfortunate name for a very delectable berry. Almost ripe now is Captivator, the variety I would grow if I were to grow only one variety. It’s delicious and pretty much thornless.
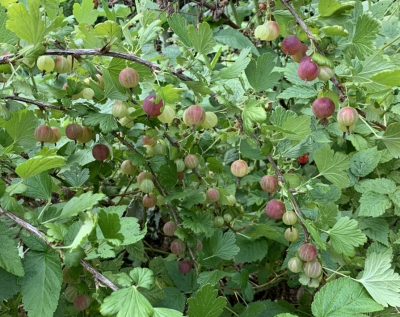
Poorman gooseberry
Soon to ripen are Red Jacket, very reliable and productive, with good flavor, and Welcome. Welcome is still with me for sentimental reasons; it was one of the first fruits I ever planted, decades ago, and has traveled with me to my gardens from Wisconsin to Delaware to Maryland to New York. It’s flavor is very similar to “SweeTart” candies.
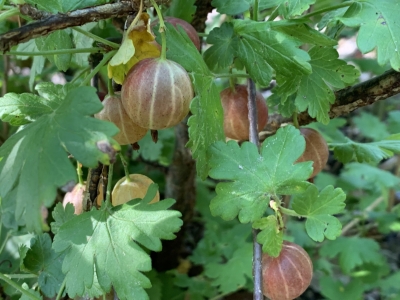
Following the above varieties is another variety that would be on a must have list. Hinnonmakis Yellow is yellowish-green when ripe and has a flavor that hints of apricot. Some people confuse it with Hinnonmakis Red, which has poor flavor, and whose real name is, I believe, Lepaa Red. Also soon to ripen is Black Satin which has a rich, wine-y flavor.
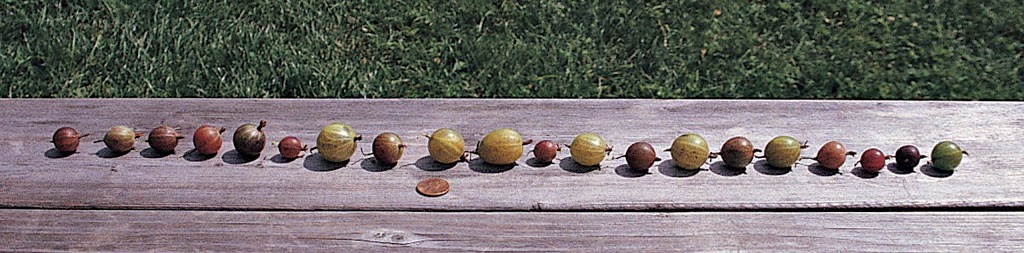
That’s not all of them but does give you an inkling of the merits of the most significant ones. There are literally hundreds of varieties of gooseberries, spurred in part beginning in 18th century England, by gooseberry competitions, held usually in local inns, to see who could grow the largest fruits. The gaiety of singing and refreshments at these shows was offset by the solemn weighing of fruits.
Those gooseberries were bred strictly for size. I plant for flavor. Did I mention, pest problems of gooseberry? Powdery mildew and leaf spot diseases are potential problems but all the varieties I mentions are resistant to these diseases.
For more about the growing, the varieties, etc. of gooseberries, see my book Grow Fruit Naturally.
Part B. Some Mulberries are Better than Others
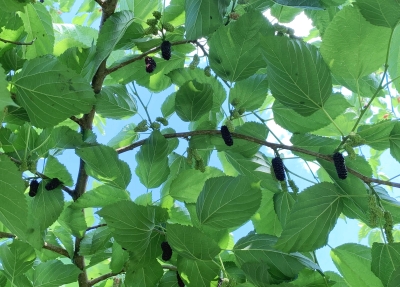
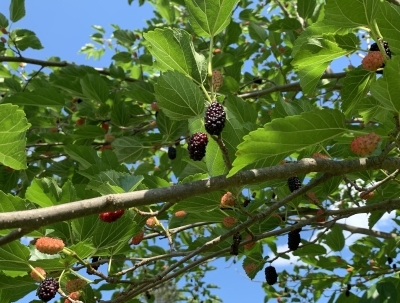
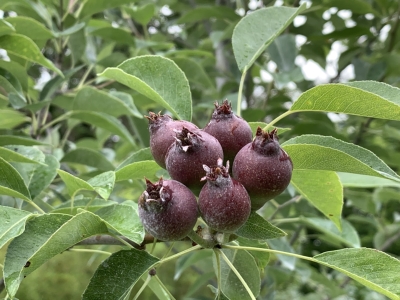
Part B. Some kind of mulberry can be grown just about everywhere. Here in the Hudson Valley, we have wild or cultivated red mulberries, which are native, white mulberries, most of which were imported from Asia in the early 1800s, and hybrids of the two. Don’t expect the color of a tree’s fruit, despite even the botanical names, Morus rubra and M. alba, to tell you what species you have before you. Many “white” (M. alba) mulberries or their hybrids bear black fruit.
To throw yet another wrench into the nomenclature, there’s yet another species, M. nigra or black mulberry, with black fruits. I consider black mulberry to be among the best-flavored of all fruits, not just mulberries. Unfortunately, it’s not hardy here. I grow it in a pot.

Black mulberry, M. nigra
Most years birds get just about all my mulberries; not this year, perhaps because of an abundance of other fruits. So I’ve been getting a good taste of them.
I find the flavor of most wild mulberries cloying. Not so for the two varieties I grow.
I, along with many others, have lent high praise to the variety Illinois Everbearing, often likening its flavor to that of black mulberries. This year I’ve reconsidered; Illinois Everbearing fruits are better than the average mulberry you might see growing in Eastern North America, but not nearly as good as black mulberry. Illinois Everbearing does live up to the “everbearing” in its name, yielding berry after berry for weeks on end.
Illinois Everbearing mulberry
My other variety is Oscar. It’s delicious, with a nice balance of acidity and sweetness.
Oscar mulberry
Other years my impression of the two varieties has been different. Perhaps mulberries and gooseberries have vintage years that influence the flavors of particular varieties.
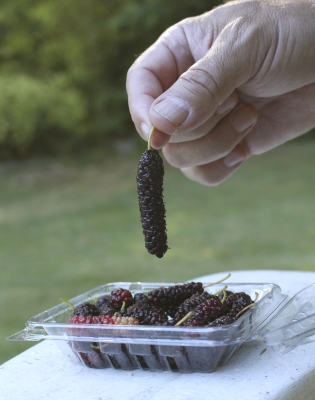
I actually grow one more variety of mulberry, Pakistani. This is yet another species, M. Macloura, that was once considered a kind of white mulberry. Pakistani, like black mulberry isn’t hardy here (probably hardy to Zone 7, perhaps colder) so I grow it in a pot. The fruit is delicious and large, sometimes as much as five inches long! My potted tree’s fruits are only an inch and a half long, but they’re as delicious as black mulberries. Different flavor though.
SOMETHINGS FOR THE NOSE, THE EYES, AND THE TASTEBUDS
Makes a Lot of Scents
Many years ago, at this time of the year, I was hiking in the nearby Shawangunk Mountains, in Minnewaska State Park, when a most delectable, spicy-sweet aroma wafted past my nose. I followed my nose off the trail and into the woods. After stepping over and around fallen stumps in boggy soil and ducking under low-hanging branches, I came upon the source of that aroma: the white flowers of a large swamp azalea (Rhododendron viscosum).
Last night as I lay in the comfort of my bed and was about to drift off to sleep, that very same scent drifted into the open bedroom window. I immediately knew the source of that aroma: a swamp azalea that I had planted in a bed along the north side of my home back in 2006.

My yard is obviously quite a different habitat from that of Minnewaska woods, and especially where that wild swamp azalea grew. Besides shade and moist ground, that forested site‘s soil is very acidic, relatively poor in nutrients, and rich in humus.
The bed near my window emulates those conditions. It’s on the north side of the house, so it’s partially shaded. I added sulfur, a naturally mined mineral, to bring the pH down to about 5. I dug in abundant sawdust to build up humus in the soil, and mulch each year with more sawdust or autumn leaves to maintain it. Drip irrigation tubes running through the bed automatically provide daily watering to maintain a moist soil.
Besides aroma, swamp azalea doesn’t have much going for it. The plant is deciduous, so fades out of view in winter. I’ve read that fall leaf color can be very nice, but never noticed it. The white flowers are nice enough, but nothing spectacular to look at. For me, this plant is all about scent.
The Family is Invited
Scent alone from one swamp azalea plant wouldn’t justify drip irrigation, annual mulching, and periodic additions of sulfur. So that bed near my bedroom window was developed as a home also for other plants that enjoy the same special soil conditions as swamp azalea. Mostly, these are plants in the heath family (Ericaceae), which includes blueberry, lingonberry, mountain laurel, rhododendron, other kinds of azaleas, and, of course, heath and heather.

Most of the above family members are growing in that bed. Right after the swamp azalea blossoms wave goodbye for the season, lowbush blueberries begin ripening, then huckleberries, and then lingonberries. Earlier in the season, rich red or lily white ornamental rhododendron blossoms were followed by mountain laurel blossoms, which finished blooming a couple of weeks ago.
Even beyond blossoms and fruits, this bed offers a visual symphony of harmonies and contrasts. The rhododendrons and mountain laurels are mostly dwarf varieties that are 3 foot high mounds of glossy greenery year-round. The lingonberries and lowbush blueberries knit together everything right at ground level, both plants spreading via underground runners to intertwine for a dense ground cover. In fall, blueberry’s crimson leaves and then, through winter, its reddish stems, contrast pleasantly with lingonberry’s mouse-ear-sized, evergreen leaves and red, pea-sized berries.
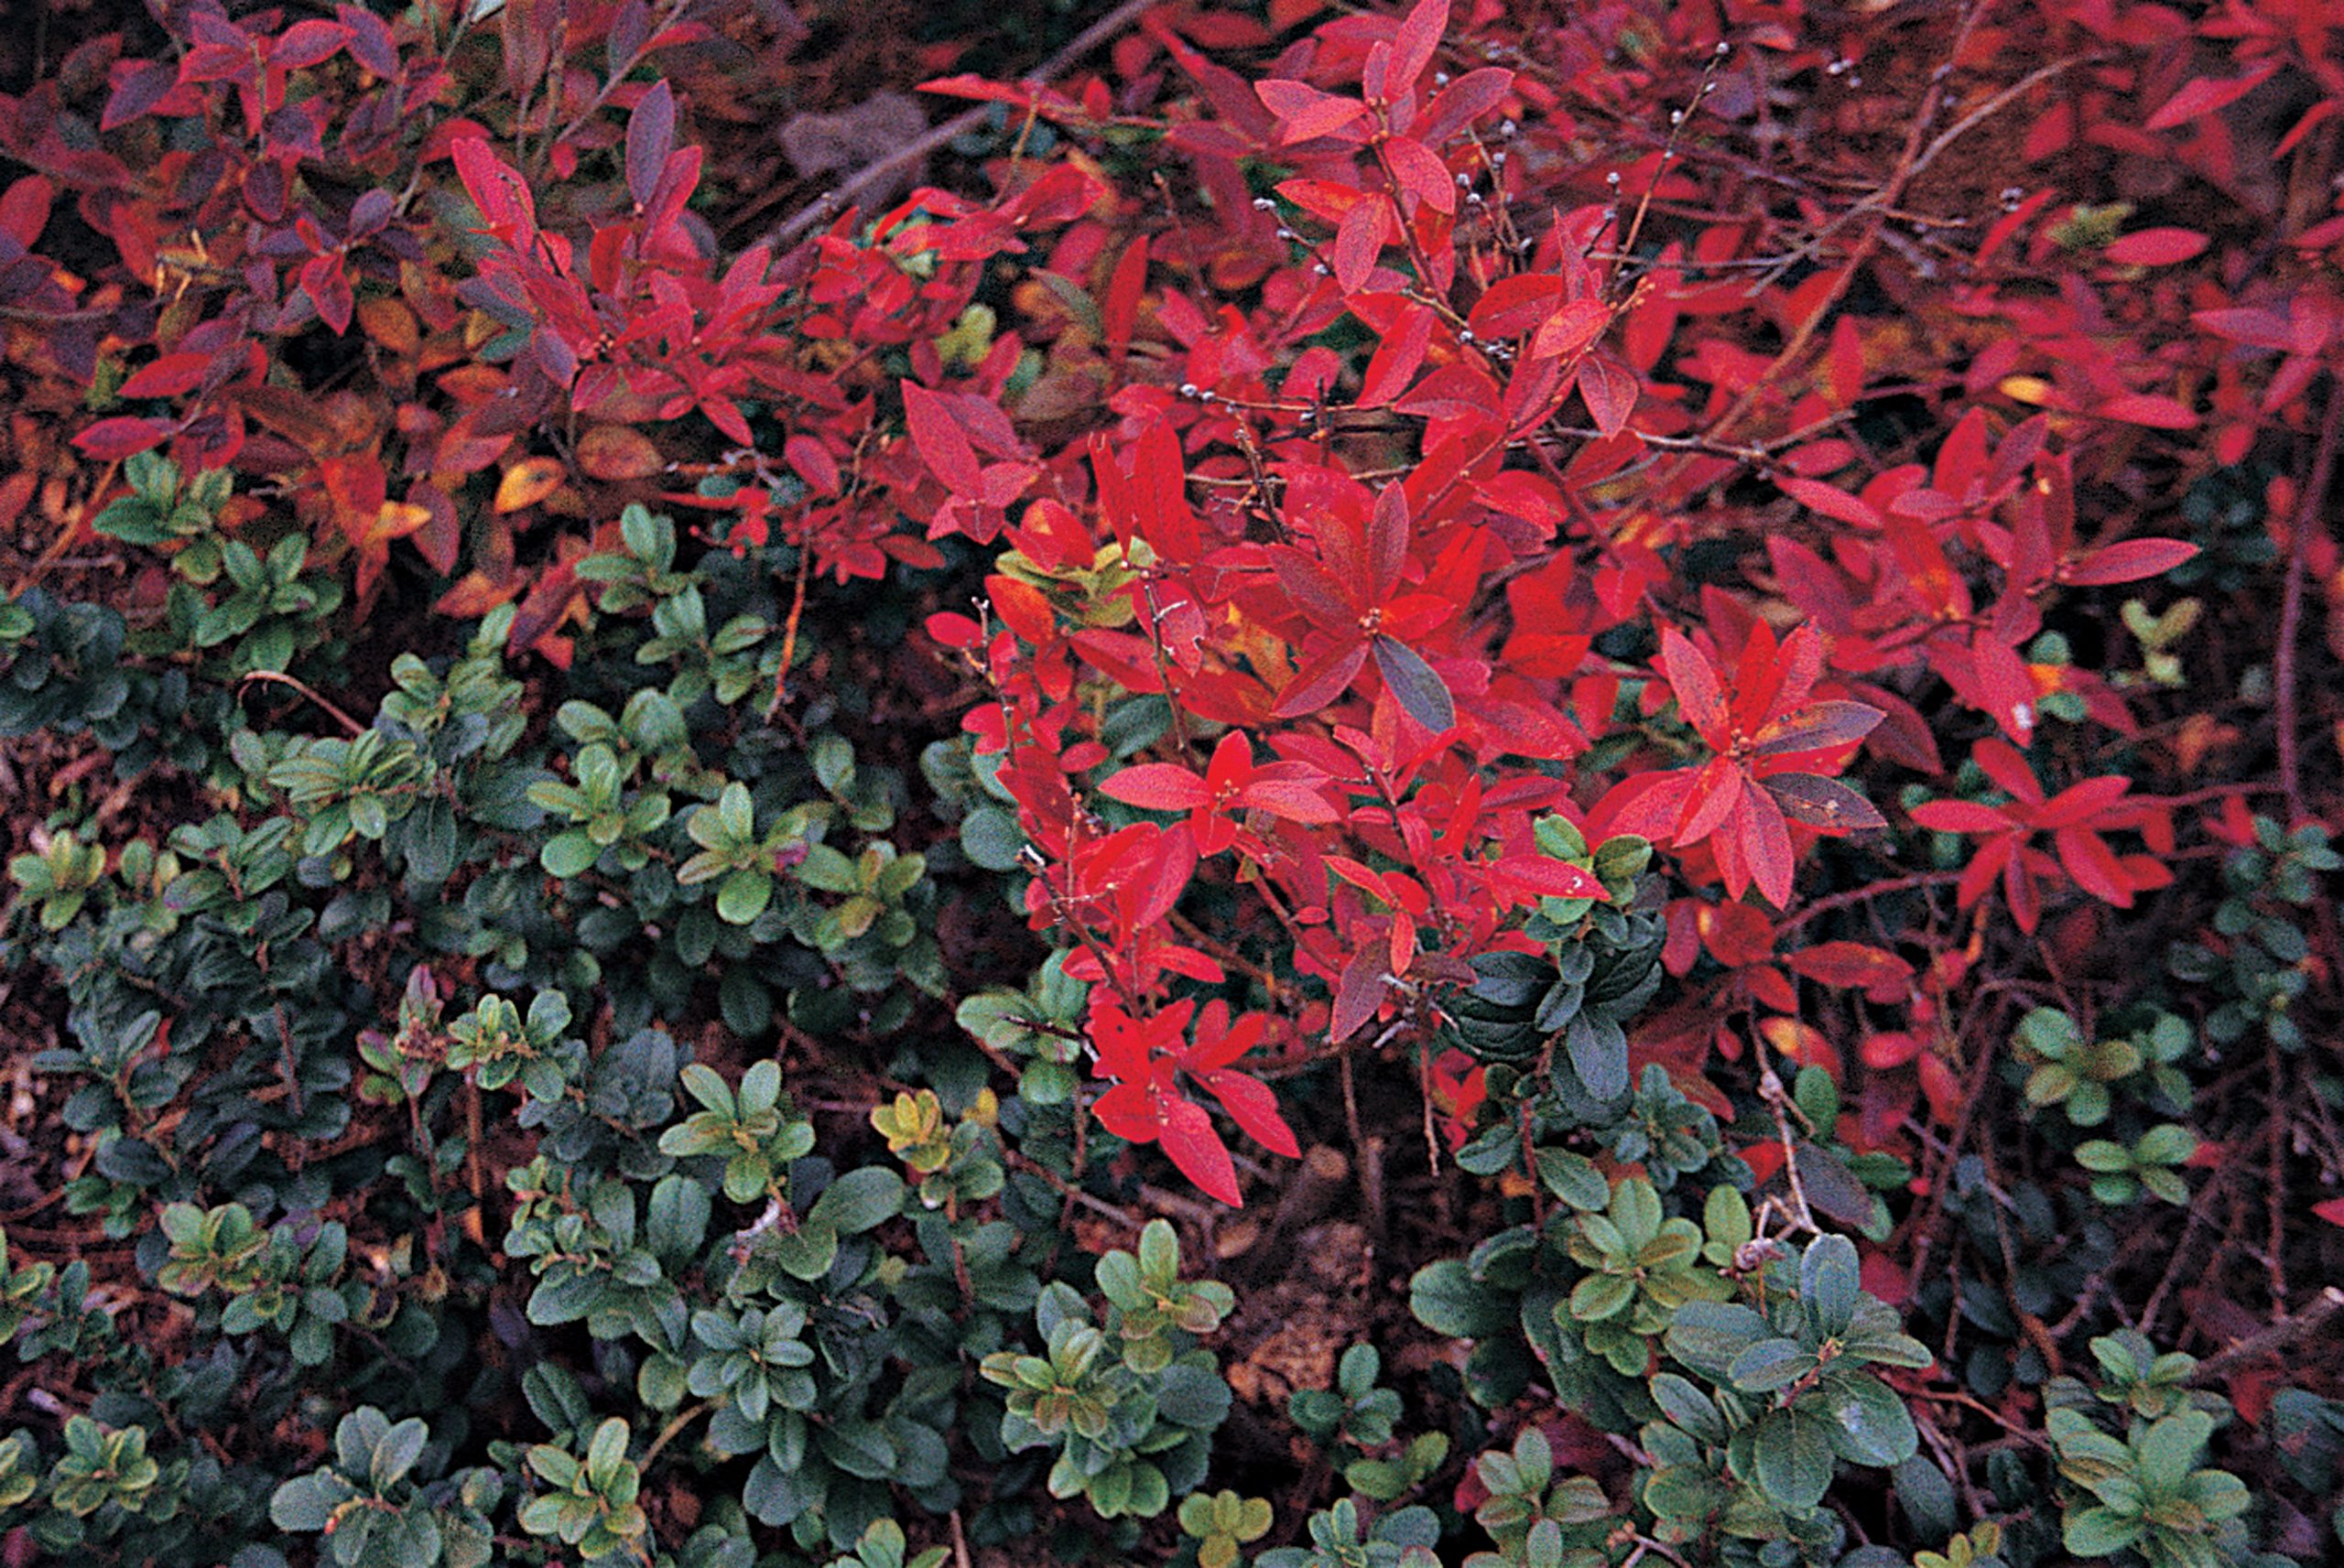
Lingonberry and lowbush blueberry in fall
The lingonberries need not be picked as soon as they ripen because they’ll hang in good visual and gustatory condition for many months.
 I’ve invited a few non-family members into the bed. Most notable are a witchhazel that’s covered in fragrant, yellow blossoms in late winter and a stewartia that is now spreading open the white petals of its camellia-like blossoms.
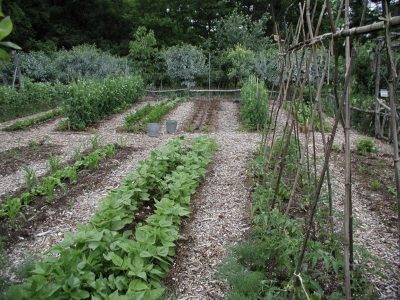
Still Planting Vegetables
A friend has a new vegetable garden which she has been planting all spring. She has two beds not yet planted and asked me if and what she could still plant there for this season. “Plenty,” I told her.
For starters, how about a late crop of bush beans and/or zucchini? Bush beans start to peter out after bearing for a couple of weeks, which is why I make 3 plantings each season, the first in the middle of May.
The same goes for cucumbers, which in a few weeks usually succumb to bacterial wilt. Two plantings, the second sown about now, often do the trick to keep the cukes a comin’. Here on the farmden, the varieties Shintokiwa and Little Leaf H-19 seem better able to fend off pests than other varieties I’ve grown. Also, to a lesser extent, the variety Suhyo (sometimes spelt Suyo).
And, of course, zucchini or any other summer squash. Zucchini typically succumbs to borers or mildew by midsummer; a fresh planting keeps zucchini coming on all season long. One caution is not to plant too much zucchini! Any more than a few plants and you’ll be forced to come up with concoctions such as zucchini bread to use up the excess.

FRUITS AND NUTS
After about twenty years of waiting, I happened to look at the ground and see a pine cone. The only pine tree nearby is a Korean pine (Pinus koreanensis) that I planted that many years ago, a tree that liked its new home and has soared, in that time, to fifty feet in height. My problem with the tree is that all it has done is grow; I planted the tree for its pine nuts.
A few years ago I did see a few cones way up near the top of the tree. Would the cones fall, carrying down the nuts, or would the nuts fall out, to be lost in the high grass? Would squirrels make all this moot?
I picked up the cone and clawed back its scales to see if any nuts were hiding within. Zut alors! Nuts! Most nuts need some curing before tasting good so I laid the cone in the sun for a few days.
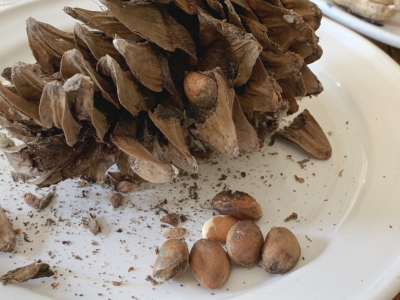
Tasting was next. First they needed to be cracked out of their shells, which was surprisingly easy with a pair of pliers. The first two nuts cracked were well filled and yielded delicious nuts. The next ten nuts, which comprised the rest of the harvest, when cracked, yielded nothing.
Many Nut Pines
The pine nuts you see for sale are generally one of the piñon pines native to the Southwest, the pignolia native to Italy and other Mediterranean countries, or Chinese white pine (Pinus armandii). In fact, though, a number of pine species provide edible nuts.
One of my favorites, the Digger pine (P. sabiniana), yields nuts the size of lima beans and is native to the foothills of the Sierra Nevada mountains. Driving west down those mountains many years ago, I came to a screeching stop (well, not really screeching) upon seeing the giant cone of this tree on the ground. I picked it up and must have provided entertainment, perhaps elicited fear, in passerbys seeing some guy smashing open a pine cone on the guard rail.
My Korean pine is a dead ringer for our native white pine, the latter of which does not yield edible nuts. Korean pine is only one of a number of nut pines that grows well in cold winter climates, such as Zone 5 here in this part of New York’s Hudson Valley. Swiss Stone pine (P. cembra) and Siberian pine (P. sibirico) are also reliable nut-producers for cold climates, but are very slow growing.
Many other pine species potentially could produce pine nuts outside their native range, though their adaptability to very cold winters climate is not thoroughly tested. The closely related Colorado Pinyon (P. edulis) and Singleleaf Pinyon (P. monophylla) pines are bushy trees that become flat-topped with age. I planted a Singleleaf pine years ago and though it tolerated the cold winters here, it’s annual growth measured in inches. With the slow growth and lack of nuts, I eventually tired of it.
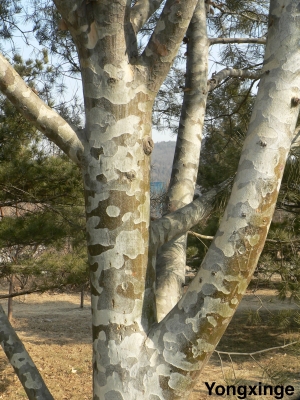
Over the years, my pinetum (yes, that is a word) has expanded. A Lacebark pine ((P. bungeana), after five years or so in the ground, has finally taken off and is growing over a foot a year. This species is especially worth growing also for its decorative bark, which is a patchwork of muted colors.
Blanks
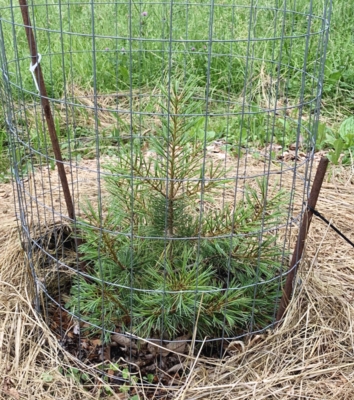
Back to the blank shells borne by my Korean pine. One possibility is that this pine needs cross-pollination from another tree of the same species to bear nuts or, at least, to bear them well. The cone that I found lying on the ground was pretty soggy and might have been lying there for a year or more. Perhaps nuts within dried up and/or rotted away. I subsequently found three more soggy cones, all devoid even of nut shells.
I recently planted pollinators for the pine. They’re small, but after a couple of years of nurturing are finally growing well, the largest of the two now two feet tall. I’ll report back, hopefully in less than 20 years.
Survival of Fittest and Tastiest
On the bountiful side of the fruit and nut ledger this year are my tree fruits, especially the more common tree fruits. (Berries and uncommon tree fruits such as persimmon, mulberry, and cornelian cherry always do well here.) Winter and then spring weather were all perfect for a good set of fruit. Once that usually fraught time in fruit growing was passed, Mother Nature took over and the trees naturally shed fruits that had been poorly pollinated or insect ridden. That lets a tree channel its energies into making bigger and more flavorful the fruits that remained hanging on branches.
Nature’s aim in growing fruit is to make it appealing to all sorts of animals that incidentally spread the seeds as they eat the fruit. We humans are more discerning (would “finicky” be a better word?) when it comes to fruit quality. So once that natural fruit drop, “June drop” as it is appropriately called, is finished, we step in to remove even more fruit.
Pruning branches, on which some fruit would have been borne, in late winter and early spring already did some of that work. This week it was time to finish the job, by hand. This means putting some distance between each fruit and its neighbor, about five inches, always saving the largest and most pest free of the lot. Hand thinning would be tedious with smaller fruits, such as cherries and plums, so fortunately is unnecessary with them.
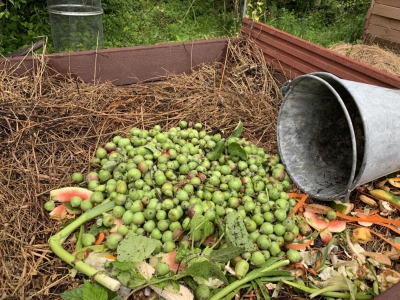
I ended up with a bucketful of cute apple and pear fruitlets. Cute, but into the compost they went where heat and time would cook any insect or disease pests lurking within that might have awakened to attack next year’s crop.