EVOLUTION AT WORK
/6 Comments/in Gardening/by Lee ReichGreen Thumb Not Needed
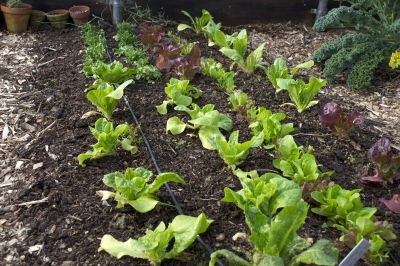
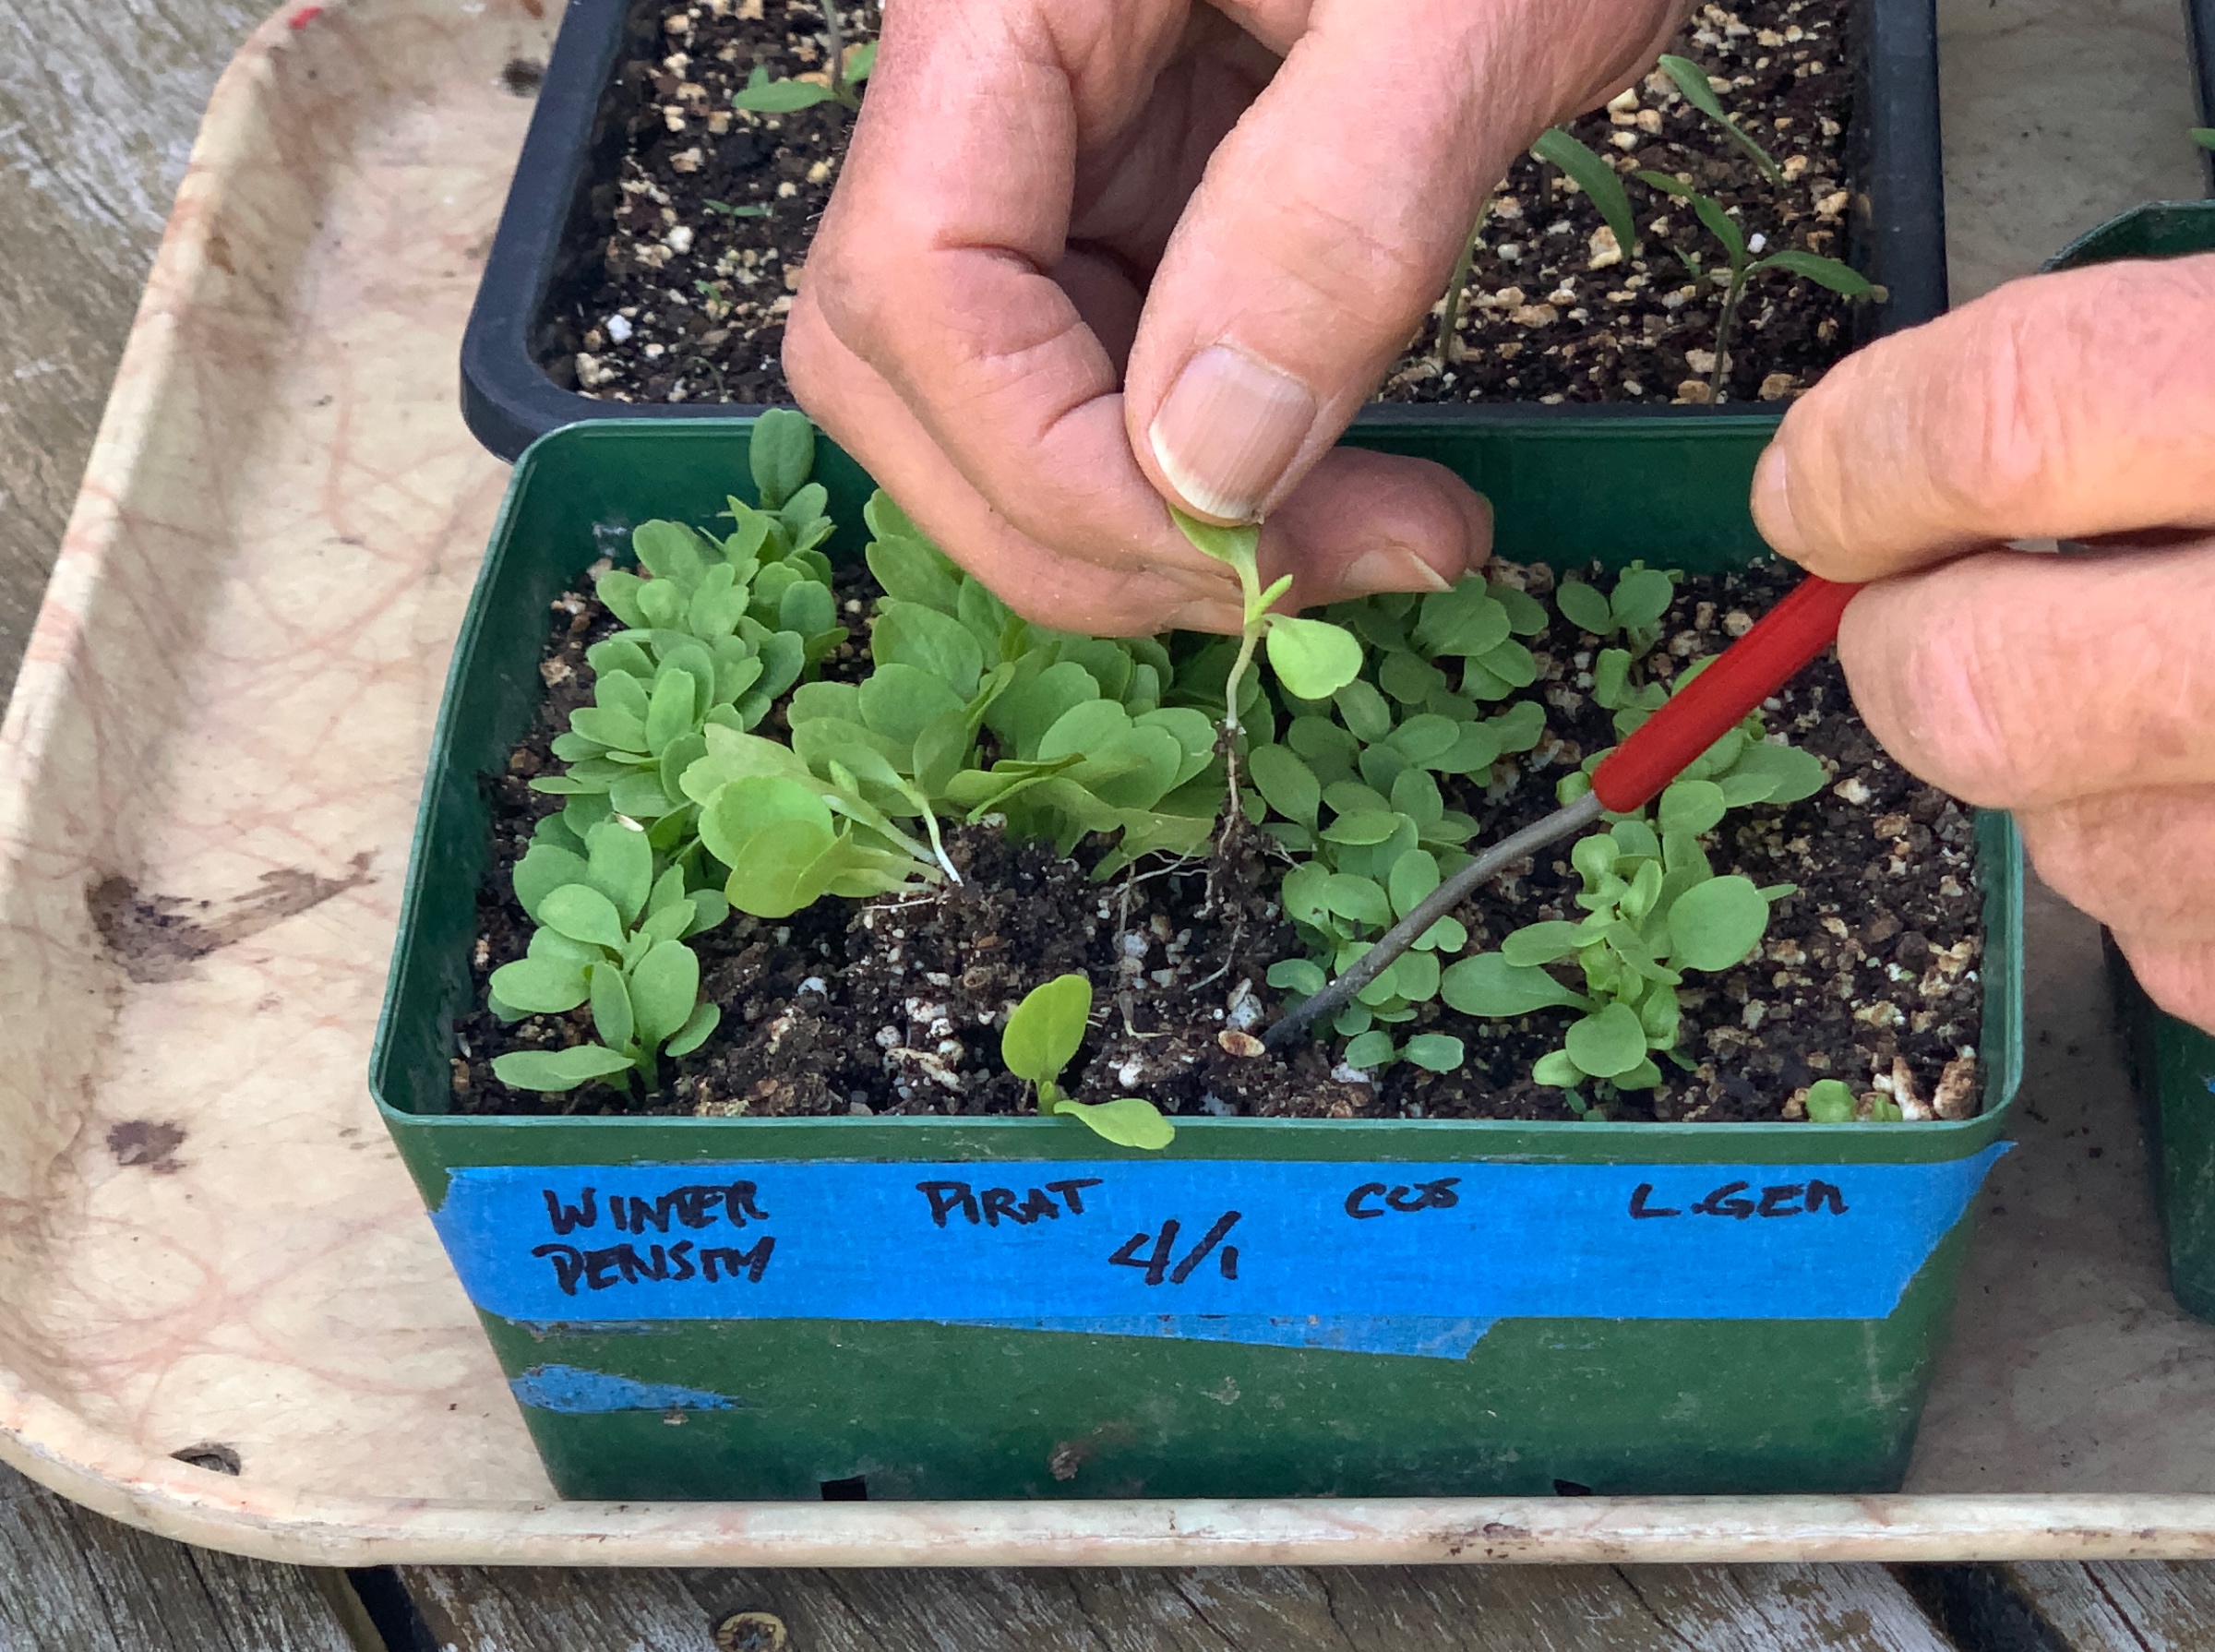
Anybody out there now sprinkling seeds into mini-furrows in seed flats, flowerpots, or repurposed yogurt cups? How many of us are then disappointed when, a few days later, there’s no sign of green sprouts poking up through the brown soil? Or not enough of them.
A green thumb isn’t a prerequisite for growing seedlings indoors to give plants a head start for earlier ripening of tomatoes and peppers or earlier blooms of zinnias or marigolds. Backing up every seed is 350 million years of trial and error; seeds have evolved to sprout. So why, sometimes, don’t they, and how do to right any wrongs?
Good Seeds and Good (Potting) Soil a Must
Seeds are living, breathing creatures, and don’t live forever. How long a seed remains viable depends on the kind of seed. Longevity of vegetable seeds under good storage conditions goes from just a year for onion, parsnip, and parsley seed to more than four years for seeds of cucumber, lettuce, and cabbage and its kin. Most annual flower seeds are good for one to three years, most perennials two to four years.
But don’t take any reports of seed longevities too much at face value. Storage conditions play an important role, with the best conditions being cold and dry. I store my seeds in an airtight tub along with packets of silica gel that I weigh and refresh, if needed, in a microwave oven. The tub winters in my unheated garage and summers in my cool basement, or freezer.
Next, turn to the soil or, more correctly, the potting mix or potting soil. Don’t sow seeds in garden soil, even good garden soil. Garden soil becomes too sodden in the confines of a container. Purchase or make your own mix (both of which I wrote about my March 15, 2022 blog post).
Gather up some bona fide or makeshift containers, and you’re ready to plant. Any container that’s a couple of inches deep with drainage hole in its bottom is suitable. Fill it with the potting mix and gently firm it.
What Next?
A guideline that I don’t follow rigorously is to plant seeds at a depth approximately four times their thickness. A lighter, airier mix warrants deeper planting or seeds will dry out too quickly. Still, bigger seeds do warrant deeper planting than smaller seeds. With really tiny seeds, like foxglove or portulaca, I just sprinkle them on the surface, perhaps with a smidgen of potting mix for a very light cover. Tiny seeds have tiny energy reserves, and if planted too deep, they burn up all their energy before peering aboveground to drink in energy-giving light. No matter the depth, right after sowing I firm the seedbed for good contact between seeds and mix.
And then I water. I could water from above with a gentle “rain” from the fine rose of my watering can or hose wand, but prefer to minimize washing around the potting mix and seeds, especially small seeds, by watering from below. I set the seed flat or container in a pan with an inch or so of water and let it sit for a few hours. By then the potting mix is saturated with water; lifting the container out of the water and then tipping it at an angle drains excess (gravitational water) from the mix. A pane of glass over the top of the container prevents evaporation to lock in moisture.
All the seeds now need to coax them out of the slumber is warmth. Each kind of seed has a minimum, a maximum, and an optimum temperature for germination. Unfortunately, it’s not the same for all seeds. Between 70 and 80 degrees Fahrenheit (21-27° C.) strikes a nice balance for all of them.
Armed with a thermometer, check out warm spots around your home: perhaps it’s a warm room, the top of a refrigerator, an insulated container along with a periodically refreshed hot water bottle, or near a furnace. Electric seed heating mats are available, some raising the temperature 10° F above ambient, more expensive ones raising the temperature to whatever amount you dial in.
I made my own germination chamber from a styrofoam cooler along the bottom of which I wired two sockets each with a 15 watt lightbulb. Above the bulbs sits a rack for the seed flats. The bulbs are wired into a thermostat on which I can dial the desired temperature set, always, in my case, set to 80° F.
One Final Ingredient and You’re Good to Grow
That’s it, except for one final ingredient: patience. Even with ideal conditions, seeds vary in how long they take to germinate.
I check the containers every day and as soon as sprouts appear, I uncover and whisk the container to bright light. From then on, cooler temperatures — about 10° F. less than germination temperatures — and bright light are ideal.
SHRUBS, I’M SHARPENING MY SHEARS AND LOPPERS
/12 Comments/in Pruning/by Lee ReichShrubs are Shrubby
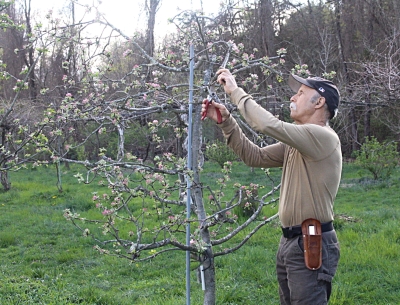
A shrub is a shrubby, woody plant. (Now, that’s profound.) Numerous stems originating at or near ground level are what make a plant shrubby. Usually, no one stem ever gets the upper hand over other stems. For most shrubs, you need to get out there with your pruners to snip and lop every year.
How to prune a shrub depends on when it flowers and on what age stems provide the most ornamental effect. Does the shrub flower early in the spring, or later in the summer? Does it flower on old stems, on those that grew last year, or on new shoots?
And one more thing before we dive in: Here, I’m writing about pruning shrubs growing informally. Let’s shelve pruning hedges and, because they vary so much in their pruning needs, roses for another time.
Deciduous shrubs can be put into one of four categories according to the age of stems that flower or otherwise look their best. Here are some bare-bone guidelines for each of these categories. In my book, The Pruning Book, from which this is excerpted, I offer more detailed guidance with extensive lists of plants in each category (and, of course, details on pruning hedges, roses, and just about any other plant or pruning technique you can think of. Really.)
Old Looks Best
Deciduous shrubs whose old wood flowers or looks best. Included within this category are shrubs — witch hazel, rose-of-sharon, tee peony are examples — that naturally build up a permanent framework of branches. Rarely do they send up new suckers at or near ground level. These shrubs flower directly on older wood, or from shoots that grow from older wood. Grouping plants always entails a certain degree of arbitrariness, and because of their disinclination to sucker, a few plants in this category could also be considered “trees,” especially if deliberately trained to one or a few trunks..
These shrubs are the easiest shrubs to prune: mostly, just don’t!
Some Annual Pruning Helps
Deciduous shrubs that flower best on one-year-old wood. Because they all flower only on wood that grew the previous season, annual pruning is needed to stimulate new growth, each year, for the following year’s flowers.
Renewal prune each year, removing the very oldest stems to make way for younger, floriferous stems to step in and replace older stems. Cutting a few stems low in the shrubs is also less work than shearing, and creates a more graceful, fountain-like growth habit, and keeps the plant low, neat, and abundantly flowering.
Prune those shrubs that flower early in the season right after their blossoms fade. But now, or just before growth begins, is the time to prune those shrubs that flower from summer onward. Pruning early-flowering shrubs right after they bloom allows you to enjoy their blossoms, but still leaves enough time for shoots to grow and ripen wood sufficiently for next season’s blooms.
The one-year-old shoots on which flowers are borne may grow mainly from older stems up in the shrub, or else mostly from ground level. The location of these flowering shoots determines pruning technique, so I have subdivided this category into two groups, grouped plants accordingly, and follow with instructions for each.
Shrubs such as lilac, forsythia, and mock orange flower best on one-year-old wood originating from older wood up in the plant.
Peer in at the base of the mature plant and you’ll notice wood of various ages growing up from ground level. Begin pruning by cutting away near ground level, some of the very oldest stems. Those oldest stems are also the tallest ones, so these first cuts quickly lower the plant.
Each year also remove at ground level a portion of the youngest stems so they don’t crowd with age.
Abelia and kerria are among those shrubs that flower best on one-year-old wood originating at ground level; they need more drastic pruning. Every year cut away all wood more than one-year-old, either right to ground level or else to a vigorous branch originating low on the plant. You can tell the age of a stem by its thickness and, with many plants, by the color or texture of the bark.
Blossoms on New, Growing Stems
Deciduous shrubs whose current growth flowers or looks best: Here we have shrubs valued only for their new growth. And yes, in some cases we value the plant for the young stems themselves.
This group of shrubs, which includes red-osier dogwood (whose young, red stems “ignite” with winter cold), butterfly bush, New Jersey tea, and Hills-of-Snow hydrangea, is very easy to prune: simply lop the whole plant down to the ground just as buds are swelling.
Time for Renovation?
You perhaps have inherited, with your property, a neglected, old shrub offering you a tangled mass of stems, an awkward posture, and few flowers. Can this shrub be brought back to its former glory? Probably.
You have two options in renovating this shrub. The first is the drastic one: you merely lop the whole plant to within one foot of the ground just before growth begins for the season. The plant won’t be pretty for a few years but after that you’re on your way to a “new,” shrub, full of blossoms and with a graceful growth habit, a whole new plant from the ground up.
A second option is gradual renovation, removing a couple of the oldest stems each year over a period of four or five years. Although this takes more time, the plant will look decent throughout the recovery period.
Rather than renovation, you might instead consider capitalizing on your overgrown shrub’s age and venerability by transforming the plant into a picturesque small tree. Not all shrubs make this transition gracefully; devil’s walkingstick, hawthorn, and hazelnut are among those that do.
Select as trunks two or three of the oldest stems having pleasant form and growing from ground level to as high as the proposed crown of your tree-to-be. Remove all other growth from ground level to the proposed crown.
Even easier is to let the deer prune for you, in which case the bottom of the crown will be as high as the deer care to reach.
BREWING UP BATCH OF POTTING SOIL
/16 Comments/in Gardening, Soil/by Lee ReichPrime Ingredients for Any Potting Mix
Many years, my gardening season begins on my garage floor. That’s where I mix the potting soil that will nourish seedlings for the upcoming season’s garden and replace worn out soil around the roots of houseplants. Why do I make potting soil? Why does one bake bread?
There is no magic to making potting soil. When I first began gardening, I combed through book after book for direction, and ended up with a mind-boggling number of recipes. The air cleared when I realized what was needed in a potting soil, and what ingredients could fulfill these needs. A good potting soil needs to be able to hold plants up, to drain well but also be able to hold water, and to be able to feed plants. The key ingredients in my potting mix are: garden soil for fertility and bulk; perlite for drainage; and a mix of peat moss and compost for water retention.
Why not just dig up some good garden soil? Because a flower pot or whatever container a plant is growing in unavoidably creates “perched water table” at its bottom. Garden soil, even good garden soil, is so dense that it will wick too much water up from that perched water table. Waterlogging is apt to result, and waterlogged soil lacks air, which roots need in order to function. (More about perched water tables and lots of other stuff about soil, propagation, plant stresses, and more can be found in my book The Ever Curious Gardener: Using a Little Natural Science for a Much Better Garden.)
Coarse mineral aggregates — perlite, in my mix — make potting soils less dense, so water percolates more readily into the mix, through it, and out the bottom of the container. Other aggregates include vermiculite, sand, and calcined montmorillonite clay (aka kitty litter). I chose perlite because vermiculite breaks down with time and can contain asbestos. Sand is heavy, although this can be an effective counterbalance for top heavy cactii.
The peat moss and compost in my mix are organic materials that slurp up water like a sponge; plants can draw on this “water bank” between waterings. One peat to avoid is “peat humus,” a peat that is so decomposed that it has little water-holding capacity. Organic materials also buffers soil against drastic pH changes and cling to nutrients which are slowly re-released to plant roots. Otherwise these nutrients run out through the bottom of seedling flats and flower pots.
Peat is relatively devoid of nutrients but the compost provides a rich smorgasbord of nutrients. And I can brew it myself. Just letting piles of autumn leaves decompose for a couple of years produces “leaf mold,” which has roughly the same properties as compost.
Potting soils made with garden soil and compost might need to be pasteurized to eliminate pests especially weeds. Too much heat should be avoided, however, because toxins which injure plants will form and beneficial organisms will be eliminated. When I am going to pasteurize, I do so only to the garden soil in the mix; my composts get to above 150°F all on their own.
To pasteurize potting soil, put it in a baking pan, bury a potato in it, and bake it in a medium oven. When the potato is baked, the soil is ready. Pasteurization is not absolutely necessary; I pasteurize to kill weed seeds.
What You Buy Isn’t . . .
Go out and buy a potting mix and, in all likelihood, that mix will be devoid of any real garden soil. You can mix up a so-called “soil-less” potting mix by sieving together equal volumes of peat moss and perlite. Since the mix has no garden soil or compost to supply nutrients, add 1/2 cup of dolomitic limestone, 2 tablespoons of bone meal, and 1/2 cup of soybean meal to each bushel of final mix. This mix has enough fertility for about a month and a half of growth without additional fertilizer.
I favor traditional potting mixes, which contain real garden soil. Real soil adds a certain amount of bulk to the mix, as well as a slew of nutrients and microorganisms. Real soil provides buffering capacity, which allows for some wiggle room in soil acidity.
The Magic Happens
I wrote early on, “There is no magic to making potting soil.” I could toy with ratios and make a potting mix from perlite plus compost, perlite plus compost plus garden soil, even straight compost, depending on the texture of the compost.
Going forward, I’m going to experiment with coir and/or PitMoss, both possible substitutes for peat moss, the harvest of which is environmentally questionable.
For my first batch of potting mix for this season, I’ll stick with my usual recipe. Step one is to give the garage floor a clean sweep. Then I pile up on the floor two gallons each of garden soil, peat moss, perlite, and compost. On top of the mound I sprinkle a cup of lime (except if I’ve sprinkled limestone on the compost piles as I build them), a half cup soybean, perhaps some kelp flakes.
This is a mixed bag of ingredients, but I reason that plants, just as humans, benefit from a varied diet. I slide my garden shovel underneath the pile and turn it over, working around the perimeter, until the whole mass is thoroughly mixed. I moisten it slightly if it seems dry. When all mixed, the potting soil gets rubbed through a 1/2″ sieve, 1/4” if it’s going to be home for seedlings.
I end by clicking click my heels together three times and reciting a few incantations to complete this brew that has worked its magic on my seedlings, houseplants, and potted fruits each season.