The Unknown Known
To paraphrase Donald Rumsfeld, defense secretary under W, there are the known knowns, the known unknowns, and the unknown unknowns. Donald, you forgot about the unknown knowns. Lets talk about gardening, not war, and the knowns that need to be better known.
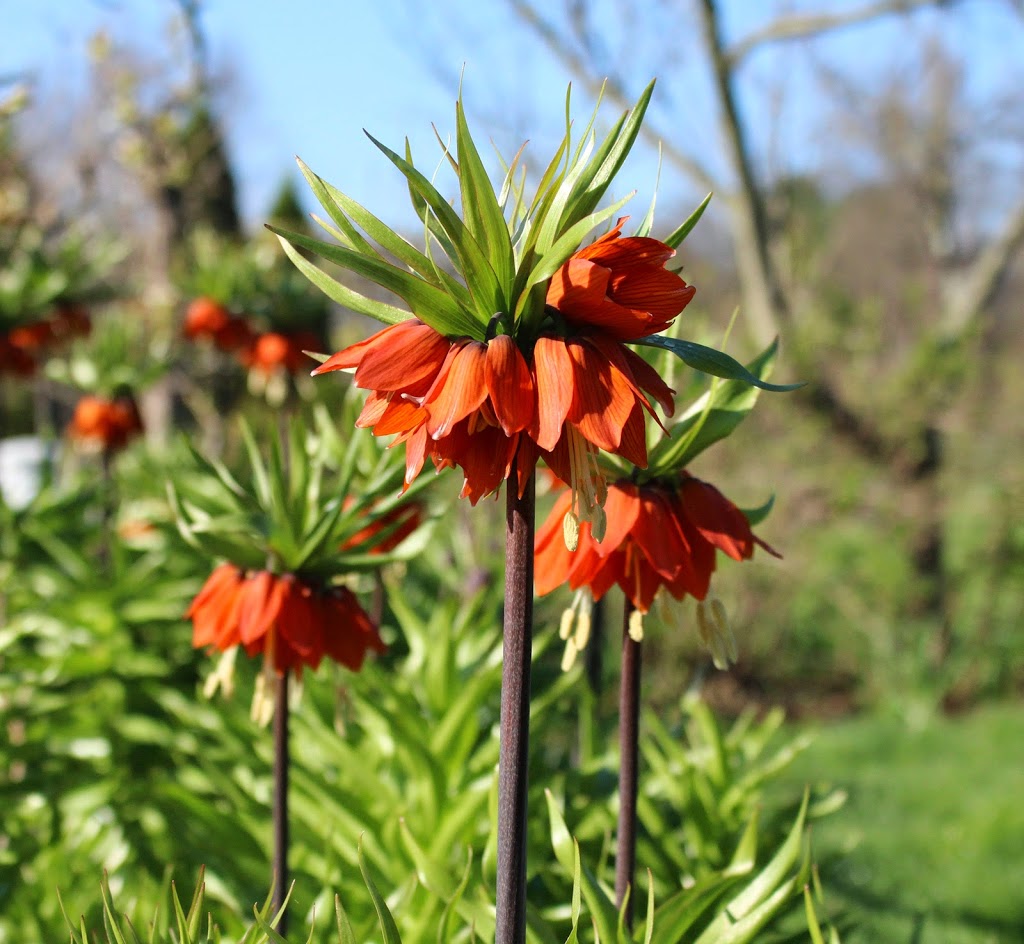
Visitors to my garden (actually workshop attendees) were oohing and ahing over some 18-inch-high stalks each capped with a crown of leaves beneath which dangled a circle of red blossoms. Aptly named crown imperial, Fritillaria imperialis, deserves to be more widely known. No one seemed put off by the skunky aroma that suffuses the air even feet away from the plant; I like it.
Perhaps crown imperial would be better known if the bulbs didn’t go for more than 10 dollars each. My gardens’ profusion of crown imperial stalks is more an indication of my green thumb than my wealth. They all arose from a single bulb my father gifted me more than 20 years ago. I learned to propagate them by bulb scaling, which involves digging down into the ground to remove scales from the bulb, then mixing the scales with barely moist potting soil. After a couple of months storage at warm temperatures followed by a couple of months storage at cool temperatures, the scales can be potted up to be nursed for a season before planting out.
Every year I make new crown imperial plants. Will I ever have too many?
————————————————
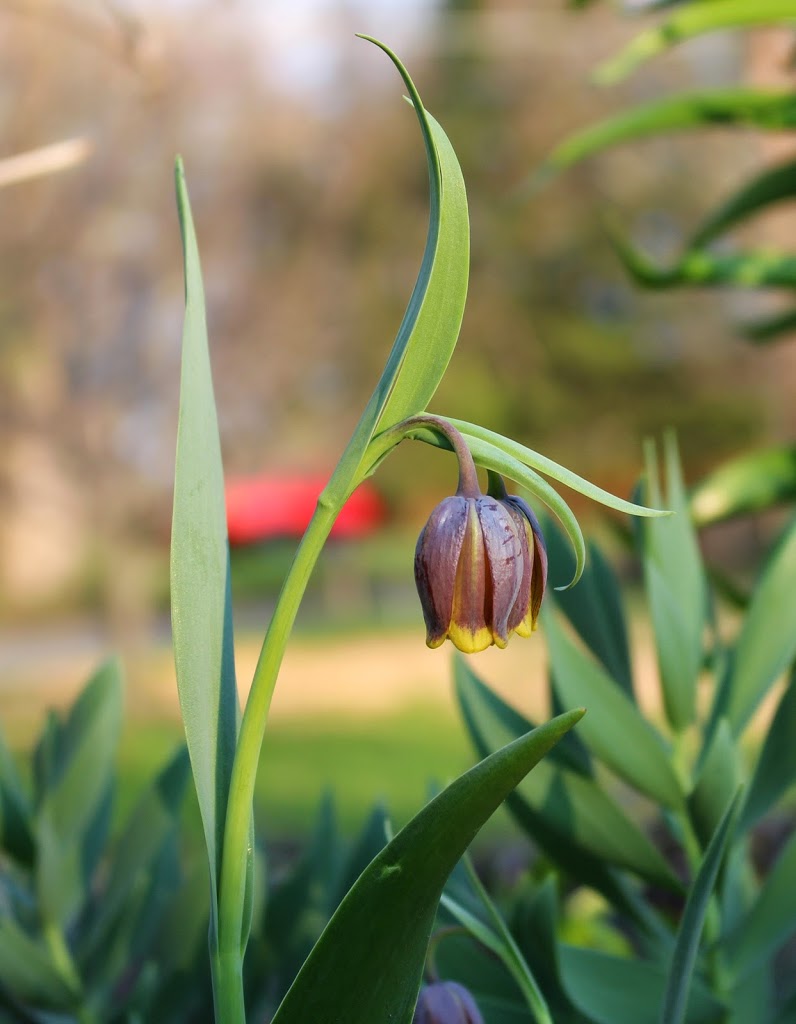 |
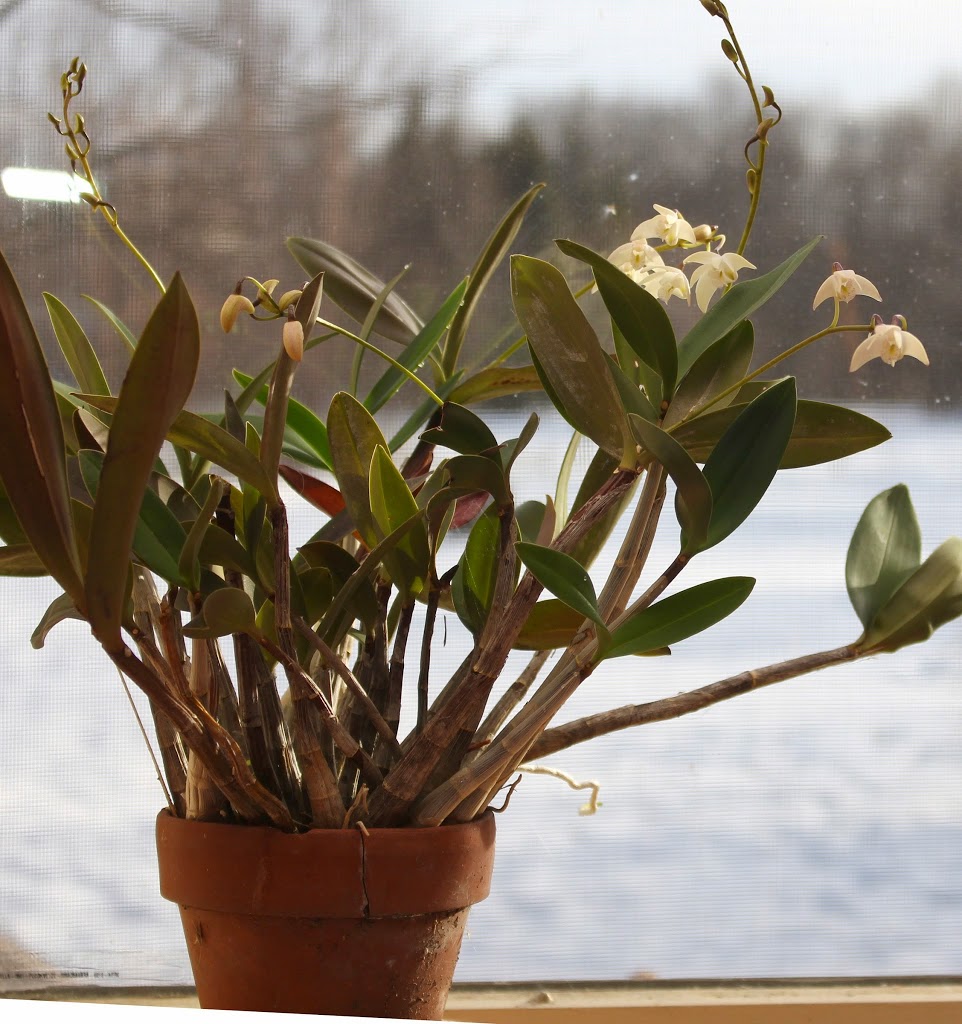
| F. michailovskyi |
Crown imperial also has some unknown known kin. You have to see Persian lily, Fritillaria persica, to appreciate it. A written description — foot-high stalks lined with nodding, small, plum purple to gray green flowers — doesn’t do justice to the beauty of this bulb. I hope to start multiplying this one also. Another unknown known is Fritillaria michailovskyi, this one with nodding, bell-shaped flowers with yellow-tipped, purple petals.
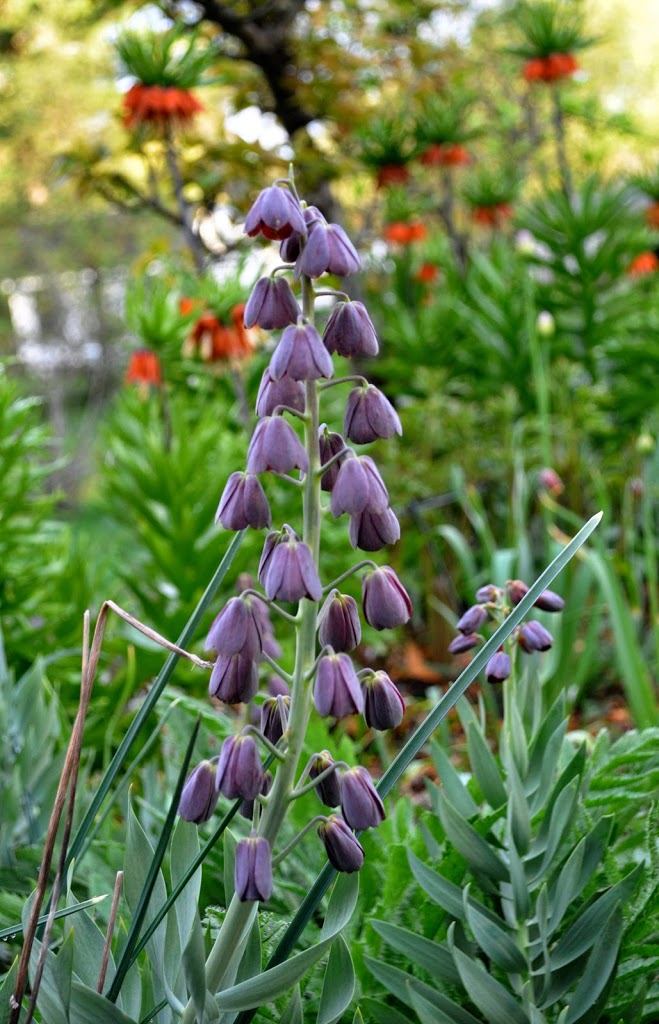 |
| F. persica |
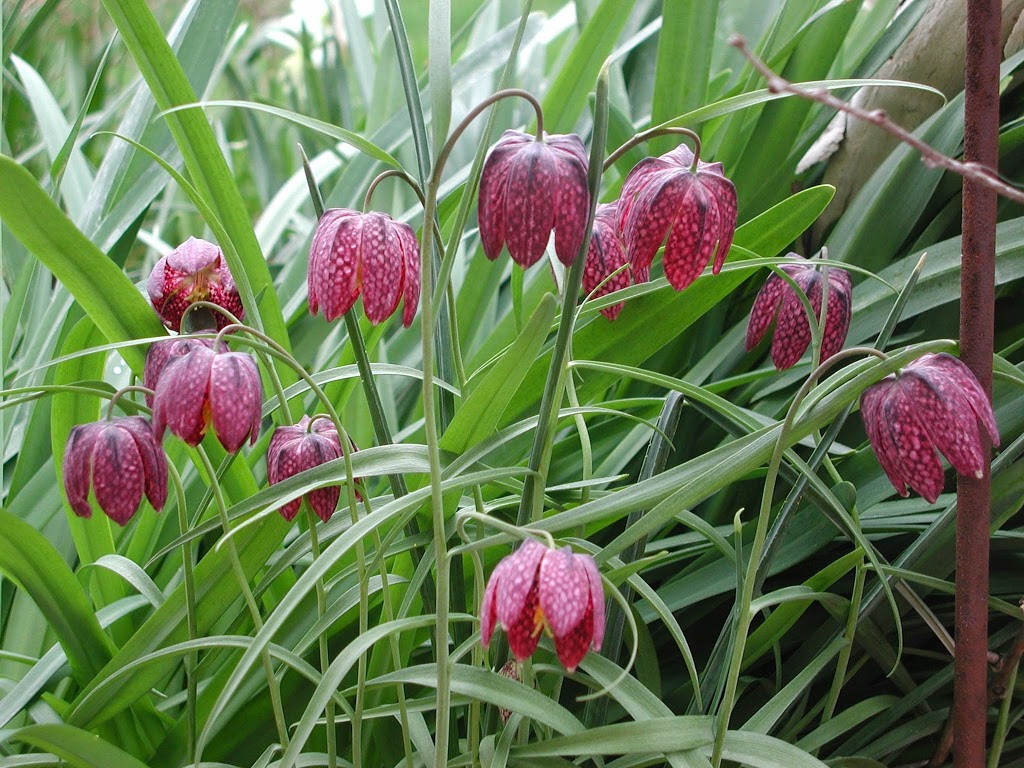 |
| F. meleagris |
Among crown imperial’s kin is also a known known: Guinea hen flower, F. meleagris, with large, nodding, checkered flowers. Even White Flower Farm sells these bulbs for less than a dollar each. No wonder they are better known.
————————–
Let’s segue over to unknown knowns among fruits.
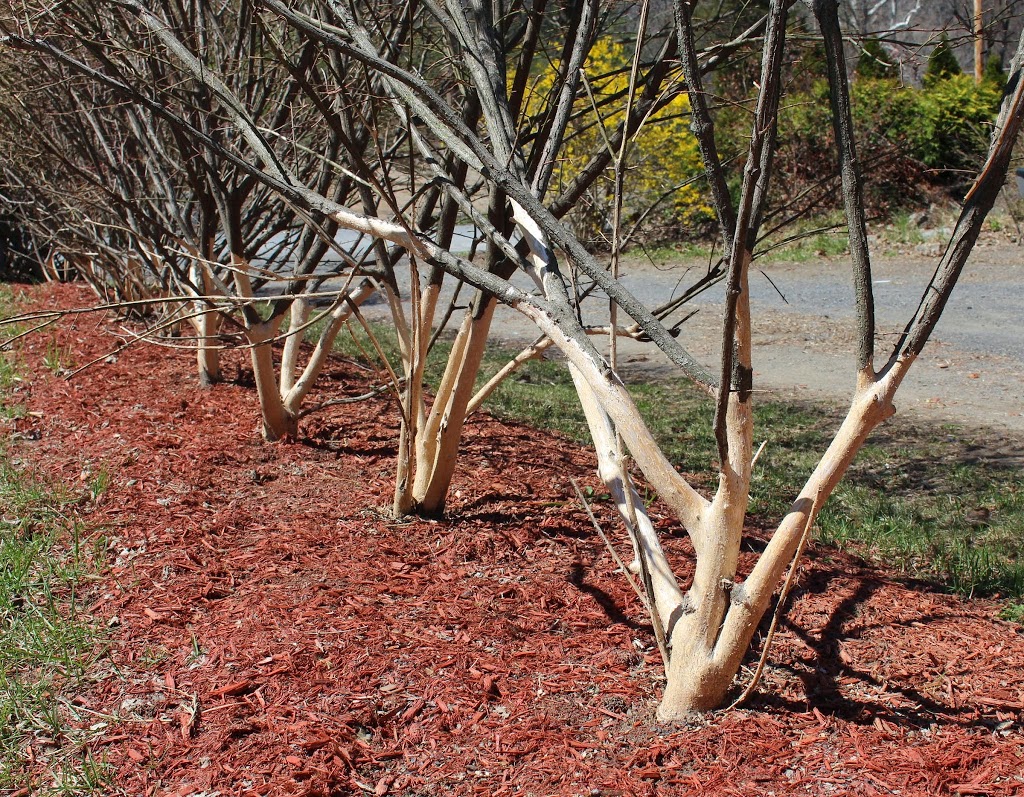
Right now, a billowing wave of white blossoms lines my driveway, the blossoms of Nanking cherry (Prunus tomentosum), a shrub that can grow 8 feet high and wide. The show matches that of any other flowering tree or shrub.
What do other flowering trees and shrubs — forsythia, lilac, flowering cherries, and the like — offer after their flower shows subsides? Nothing, nada, zip. Nanking cherry, though, goes on to bear oodles of small red cherries with a flavor somewhere between that of sweet and tart cherries.
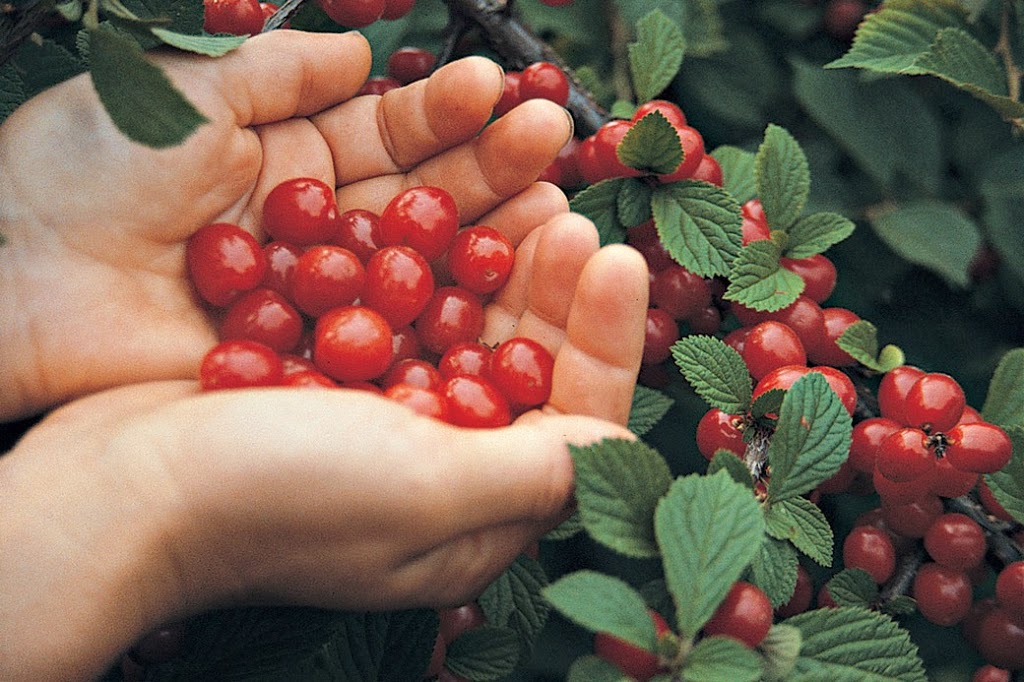
And what does it take to get a decent crop of sweet or tart cherries? Pruning, perhaps spraying and bird control. What does it take to get a crop of Nanking cherries? Nothing, nada, zip. The plants bear heavily with little or no care, and bear enough to satisfy birds, squirrels, and humans.
Okay, every rose has it’s thorns. Nanking cherries are small, one-half to five-eighths of an inch in diameter. The smallness is more than offset by plant’s beauty, its profusion of fruits, and its low maintenance .
————————————————
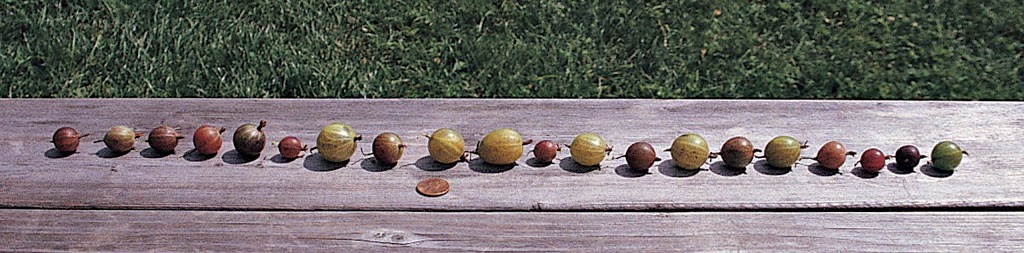
And one more unknown known: gooseberries (both gooseberries and Nanking cherries warrant a whole chapter in my book Uncommon Fruits for Every Garden).
Many people imagine all gooseberries to be small, green, and tart, suitable mostly for cooking. Not so! There are over a hundred varieties of gooseberry in various colors and sizes, and a whole category of them, what the Brits call “dessert varieties,” are for fresh eating. Good flavor is what should warrant gooseberries known known status among fruits.
Most important in growing gooseberries is to choose a good variety, both for taste and for resistance to disease powdery mildew. Don’t plant Pixwell; the berries are small, green, and tart. Do plant varieties such as Poorman, Chief, Hinonmakis Yellow, Red Jacket, Captivator, and Glendale. They’re all tasty and disease resistant.
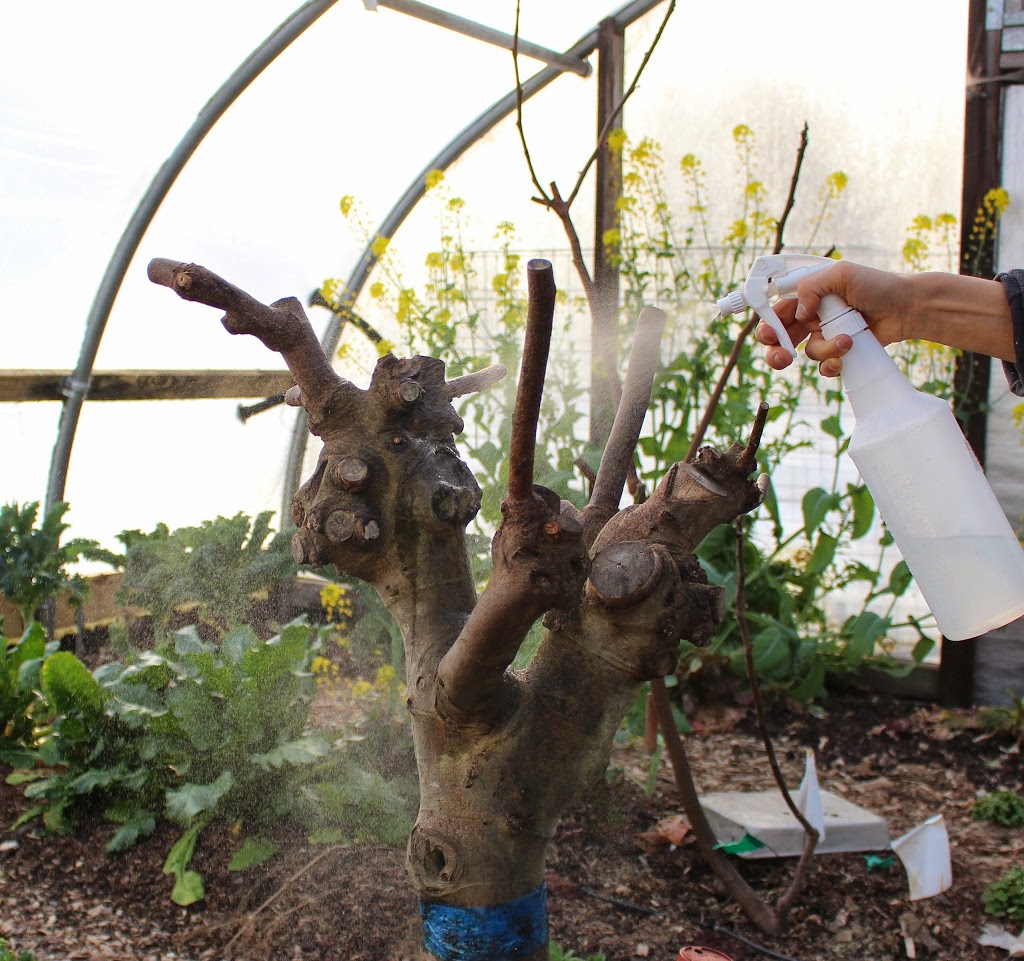
If you want even better flavor and you’re willing to deal with powdery mildew, plant varieties such as Colossal, Whitesmith, Achilles, and Webster. Dealing with powdery mildew involves spraying, but it could be something relatively benign, such as horticultural oil, sulfur, baking soda, soap, or horticultural oil plus baking soda (1-1∕2 tablespoons baking soda plus 3 tablespoons oil in 1 gallon water).
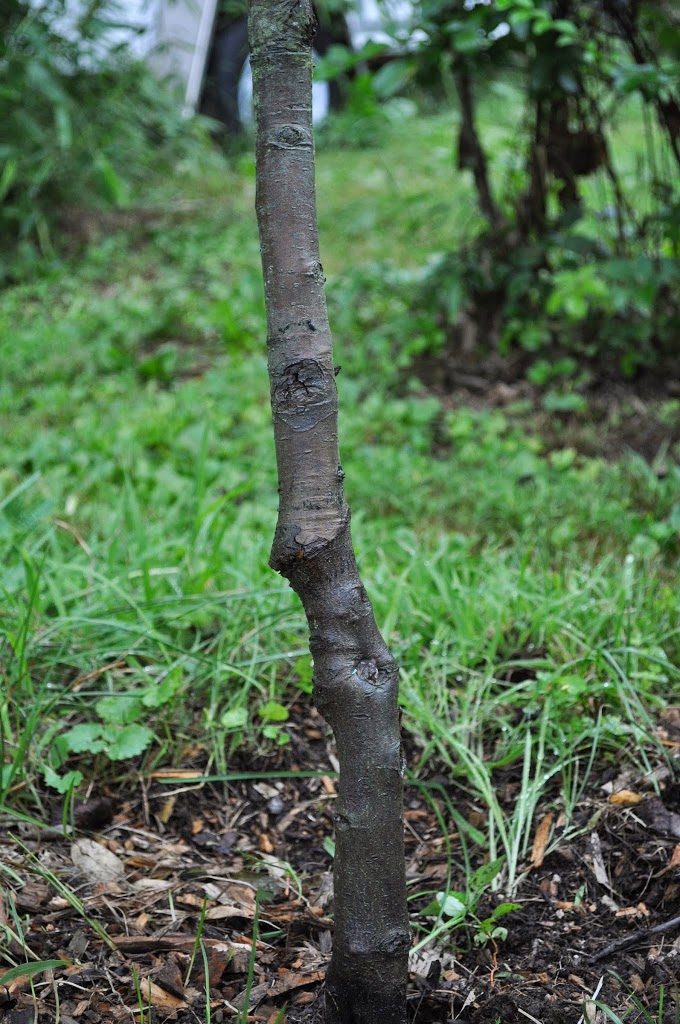
Right about now, gooseberries can experience one more pest, the imported currantworm, which strips plants of their leaves, beginning at ground level. The leaves will grow back but the plant is left weakened. A spray just as soon as chewing begins will stop this insect in its tracks and, again, benign products such as insecticidal soap or horticultural oil should be effective. I’m training some of my plants as 3-foot-high trees, which might also thwart the worm because there’ll be no leaves near ground level on which the insects can begin their feast.
If all this seems like too much potential trouble for gooseberries, it’s not. The best dessert varieties have flavors that might be compared to that of grape, plum, or apricot, and have a “cracking” texture, a crisp flesh that explodes with ambrosial juice when you bite into them. A writer of the last century characterized gooseberries as “the fruit par excellence for ambulant consumption.” I agree, and you might also if they become a known known in your garden.