MEADOW BEGINNINGS
Small Meadow Prep
Despite the low maintenance a mature meadow requires, thorough preparation and planning is needed to establish one. Don’t let “meadow in a can” (a container of meadow plant seeds) or some other promise of an instant meadow fool you into believing that just sprinkling seeds or rolling out a seeded, biodegradable carpet on top the ground will result in a carefree riot of season-long color.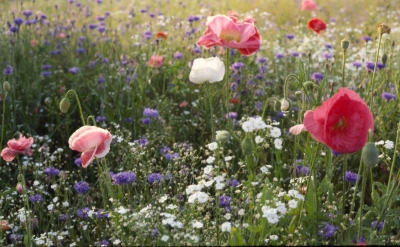
Thorough preparation is needed because meadow plants are not set out in neat rows easily weeded by hand or by hoe. Neat rows, after all, would ruin the random charm of a meadow. The goal, therefore, is to create conditions as weed-free as possible before setting out plants or sowing seeds.
The first consideration in planting a meadow is scale because practicalities in preparing a small site differ from those for a large site.
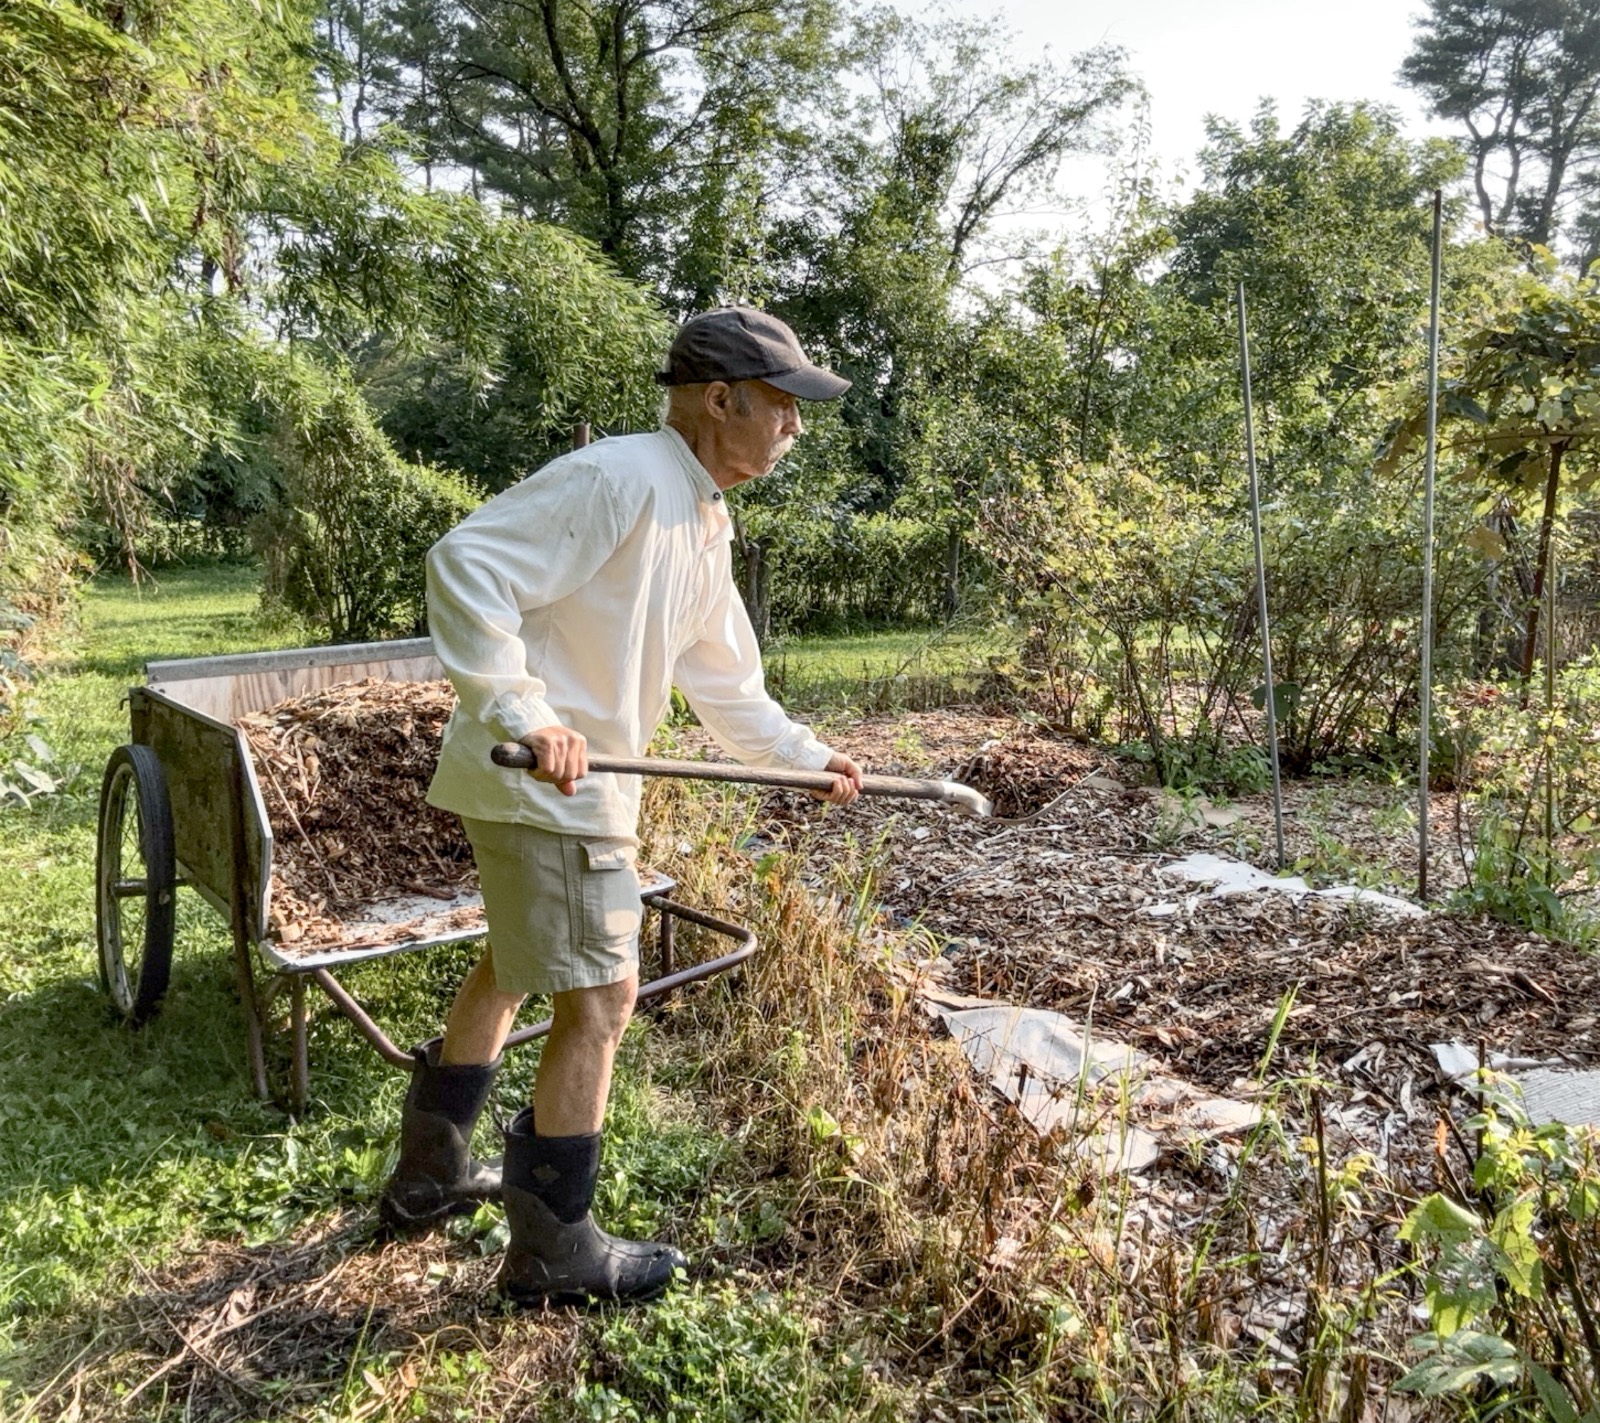
The easiest way to prepare the site for a small meadow is to mow existing vegetation, smother it beneath four or more layers of overlapping, wetted paper (such as newspaper), then blanket the paper with some weed-free organic material which will hold down the paper and can be planted into.
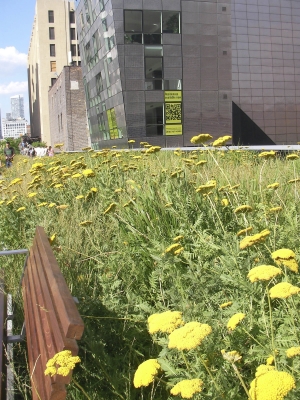
Very small meadow (the Highline, NYC)
Suitable materials for covering the paper include compost, marsh hay, sawdust, and straw. Wood chips are also suitable, as well as being widely available and often free. You can set wildflower and grass transplants right into wood chips that are not too coarse, and all the better if the chips had been sitting around wet so were already on their way to decomposition. (Meadows do need a certain amount of grasses, bunch grasses, for soil stabilization.) Until they are established, transplants need watering if rainfall is insufficient.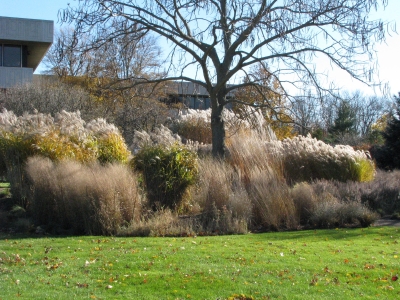
For planting seeds rather than transplants, cover the paper with compost.
Large Meadow Prep
A large meadow presents a lot more ground than can be feasibly covered with paper and mulch. Successfully planting a large meadow is a combination of art and science, so you might want to plant just a part of it each year, learning as you go. At any rate, begin by mowing — to literally even out the playing field.
Once mowed, the vegetation needs to be killed, and herbicide or tillage is the most practical way to do this on a large scale. Although Roundup is often recommended, I wouldn’t use it because of potential hazards and because it’s just not necessary. Organic herbicides can do the job. Household vinegar to which a little dish detergent and conola oil have been added is good, but more effective, products containing ammonium nonanoate (a kind of soap, Axxe being the brand that I’ve used).
The organic herbicides are contact herbicides, only killing green tissue with which they make contact. For a weed that has built up energy stores in their roots in preparation for winter, repeated applications are necessary to kill the whole plant. This makes summer a good time to start this ground preparation. Plants will draw on their reserves and regrow each time their greenery is killed back. If herbicide sprays are repeated, a plant will eventually go hungry and expire. How long before a plant expires? It depends on the size of the plant.
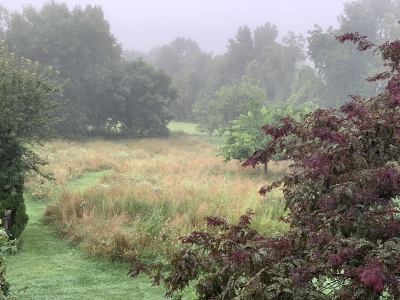
Established meadow in August (Springtown Farmden, 2022)
Because contact herbicides are effective only on what’s contacted, mowing is a good way to start to eliminate the “shadow” effect of upper leaves shading lower leaves. So mow, then spray, and spray again (and again, as needed) as sufficient new greenery appears. At a certain stage, those new leaves begin feeding root stores rather than just drawing on them. That’s when you guess when that time is, and spray them.
Tillage perhaps presents a more bucolic scene for ground preparation than herbicide spraying. A few passes with a rototiller are needed to thoroughly break up and kill plants. Tillage should be shallow to minimize the amount of deeper soil — and hence, weed seeds — brought to the surface, and to minimize the destruction of soil structure and organic matter.
To fight off weeds that eventually move in to colonize any bare ground and to protect the surface from wind and water erosion, sow a cover crop or, even better, successive cover crops. Cover crops — plants such as rye grain, oats, and buckwheat — are grown to protect the soil surface and shade out weeds.
And Then, Planting
Timing is critical for getting meadow plants off to a good start ahead of weeds, especially when your attention becomes spread over areas measured in thousands of square feet or acres rather than a few square yards. Generally, the best time for planting is autumn or spring, which is when the soil is most consistently moist. Timing for natural rainfall is not as critical for smaller areas that can be hand watered.
Fine tune your planting further according to the kinds of plants you’re growing. Transplants used for small meadows must take firm hold of the soil before winter settles in, so set them in the ground either in early spring or in late summer.
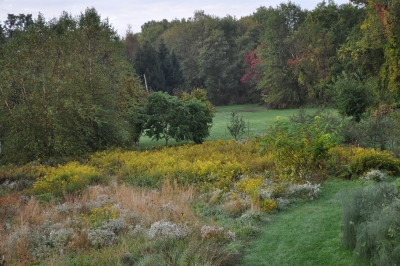
Established meadow in September (Springtown Farmden, 2011)
If you’re planting seeds, sow them in late fall, after temperatures have turned too cold for germination, or wait until spring. The optimum time to plant seeds that sprout only in warm weather — these include some grasses and annual flowers such as cape daisy, annual phlox, and prairie aster — is late spring. Distribute any of these seeds evenly, first mixing them with sand, then dividing the mix into two equal batches that you sow separately, the second batch spread in a direction perpendicular to the first.
If everything goes as planned, the soil is laid bare for a minimum amount of time, seeds sprout and transplants take hold quickly, and you’re soon enjoying your meadow with only a minimum of spot weeding.
(Above is adapted from my book WEEDLESS GARDENING)


Thanks for making all of these points! You’re saving readers a lot of time, money, sweat and agony!
Heard about the weather in your area; hope you’re all okay.
Just fine for those of us inland. Thanks for asking.